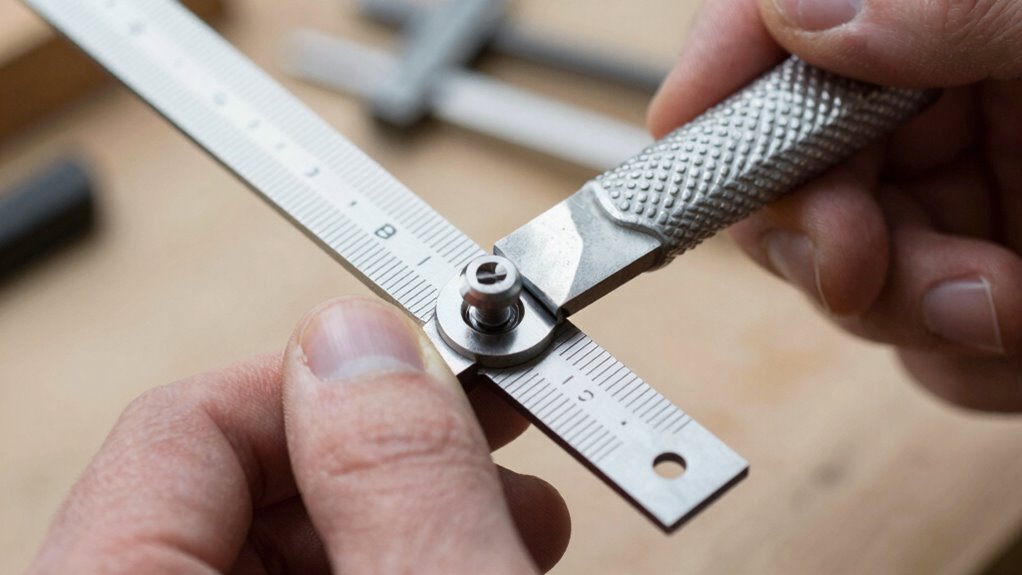
To lock a bevel gauge’s angle firmly, first set the tool to your desired angle using the measurement markings. Loosen the locking mechanism, adjust the bevel head smoothly, then tighten the lock or locking knob gradually and evenly—double-check the angle after tightening. Make sure the lock is secure before use, and verify stability with a gentle test. Continuing further will help you master securing consistent, professional results every time.
Key Takeaways
- Loosen the locking lever or knob to set the desired angle precisely on the gauge.
- Carefully align the gauge with measurement markings or a known reference angle.
- Gently tighten the locking mechanism, ensuring even pressure and full engagement.
- Double-check the angle after locking to confirm it hasn’t shifted during tightening.
- Conduct a stability test by applying light pressure to verify the angle remains fixed.

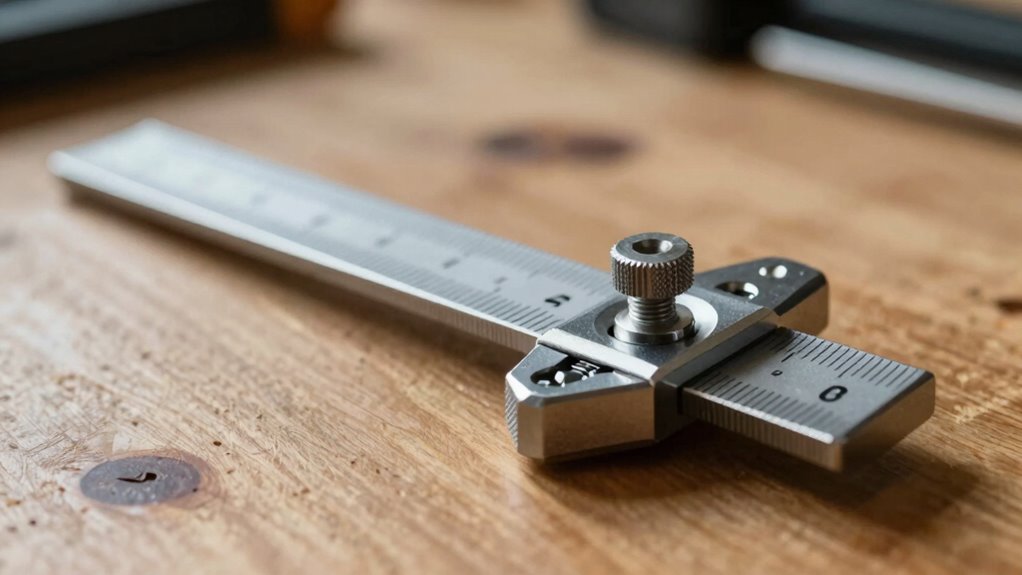
QWORK 9-Inch Stainless Steel T-Bevel Gauge Angle Finder, Metric and Inch Measurements, Sliding Angle Ruler Woodworking T Bevel Angle Finder with Locking Mechanism and Dual Scales
Premium Quality Construction: Made with a durable stainless steel cutter and a comfortable wood handle, ensuring long-lasting reliability…
As an affiliate, we earn on qualifying purchases.
As an affiliate, we earn on qualifying purchases.
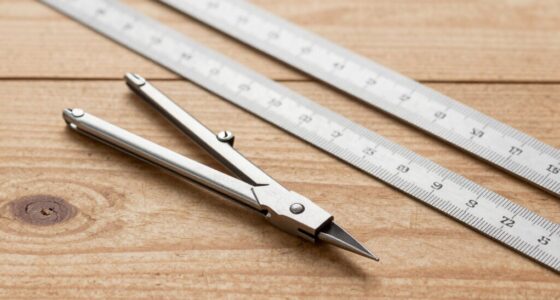
Why Locking the Angle on a Bevel Gauge Is Crucial for Accuracy
Locking the angle on a bevel gauge is essential for guaranteeing accurate measurements. When you lock the angle, you maintain angle consistency, which is crucial for precise work. Without locking, the gauge can shift accidentally, leading to measurement errors that compromise your project’s quality. Locking ensures the angle remains fixed, so your cuts and fittings are consistent and reliable. This stability is especially important when transferring measurements or replicating angles. By securing the gauge properly, you prevent inaccuracies caused by movement. Ultimately, locking the angle enhances measurement precision, giving you confidence that your angles stay true from start to finish. It’s a simple step that guarantees your work remains accurate and professional, saving you time and materials in the long run. Proper locking techniques help ensure your measurements stay consistent throughout your project.

Klein Tools 935DAG Digital Electronic Level and Angle Gauge, Measures 0 – 90 and 0 – 180 Degree Ranges, Measures and Sets Angles
VERSATILE DIGITAL ANGLE GAUGE AND LEVEL: Measure angles, check relative angles with zero calibration feature, or use as…
As an affiliate, we earn on qualifying purchases.
As an affiliate, we earn on qualifying purchases.
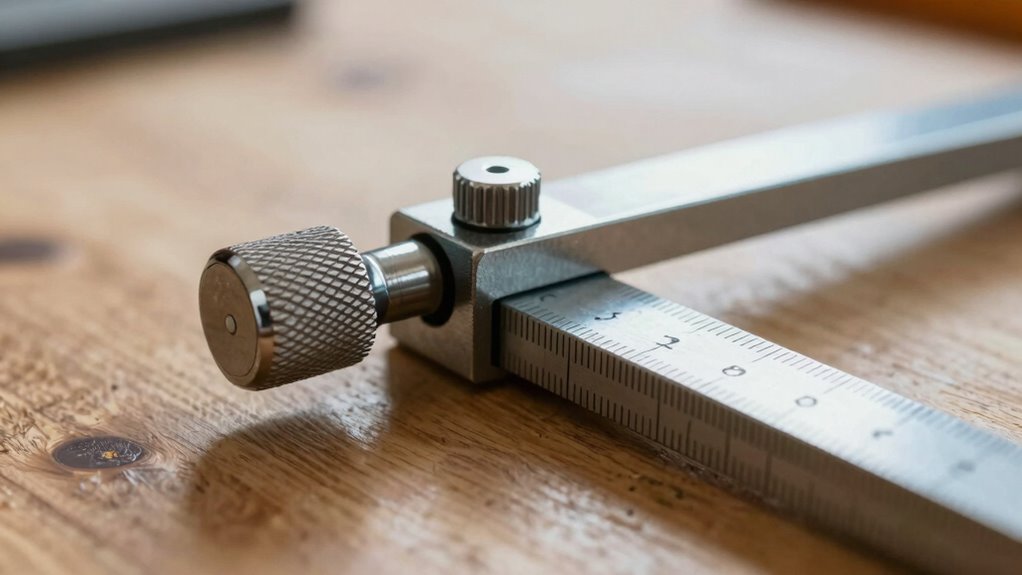
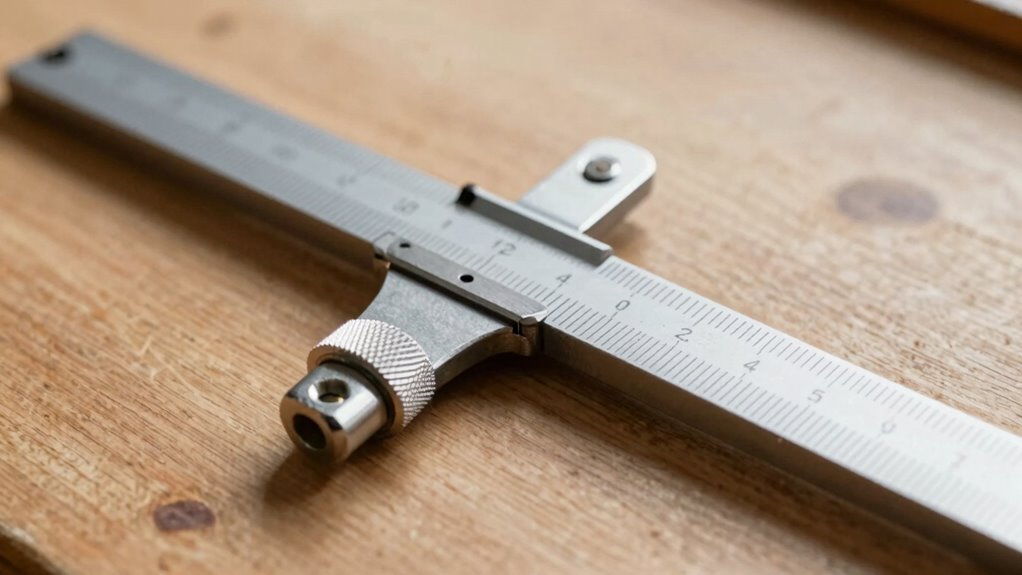
Essential Parts of a Bevel Gauge for Locking Angles
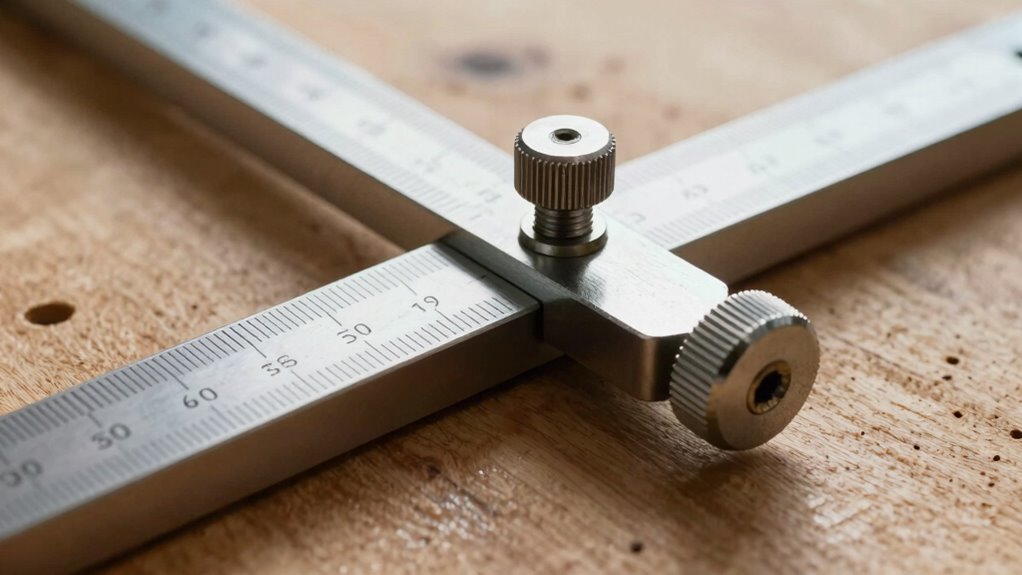
A bevel gauge relies on several key parts to securely lock and hold angles in place. The primary components include the locking lever, which tightens to prevent movement, and the bevel head, which holds the angle precisely. The scale or measurement dial guarantees accurate readings, indispensable for maintaining measuring accuracy. The pivot point allows smooth adjustments while staying stable once locked. Regular tool maintenance, like cleaning and lubricating moving parts, keeps these components functioning correctly, ensuring precise locking. Without well-maintained parts, the gauge’s accuracy diminishes, risking errors in your project. Understanding the essential parts and keeping them in good condition helps you reliably lock angles, making your measurements precise and your work consistent. Additionally, proper calibration of the gauge ensures that measurements stay accurate over time, especially important for projects requiring high precision.

Preciva T-Bevel Gauge & Protractor with Horizontal and Vertical Bubble,0-338° Digital Angle Finder Protractor 230mm/8inch Display for Carpentry Woodworking, Metalworking, Construction
[High Accuracy] Measuring angle range: 0-338°,Result accurate to the decimal point and accuracy of ±0.3°.Bevel's ruler is marked…
As an affiliate, we earn on qualifying purchases.
As an affiliate, we earn on qualifying purchases.
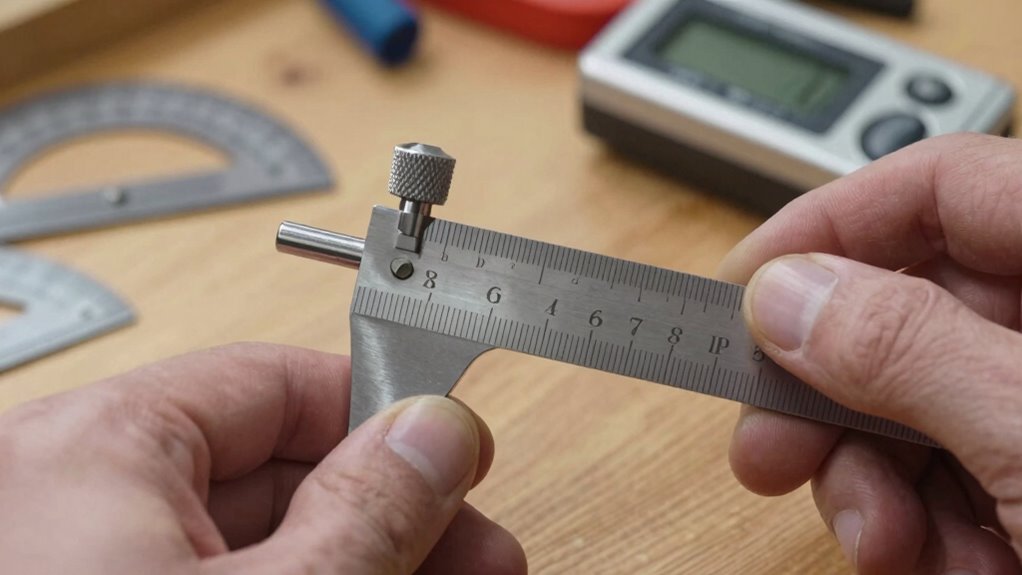
How to Set a Bevel Gauge to Your Desired Angle
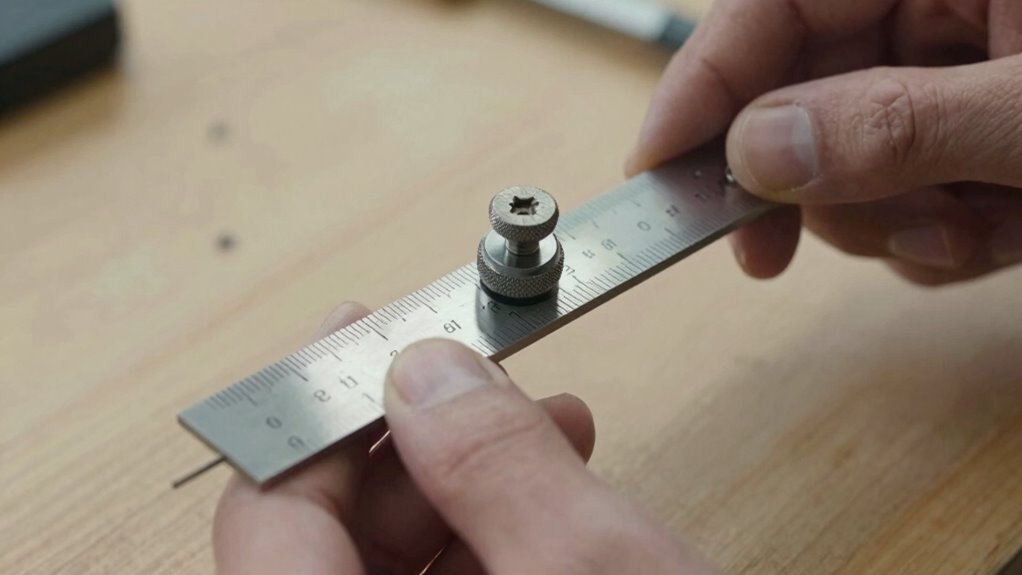
To set a bevel gauge to your desired angle, start by loosening the locking lever so you can freely adjust the bevel head. Use the tool’s angle measurement markings to align the gauge accurately with the angle you need. For precise results, verify that the gauge is calibrated properly—check against a known reference if necessary. Once the bevel head is aligned, gently tighten the locking lever to hold the angle in place. Double-check the measurement after tightening to ensure accuracy. Proper tool calibration and careful adjustment are key to setting the correct angle. This process ensures your bevel gauge is ready for precise cuts or measurements, making your woodworking or metalworking tasks more accurate and efficient. Ensuring your tools are properly calibrated helps achieve consistent results in your projects.

Tirpheety Digital Angle Finder Protractor, 3rd Generation Quick Display Angle Gauge Ruler, 7-Inch (200mm) Professional Measuring Tool for Woodworking, Carpentry, and Construction
Professional 360° Measuring Tool – The angle finder measures inside and outside angles as well as lengths, with…
As an affiliate, we earn on qualifying purchases.
As an affiliate, we earn on qualifying purchases.
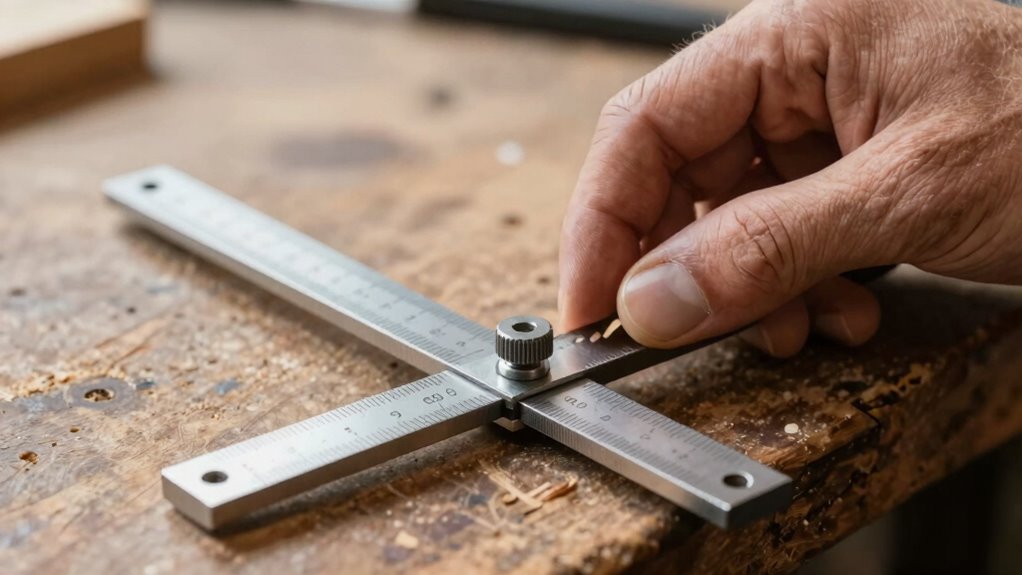
How to Secure and Lock the Angle on Your Bevel Gauge Effectively
To keep your bevel gauge at the right angle, start by tightening the locking mechanism firmly. Use proper clamping techniques to prevent any movement, and double-check that the angle stays stable. Ensuring these steps are done correctly guarantees your measurement remains accurate. Additionally, consider using energy-efficient cloud solutions to store your project data securely and sustainably.
Tighten Locking Mechanism
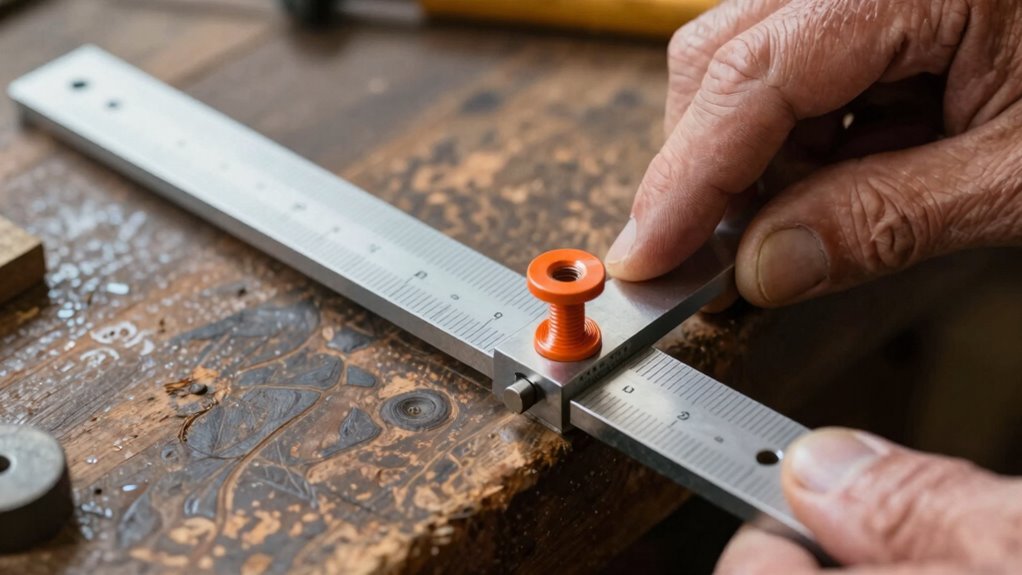
Ensuring that the locking mechanism on your bevel gauge is secure is essential for maintaining an accurate angle. To do this, first verify that your desired angle adjustment is correct. Once set, tighten the locking mechanism firmly but avoid over-tightening, which can damage the tool or make future adjustments difficult. Check that the locking parts are snug and hold the gauge firmly in place. If your gauge has a screw or clamp, turn it clockwise until you feel resistance, ensuring it’s tight enough to prevent any movement. A properly tightened locking mechanism keeps your angle stable during cutting or marking, eliminating any risk of slipping or accidental changes. Regularly inspect the lock to confirm it remains secure, especially before critical measurements. Proper tool maintenance is also crucial for consistent locking performance.
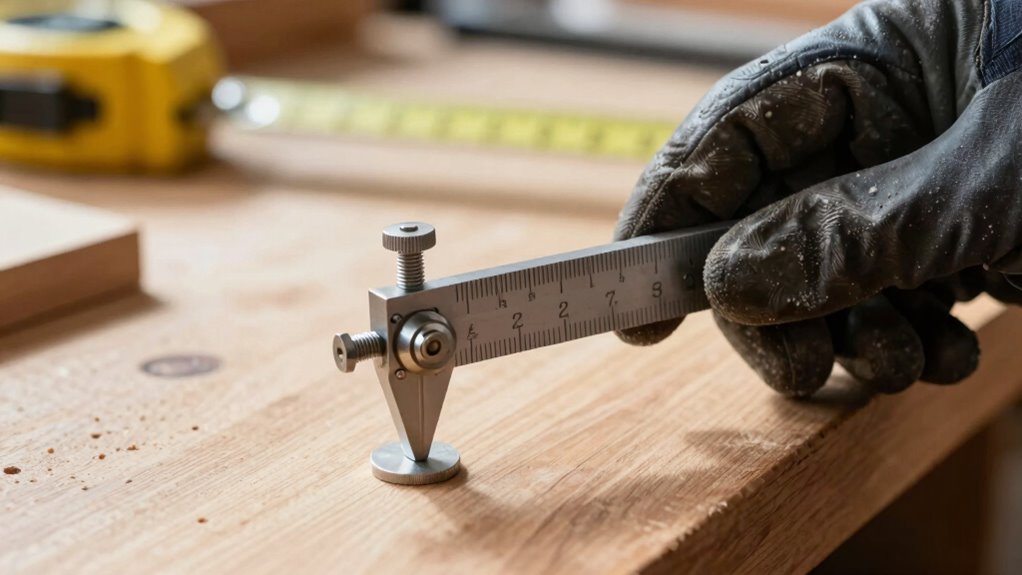
Use Proper Clamping Technique
Once you’ve tightened the locking mechanism to secure your desired angle, the next step is to clamp the bevel gauge properly to prevent movement during use. Using effective clamping techniques guarantees your angle stays stable and accurate. Proper clamping involves applying even pressure, avoiding over-tightening, and making sure the gauge’s body is firmly pressed against your work surface.
- Use gentle, consistent pressure to avoid shifting
- Secure the gauge tightly without damaging it
- Position the clamp directly over the locking mechanism
- Ensure the clamp’s pads won’t mar the surface
- Check for any slight movement before proceeding
- Confirm that the clamp’s placement aligns with the proper clamping technique to maintain stability
Applying these tips enhances angle stability, so your measurements remain precise during cutting or marking tasks. Proper clamping techniques are essential for reliable, consistent results.
Verify Angle Stability
Before you start cutting or marking, it’s vital to verify that your bevel gauge’s angle is securely locked in place. Proper angle verification ensures that the measurement hasn’t shifted during handling. To do this, gently try to move the gauge; if it stays put, your lock is effective. Conduct stability testing by lightly applying pressure to the gauge, confirming it holds steady without slipping. If you notice any movement or wobbling, re-tighten the locking mechanism and recheck the angle. Consistent angle verification prevents inaccuracies and guarantees your cuts are precise. Taking a moment to test stability before proceeding saves time and material, ensuring your project stays on track with the correct angles locked securely. Understanding the importance of reliable locking mechanisms enhances your confidence in achieving accurate cuts.
Best Practices for Using the Locking Knob or Clamp
To get accurate measurements, you need to use the locking knob or clamp correctly. Make sure you tighten it securely without over-tightening, which can damage the tool. Proper technique helps prevent movement during use, ensuring your bevel gauge stays set precisely. Additionally, understanding the proper handling of tools can extend their lifespan and improve your accuracy.
Proper Locking Technique
Using the locking knob or clamp correctly is essential to guarantee your bevel gauge stays securely in place during measurement. To ensure angle precision, always tighten the lock gradually and evenly, avoiding sudden force that could shift the angle. Check that your tool is compatible with your gauge to prevent slipping or misalignment. Before locking, double-check the angle setting for accuracy. Keep the locking mechanism clean and free of debris to maintain consistent grip. Remember that over-tightening can damage the tool or distort the angle, so find the right balance. Proper technique prevents movement during cutting or marking, saving time and reducing errors. Additionally, understanding the hydraulics of your gauge can help you operate it more smoothly and accurately.
- Adjust the lock incrementally, not forcefully
- Confirm the angle before tightening
- Use compatible tools for accuracy
- Keep locking components clean
- Avoid overtightening to prevent damage
Tightening the Clamp Securely
Tightening the clamp securely is essential to maintain the accuracy of your bevel gauge during measurements. You want to ensure the clamp tension is firm enough to prevent any movement but not so tight that it damages the tool or distorts the lock mechanism. Use your fingers or a wrench if needed to tighten the locking knob or clamp steadily. Check that the lock mechanism is fully engaged and holding the angle firmly in place. Avoid overtightening, which can strip threads or cause the clamp to become difficult to adjust later. Consistent, even tightening ensures the gauge remains stable when you transfer measurements or mark angles. Proper clamp tension guarantees your angle stays true, providing reliable, precise results every time. Additionally, understanding the fundamentals of ergonomics can help you position your tools and workspace for better control and comfort during adjustments.
Preventing Movement During Use
Once you’ve set the bevel angle and tightened the clamp, it’s crucial to prevent any movement during use. To do this, ensure the locking knob or clamp is securely engaged, especially after any angle adjustment. Check tool compatibility—using the right tools helps maintain stability and accuracy. Keep your hands steady and avoid applying uneven pressure that could shift the gauge. Regularly verify the angle setting before making cuts. Use additional measures like taping the gauge in place if necessary. Be mindful of the surface you’re working on, as uneven surfaces can cause slippage. Always double-check the lock’s firmness—loose locks can compromise precision. Properly securing your bevel gauge ensures the angle remains consistent, delivering clean, accurate cuts every time.
Common Problems When Locking Angles and How to Fix Them
Locking a bevel gauge precisely can sometimes be tricky, as common problems often lead to inaccuracies. One issue is improper angle calibration, which causes the gauge to read or lock at the wrong angle. This can happen if the calibration has shifted due to rough handling or wear over time. Additionally, the materials of your bevel gauge can affect locking stability; cheaper or low-quality materials may cause slippage or uneven locking, especially if the locking mechanism wears out. To fix these problems, double-check your angle calibration regularly and adjust as needed. If the materials seem worn or damaged, consider replacing the gauge or parts of the locking mechanism. Ensuring your bevel gauge is well-maintained and accurately calibrated helps prevent inaccuracies when locking angles.
How to Maintain and Calibrate Your Bevel Gauge’s Locking System
To keep your bevel gauge working accurately, you need to maintain its locking system regularly. Checking and calibrating the mechanism guarantees it holds angles precisely over time. Simple techniques can help you stay confident in your measurements without frequent repairs.
Ensuring Locking Mechanism Accuracy
Maintaining the accuracy of your bevel gauge’s locking mechanism is essential for precise measurements. To guarantee consistent angles, regularly check the locking mechanism types for wear or damage. Proper angle calibration keeps your device reliable.
Consider these tips:
- Test the lock after adjusting to confirm it holds firmly
- Use a known angle to verify lock stability
- Tighten or replace worn components as needed
- Avoid overtightening, which can damage the lock
- Regularly clean the locking mechanism to prevent debris buildup
Different locking mechanism types may require specific maintenance techniques. Staying attentive to signs of slippage or looseness will help you maintain accuracy and avoid costly errors in your projects. Proper upkeep guarantees your bevel gauge remains a dependable tool.
Regular Calibration Techniques
Regular calibration is essential to guarantee your bevel gauge’s locking system remains accurate over time. To maintain precise angle measurements, you should regularly check and adjust your tool using reliable calibration methods. Start by comparing your gauge’s angle with a known, accurate reference, such as a steel square or a certified protractor. If discrepancies arise, loosen the locking mechanism and fine-tune the angle to match the reference. Re-tighten and verify the setting. Consistent calibration ensures your gauge maintains high angle precision, preventing errors during cuts. Incorporate routine calibration into your maintenance schedule, especially after heavy use or accidental drops. Proper calibration methods keep your bevel gauge reliable, ensuring your projects stay precise and your angles stay locked securely over time.
Are There Alternatives to Locking Mechanisms? Other Options for Stable Angles
While locking mechanisms are common for securing bevel gauges, they aren’t the only option for maintaining stable angles. You can explore alternative locking methods and other angle stability options to achieve precision without traditional locks. For instance, friction-based holds can keep your gauge steady when tightened properly, eliminating the need for a locking knob. Clamping systems or thumb screws provide quick adjustments with reliable hold. Using a tight fit within a marked slot or notch can also stabilize your angle. Some woodworkers prefer friction pads or rubber grips that resist slipping. Additionally, double-checking your setup with a separate square or protractor ensures accuracy without relying solely on the gauge’s lock. These options offer flexibility and can simplify your workflow while maintaining precise angles.
How to Double-Check Your Locked Angles Before Cutting
After locking your bevel gauge, it’s important to verify the accuracy of the angle before making any cuts. Start by comparing your gauge’s reading to a known reference, like a protractor or a framing square, to ensure proper angle calibration. Check that the gauge’s lock is secure and hasn’t shifted during locking. Gently recheck the angle after locking to confirm it hasn’t moved. Regular bevel gauge maintenance, such as cleaning and lubricating the locking mechanism, helps maintain accuracy over time. If anything seems off, readjust and re-lock the gauge, then double-check again. This extra step prevents mistakes, ensuring your cuts are precise and your project stays on track. Accurate double-checking saves time and materials in the long run.
Tips to Keep Your Bevel Gauge Lock Secure During Use

To keep your bevel gauge lock secure during use, make sure you tighten the locking mechanism firmly but without over-tightening, which can damage the parts. Proper locking guarantees your angle calibration stays accurate during cuts. Regular locking mechanism maintenance helps prevent slippage and maintains reliability. Always double-check the lock before moving the gauge, and avoid forcing it if it resists. Keep the locking mechanism clean and free from debris to ensure smooth operation. Consider applying a light lubricant to prevent rust and ease adjustments. Verify the lock after any adjustments and periodically inspect for wear. Properly maintained locks retain their grip, so your angles stay consistent and precise throughout your project.
Secure your bevel gauge lock with firm, careful tightening and regular maintenance for consistent, precise angles.
- Clean the locking mechanism regularly
- Use gentle, firm tightening techniques
- Avoid over-tightening to prevent damage
- Lubricate moving parts periodically
- Recheck lock after each adjustment
Frequently Asked Questions
How Often Should I Calibrate My Bevel Gauge’s Locking Mechanism?
You should calibrate your bevel gauge’s locking mechanism every few months or after heavy use to guarantee accuracy. Regular calibration maintains locking mechanism longevity and keeps your angles precise. If you notice any slipping or difficulty locking, it’s time for recalibration. Frequent checks help prevent wear and tear, ensuring your gauge stays reliable. Ultimately, consistent calibration is key to preserving your tool’s accuracy over time.
Can I Use a Bevel Gauge for Measurements Other Than Angles?
Sure, you can use a bevel gauge for more than angles—why not measure thickness or align edges while you’re at it? Just don’t expect it to replace a caliper for precision thickness measurements. While it’s handy for copying angles or checking edge alignment, it’s not a universal measuring tool. Use it creatively, but keep a proper ruler or caliper nearby for that perfect measurement every time.
What Materials Are Best Suited for a Reliable Locking System?
You should choose materials with high durability, like hardened steel or sturdy brass, to guarantee a reliable locking system. These materials withstand wear and maintain their lock mechanism design over time. Avoid softer metals that may deform or weaken. Opt for a lock mechanism that’s precisely engineered, providing a firm grip without slipping. This combination ensures your bevel gauge stays accurately locked in place during use, delivering consistent measurements.
How Do Temperature Changes Affect the Locking Accuracy?
Temperature changes can affect your locking accuracy because material expansion occurs with heat, and contraction happens in cold. When you lock your bevel gauge, if the material isn’t temperature stable, your angles may shift as the environment varies. To maintain precision, choose materials with low thermal expansion and work in a stable temperature setting. This keeps your locking system reliable, ensuring your angles stay accurate regardless of temperature fluctuations.
Is It Necessary to Replace the Locking Components Periodically?
Even in the age of dial-up, you don’t need to replace locking components constantly. Regular lock maintenance is key to ensuring your bevel gauge stays accurate. Check for wear or damage, and if the locking mechanism feels loose or sluggish, it’s time for locking component replacement. Staying proactive helps prevent inaccuracies, so don’t wait until things break—periodic maintenance keeps your tool reliable and precise.
Conclusion
Think of your bevel gauge like a trusty compass on a voyage—you rely on it to stay true to your course. When you lock that angle, you’re anchoring your project to precision, just like setting a steady waypoint. With proper locking and double-checking, you avoid drifting off course. Remember, a well-secured gauge is your best mate for accurate cuts, turning your woodworking journey into a smooth, confident sail toward perfect results.