
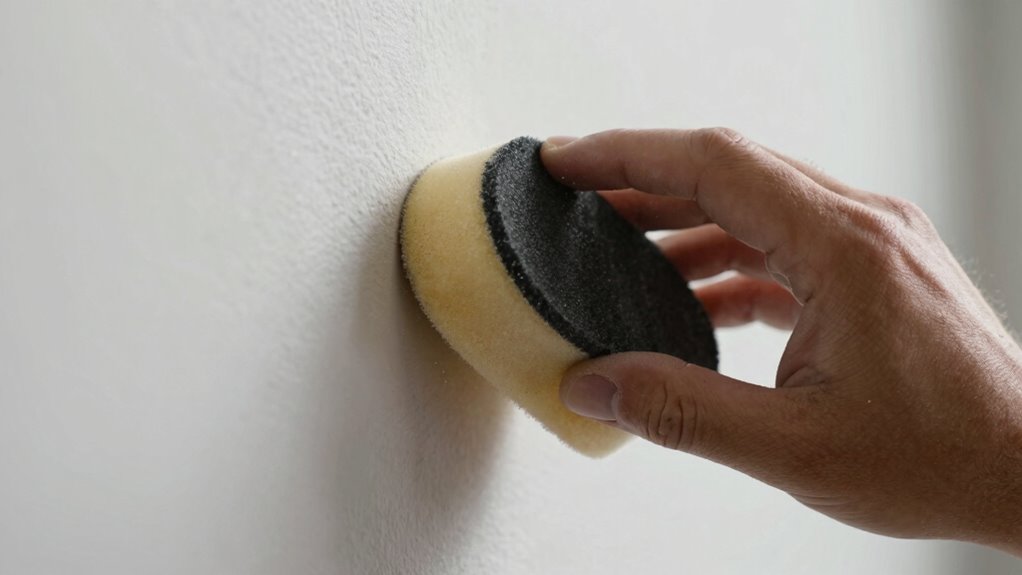
To achieve clean, sharp progressions when sanding inside corners, use a flexible sanding sponge or foam that molds to the shape, and a small hand-held detail sander for control. Start with coarse grit, then move to finer papers, applying steady, even pressure. Keep the tool consistent and avoid rushing, which can cause gouges. Proper technique and patience are key—stay tuned for tips on mastering these tricks for perfect corners.
Key Takeaways
- Use a flexible sanding sponge or folded sandpaper to conform to inside corner shapes.
- Start with coarse grit and gradually move to finer grits for a smooth finish.
- Maintain consistent angle and pressure to avoid gouges or uneven edges.
- Sand along the transition line carefully, focusing on blending the joint into the wall.
- Use a sanding block for control, and check progress frequently to achieve sharp, clean corners.

Norton ProSand 4-1/2 in. L x 2-3/4 in. W x 2-3/4 in. 120 Grit Medium Corner Sanding Sponge
As an affiliate, we earn on qualifying purchases.
As an affiliate, we earn on qualifying purchases.
What Makes Inside Corner Sanding Difficult?
Inside corner sanding is challenging because the tight space makes it hard to reach all areas evenly. When working around a corner bead, you need to be precise to avoid uneven patches or gouges. The narrow space limits your movement, making it difficult to maintain consistent pressure. You also have to choose the right sanding grit; too coarse, and you’ll damage the surface or remove too much material, too fine, and it won’t smooth effectively. Keeping the corner bead smooth and sharp requires patience and control. You might find yourself repeatedly going over the same spot to blend the joint smoothly. This process demands attention to detail, especially since small mistakes can be noticeable in the finished corner. Additionally, using specialized tools designed for interior corner finishing can help achieve a cleaner, more professional result.

SKIL Corded Multi-Function Detail Sander with Micro-Filter Dust Box 3 Additional Attachments & 12pc Sanding Sheet- SR232301
POWERFUL – With a 1. 2 amp motor and 13,500 orbits per minute, it's able to deliver a…
As an affiliate, we earn on qualifying purchases.
As an affiliate, we earn on qualifying purchases.
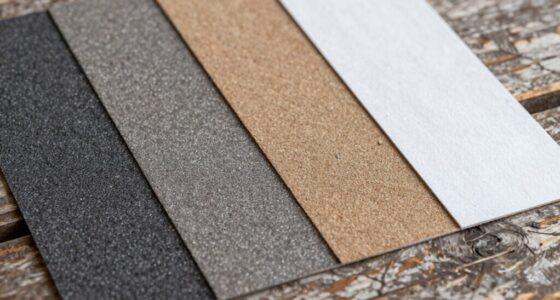
Choosing the Best Tools for Sanding Inside Corners
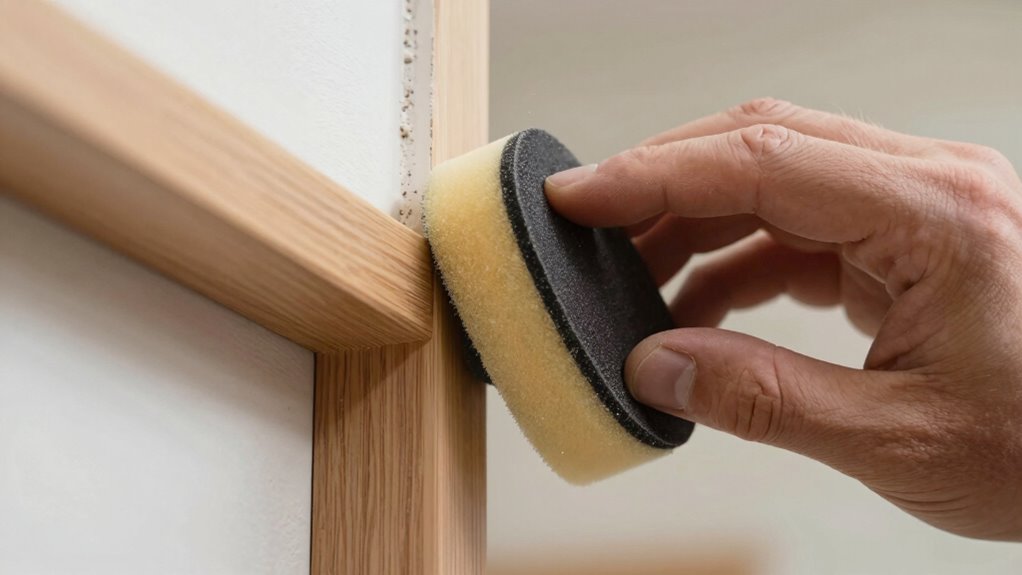
Selecting the right tools is essential for achieving a smooth, professional finish when sanding inside corners. The best tools enable you to use effective sanding techniques while reaching tight spaces and maintaining control. A flexible sanding sponge or foam block works well for detailed inside corner work, conforming to the shape and preventing uneven spots. For larger, more accessible areas, a small hand-held detail sander provides consistency and efficiency. Keep your tools in top condition by regularly cleaning and inspecting them, ensuring they perform suitably and last longer. Proper tool maintenance prevents scratches and rough spots that can ruin your finish. Choosing high-quality tools suited for inside corners helps you achieve sharp, clean transitions with less effort and better results. Additionally, using appropriate abrasive grit ensures the surface is prepared properly for finishing or painting.

4 Pack Hand Sanding Sponge Set -120 220 320 400 Grit- Coarse Medium Fine Grit Sanding Block, Sander Sponges for Wood-Working Drywall Metal, Washable and Reusable Sponge for Rust Removal Polishing
Assorted Grit Sanding Blocks – This set includes 4 sponge sanding blocks (4 x 2.6 x 0.7 inches)…
As an affiliate, we earn on qualifying purchases.
As an affiliate, we earn on qualifying purchases.
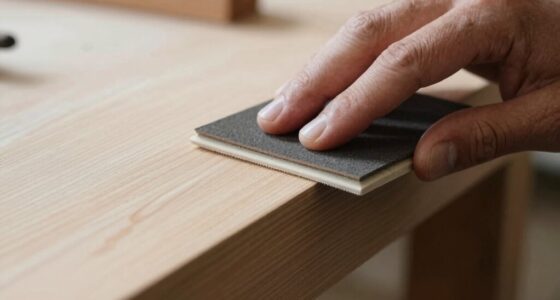
How to Sand Inside Corners Step by Step
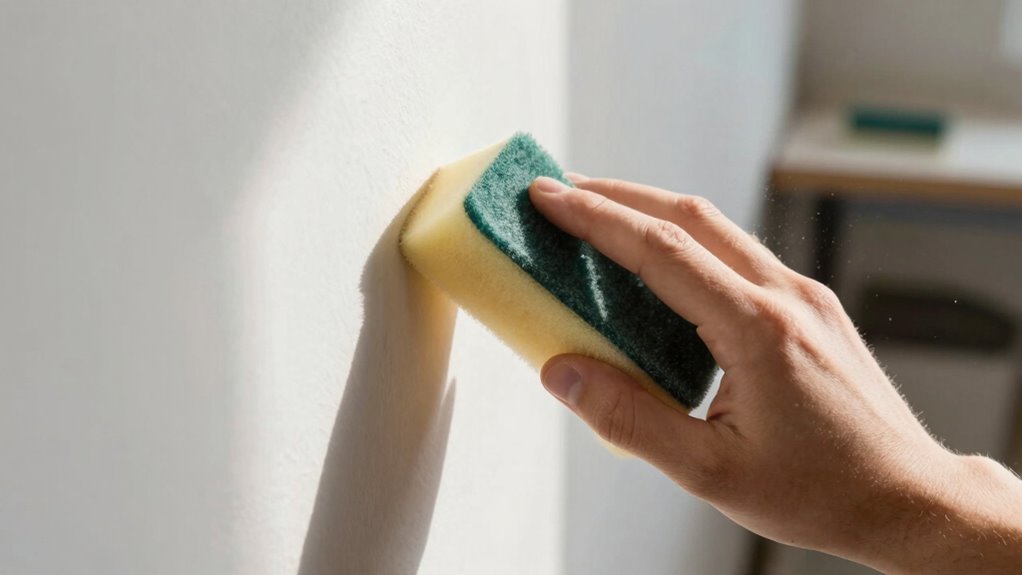
To achieve a smooth finish in inside corners, you need to follow a systematic sanding process. First, assess the corner radius to determine the right sanding technique. Use a sanding sponge or folded sandpaper to reach into tight spaces, maintaining control. Start with coarse grit to remove rough spots, then switch to finer grits for a polished surface. Keep the sander at a consistent angle to avoid creating uneven edges. Always sand along the transition line to preserve sharpness. Be patient and work slowly to avoid over-sanding. Proper sanding techniques can help you achieve a professional-looking finish.
- Choose the right sanding tools for tight corners
- Maintain consistent pressure and angle
- Use progressive grits for a seamless finish
Ceoighe 5 Pcs 6 Holes Foam Sanding Pads with Hook and Loop Backing Sander Mouse Detail Sanding Interface Pad to Increasing Flexibility and Balancing Pressure Compatible with Ryobi Sander
Foam Interface Pad with Hook and Loop Backing: The detail sander pad is made of heat-resistant EVA foam…
As an affiliate, we earn on qualifying purchases.
As an affiliate, we earn on qualifying purchases.
Common Mistakes to Avoid When Sanding Corners
One common mistake when sanding corners is applying uneven pressure, which can lead to gouges or uneven surfaces. To prevent this, make certain you maintain consistent pressure and use corner protection tools like blocks or guards to prevent accidental damage to surrounding areas. Failing to manage dust properly is another mistake; dust can obscure your view and cause uneven sanding. Always use a dust collection system or wear a mask to keep your workspace clean and dust-free. Over-sanding or rushing the process can also ruin sharp transitions, so take your time. Proper dust management and corner protection help you achieve a smooth, professional finish without damaging the surface or creating rough edges. Additionally, understanding best sanding techniques can further improve your results and ensure sharp, clean corners every time.
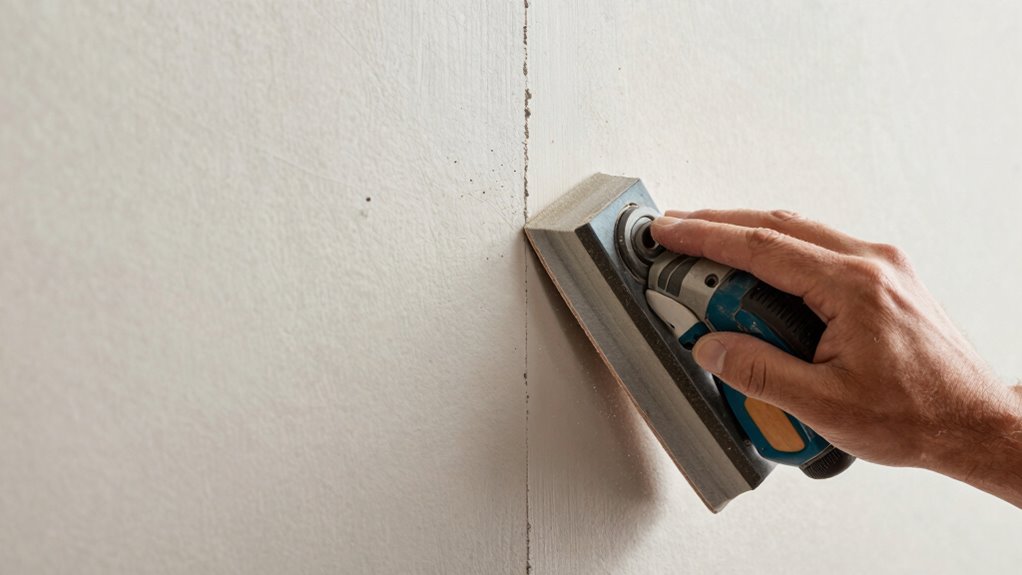
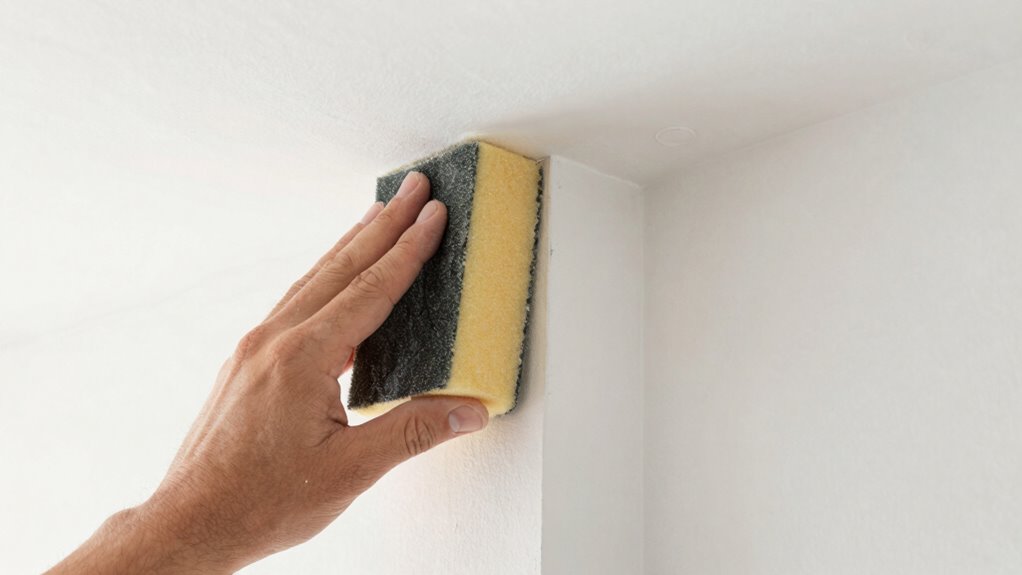
Tips for Achieving Sharp, Flawless Transitions

Achieving sharp, flawless shifts in your sanding work requires careful attention to detail and proper technique. To get a clean progression along the corner bead, use a sanding block to maintain even pressure and avoid gouging the surface. Focus on blending the joint smoothly into the surrounding wall, ensuring no ridges or uneven spots remain. Keep your sanding block at a slight angle to follow the corner’s shape precisely. For best results, sand gradually, checking your progress frequently. This helps prevent over-sanding and keeps your transition sharp. Remember, patience is key to a professional finish. Proper technique is essential for achieving a high-quality, clean finish in your drywall work.
Frequently Asked Questions
Can Electric Sanders Be Safely Used for Inside Corners?
Yes, you can safely use an electric sander for inside corners if you follow proper safety precautions. Choose a detail sander or a corner sander with a pointed or narrow attachment to reach tight spots. Wear protective gear like goggles and a dust mask, and keep a firm grip on the tool. Always work slowly, avoid excessive pressure, and make certain your workspace is well-ventilated to prevent accidents.
How Do I Prevent Dust Buildup in Tight Corners?
To prevent dust buildup in tight corners, you should regularly clean the corners during sanding. Use a small brush or a vacuum with a narrow nozzle to remove dust accumulation before it settles deeply. Additionally, wipe the area with a damp cloth afterward to keep dust from spreading. This corner cleaning routine guarantees a cleaner workspace and helps you achieve a smooth, professional finish without leftover dust interfering with your project.
What Are the Best Alternative Methods for Sanding Difficult Corners?
For tough corner smoothing, you can try alternative tools like a detail sander, sanding sponge, or a flexible sanding pad. These tools easily conform to tight spaces, giving you better control and a smooth finish. Using a small, pointed file or a craft knife to gently shape the edges also helps. Always work slowly, and finish with a fine grit sandpaper for a sharp, clean progression.
How Do Temperature and Humidity Affect the Sanding Process?
Temperature effects and moisture impacts profoundly influence your sanding process. When it’s too hot or humid, materials may expand or become softer, causing uneven sanding or clogging your sandpaper. Cooler, dry conditions help materials stay stable, allowing for smoother, cleaner finishes. Keep an eye on the environment, and aim for moderate temperatures and low humidity to guarantee ideal sanding results and avoid issues caused by moisture impacts and temperature effects.
Is It Necessary to Prime the Surface Before Sanding Inside Corners?
You don’t need to prime the surface before sanding inside corners, but priming preparation can be beneficial. Priming helps seal the surface, making sanding smoother and more effective. It also reduces dust and guarantees a more even finish. If the surface is porous or stained, priming prior to sanding provides a better base for paint or finish, resulting in cleaner, sharper transitions inside corners.
Conclusion
Mastering inside corner sanding takes patience and the right tools, but with practice, sharp, flawless progressions become second nature. Remember, “A journey of a thousand miles begins with a single step.” Don’t rush the process; attention to detail makes all the difference. Keep refining your technique, and soon, your corners will look professional. Stay persistent, and you’ll turn rough edges into perfect finishes every time.