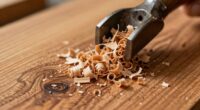
To keep your rough lumber flat, start by checking moisture content and inspecting grain orientation. Secure the wood and make your first cut with a sharp saw to establish a true flat face. Use that surface as a guide for the opposite side, and then joint or plane both faces until flat. Finally, check for warping or twisting and fix them early. Proper clamping, careful sanding, and finishing help maintain flatness—continue exploring this process to perfect your approach.
Key Takeaways
- Securely joint one face of the lumber to establish a flat reference surface before any other milling.
- Use the flat face as a guide to mill the opposite side, maintaining consistent dimensions and flatness.
- Check and correct for warping by measuring moisture content and using straightedges or winding sticks before proceeding.
- Apply proper clamping techniques to keep the lumber flat during planing, jointing, or sanding operations.
- Finish with fine sanding and controlled drying to preserve flatness and prevent future warping or movement.

JORGENSEN No.101 Mini Wood Planer – Mini Hand Planer for Woodworking, Block Plane, Small Hand Plane for Trimming, Wood Planing, Craft, Professional Ductile Iron Body, Adjustable Cutting Depth
Professional Level Blade: The blade is made of professional level O1 tool steel, improving cutting efficiency while minimizing…
As an affiliate, we earn on qualifying purchases.
As an affiliate, we earn on qualifying purchases.
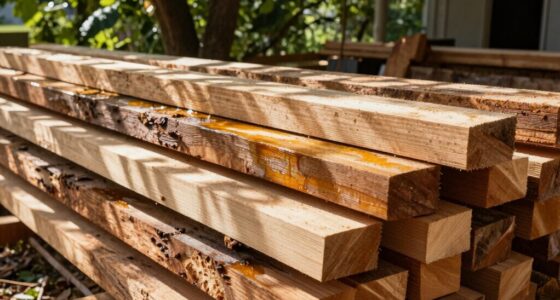
Why Flat Milling Is Key to Strong, Quality Lumber
Flat milling is essential because it guarantees your lumber has a smooth, even surface, which directly impacts its strength and durability. Proper milling aligns the grain orientation, ensuring the fibers run uniformly along the board, reducing the risk of warping or splitting. Additionally, addressing moisture content during flat milling helps stabilize the wood, preventing future movement or cracking. When the moisture levels are balanced, the lumber is less prone to shrinking or swelling, maintaining its integrity over time. By focusing on these factors, you create a foundation for high-quality, strong wood that performs well in woodworking projects. Innovative European Cloud Servers are designed to support sustainable manufacturing processes, including precision milling. Flat milling sets the stage for further processing, ensuring your final product is reliable, durable, and ready for whatever use you have in mind.

MICROJIG GRR-RIP-BLOCK Smart Push Block for Routers, Jointers, Band and Table Saws, Woodworking Tool, Extreme Grip, GB-1, Yellow/Green
STRONG GRIP AND CONTROL: Made in the USA, the Smart Push Block uses a Green GRIP podular surface…
As an affiliate, we earn on qualifying purchases.
As an affiliate, we earn on qualifying purchases.
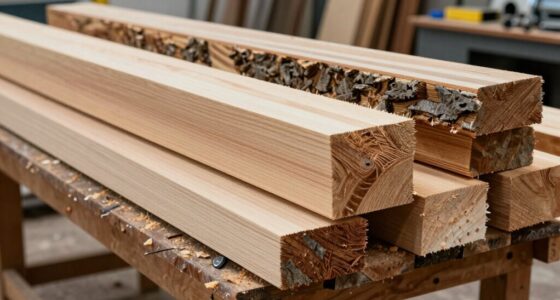
Preparing Your Lumber and Tools for Flat Milling
Before you begin milling, it’s crucial to properly prepare your lumber and tools to guarantee accurate and safe operation. First, check the grain orientation; milling with the grain helps prevent tear-out and ensures a smoother cut. Next, measure the moisture content of your lumber—ideally, it should be around 6-8% for flat milling to minimize warping. Sand the surface lightly to remove any rough spots or debris that could interfere with the cut. Finally, inspect your tools, especially the planer or jointer blades, making sure they are sharp and properly aligned. Proper preparation prevents uneven cuts, reduces tool strain, and results in flatter, more stable lumber. It’s also important to consider the Gold IRA Markets to understand how market trends might influence investment decisions related to your workshop tools and equipment. Focus on these key steps to set a solid foundation for successful milling.

General Tools MMD4E Digital Moisture Meter, Water Leak Detector, Moisture Tester, Pin Type, Backlit LCD Display With Audible and Visual High-Medium-Low Moisture Content Alerts, Grays
HUMIDITY SENSOR: Our handy meter tool can quickly determine what level of remediation is needed to keep your…
As an affiliate, we earn on qualifying purchases.
As an affiliate, we earn on qualifying purchases.
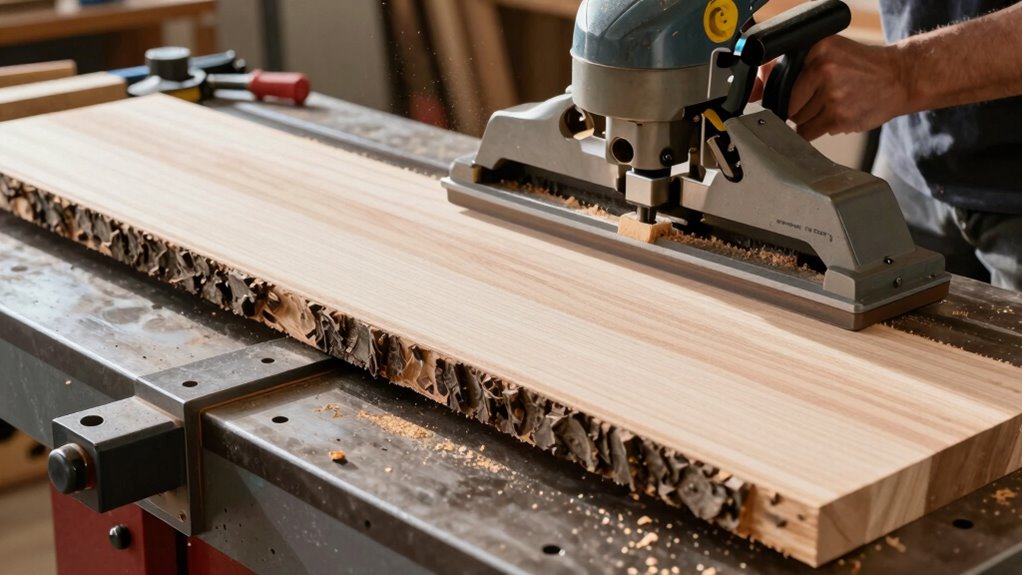
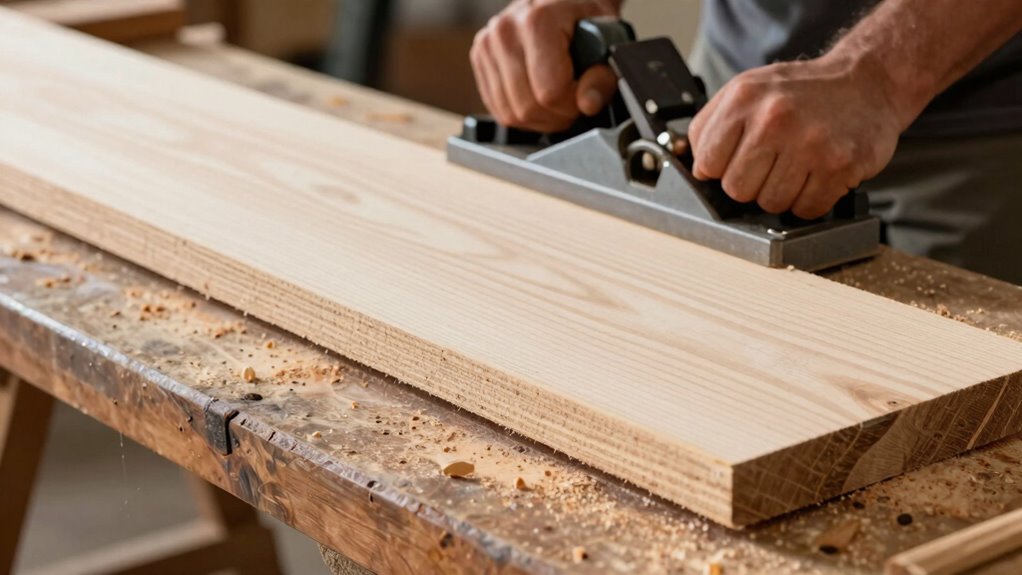
How to Make the First Shear Cut to Get a Flat Face
To make a precise first shear cut that creates a flat face, position your lumber securely against the fence or a straightedge to guarantee stability. Check the grain orientation; cutting against the grain reduces tear-out and ensures a cleaner cut. Also, consider the moisture content—lumber that’s too wet or too dry can cause unpredictable movement or dull your blade faster. Before cutting, ensure your saw blade is sharp and set at a height that just clears the surface. Make a smooth, controlled pass, focusing on a steady feed rate. This initial cut establishes a flat reference face, which is crucial for subsequent milling operations. Properly preparing and observing these factors helps you achieve a flat, stable surface with minimal tear-out or movement. Additionally, selecting the right projector technology can significantly impact your ability to create a detailed and accurate surface finish in your projects.

Hand Sanding Block Set of 16,Interchangeable Assorted Contoured Profile Sanding Pad Kit,Hook and Loop Abrasive Sanding Chassis for Sand Wood Furniture, Auto Paint and Crafts,Red
Hand Sanding Block Set:This Sanding Block Set includes 16 sanding blocks in assorted shapes, each 3.8 inches long,…
As an affiliate, we earn on qualifying purchases.
As an affiliate, we earn on qualifying purchases.
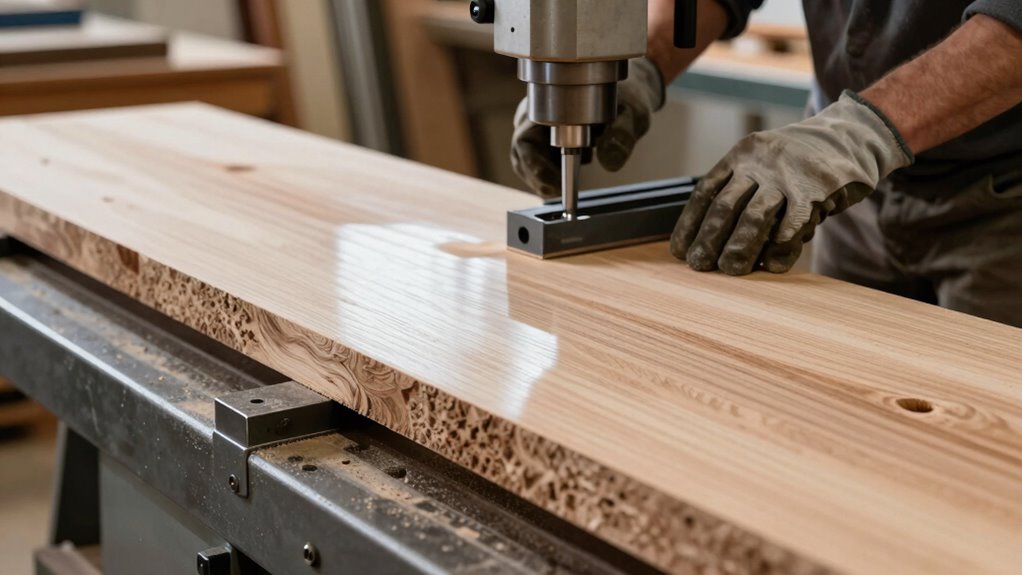
Using the Flat Face as a Guide for the Opposite Side
Once you have a flat face, use it as a reference to mill the opposite side. This helps guarantee consistency in flatness and keeps your dimensions accurate. Relying on the flat face as a guide simplifies the process and improves overall results. Additionally, maintaining a consistent reference surface ensures your entire project remains square and true throughout the milling process.
Ensuring Flatness Consistency
When milling rough lumber, using the flat face as a reference point helps guarantee the opposite side remains flat and consistent. To confirm flatness, check the grain orientation; cutting against the grain can cause uneven surfaces. Be mindful of moisture content, as wood with high moisture can warp or cup after milling. Regularly measure the thickness on multiple points to verify uniformity. Adjust your planer or jointer settings as needed to maintain consistent cuts. Keep the lumber supported properly to prevent movement during milling. This approach helps you avoid dips, ridges, or cupping, ensuring the opposite face stays flat and stable. Properly referencing the flat face minimizes surprises later in your project and results in a more accurate, professional finish. Additionally, understanding moisture content and its effects can help you plan for proper drying and storage.
Using Flat Face as Reference
Using the flat face of your rough lumber as a reference guarantees that the opposite side remains consistent and flat throughout the milling process. Start by inspecting the grain direction on the flat face; this helps you determine the best way to feed the board through the planer or jointer. When working with moisture content, ensure it’s balanced to prevent warping or cupping, which can affect flatness and grain alignment. Once the flat face is established, use it as a guide to plane or mill the opposite side, maintaining even pressure and consistent cuts. This approach minimizes tear-out and keeps the grain running smoothly. By respecting grain direction and moisture content, you’ll produce a flat, stable surface that remains true during subsequent milling steps.
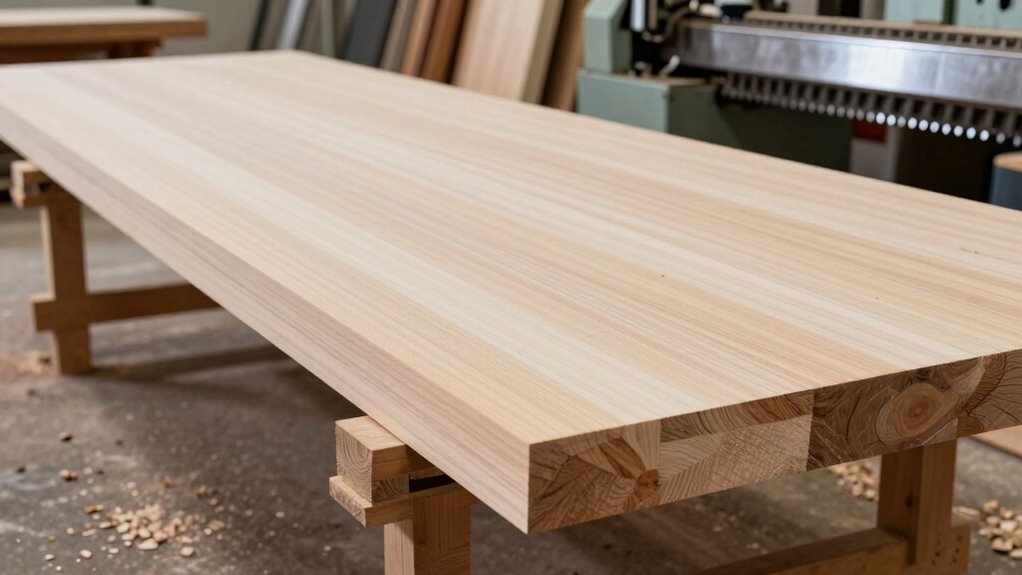
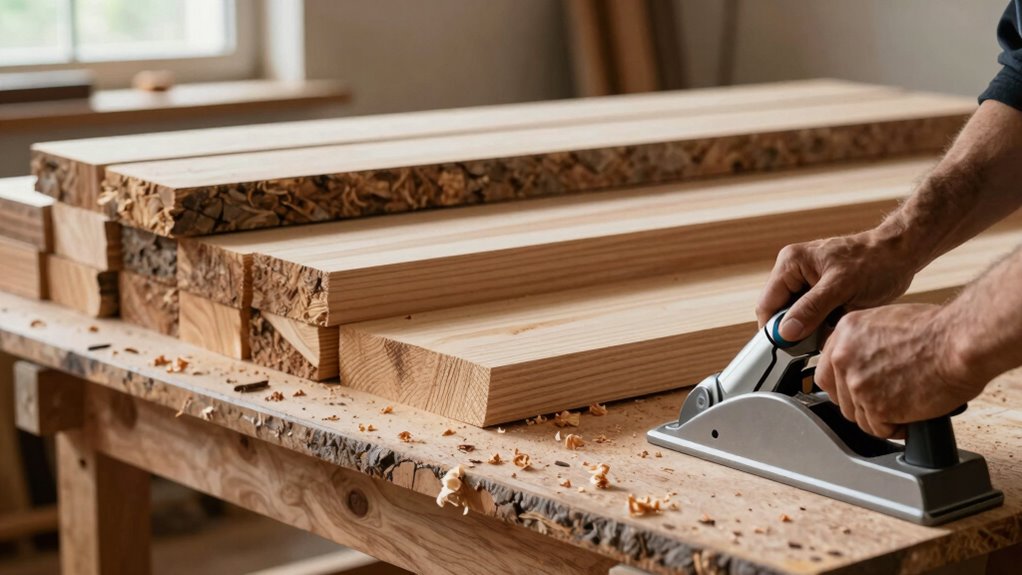
Joint and Plane Both Sides for Perfect Flatness
Achieving perfectly flat lumber starts with carefully jointing and planing both sides of each board. You want to guarantee the grain orientation runs consistently to prevent future warping, and moisture content is balanced to avoid movement after milling. Start by jointing one face to create a flat, true surface. Then, plane the opposite side, maintaining even pressure and checking for flatness. Flip the board and repeat, ensuring both sides are smooth and flat. Properly prepared boards are less likely to distort later. Keep these points in mind: moisture management is crucial for stable lumber, as it helps prevent warping caused by uneven moisture levels.
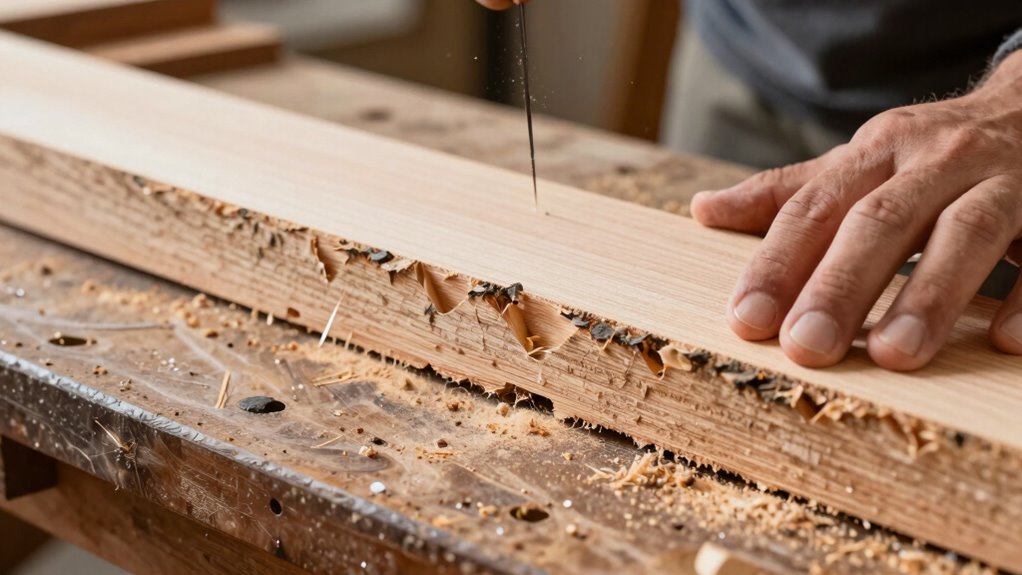
Detecting and Fixing Warps and Twists Before Finishing
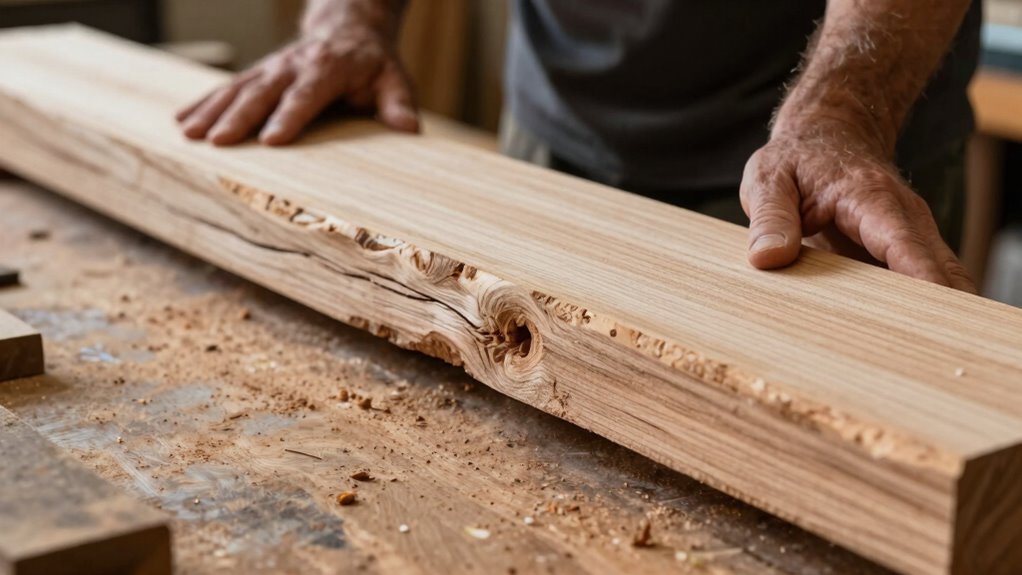
To make certain your project turns out perfectly, you need to spot warps early before they become a problem. Correct twisted boards using proper techniques, so they stay true during milling. Proper clamping is essential to keep your lumber stable while making adjustments. Additionally, understanding the characteristics of Free Floating wood can help you prevent warping from occurring in the first place.
Identifying Warps Early
Have you ever finished milling a board only to find it warps or twists later? Detecting warps early helps prevent wasted effort. Check for uneven grain orientation, which can cause unpredictable movement. Keep an eye on moisture content, as uneven drying often leads to twisting. Use a straightedge or framing square to spot warps before they become severe. Feel for any irregular bends or twists along the length of the board. Measure both sides to compare, revealing subtle warping. Remember, early detection allows you to set aside problematic pieces or adjust milling techniques. By catching issues early, you ensure the final product stays flat and true, saving time and material in the long run. Consistent moisture levels help maintain stability during milling, reducing the risk of warping over time.
Correcting Twisted Boards
When you notice a board is twisted or warped during milling, addressing the issue early can save you time and material. Check the grain orientation to determine the natural direction of the wood’s fibers, which helps identify the twist’s cause. Measure the moisture content; uneven moisture levels often cause warping. If the board is twisted, try reversing its grain orientation on the jointer or planer to realign the fibers. For minor twists, you can use a straightedge or winding sticks to assess the distortion, then gently re-mill the affected face, removing high spots and uneven edges. In some cases, controlling moisture content during drying or storage prevents future warping. Correcting twists before final surfacing ensures your boards stay flat and true through the finishing process. Additionally, understanding wood movement and how moisture affects stability can help you anticipate and prevent warping before it occurs.
Proper Clamping Techniques
Detecting and fixing warps and twists before finishing begins with proper clamping techniques that secure your workpieces effectively. To prevent further distortion, you need to apply the right clamp pressure—firm enough to hold the board flat, but not so tight that it causes damage or introduces new warping. Proper jig placement is essential; position your clamps strategically to distribute pressure evenly across the board. Adjust the clamps gradually, checking for any movement or unevenness. Always verify that the board remains flat during the process. Remember, good clamping ensures your work is stable, minimizing the risk of introducing new twists or warps. Using the correct clamp pressure is crucial to avoid damaging the material or adding stress that can lead to warping.
- Ensure clamps are positioned to avoid stress points
- Use multiple clamps for even pressure distribution
- Check clamp pressure regularly during setup
- Confirm the board stays flat before proceeding
Sanding and Finishing Tips to Keep Your Lumber Flat and Smooth
To keep your lumber flat and smooth, proper sanding and finishing are essential steps that can make or break your project. Always pay attention to grain orientation; sanding with the grain prevents scratches and reveals a better finish. Check moisture content before finishing—wood should be at equilibrium to avoid warping later. Use progressively finer grits for a smooth surface, starting with 120 and ending with 220 or higher.
Here’s a quick guide:
| Step | Technique | Tips |
|---|---|---|
| Grain direction | Sand with the grain | Avoid cross-grain scratches |
| Moisture content | Ensure wood is dry | Prevent future warping |
| Finishing | Apply even coats | Use quality sealants and oils |
Follow these tips to achieve flat, smooth, and durable lumber.
Frequently Asked Questions
What Are the Best Types of Lumber for Flat Milling?
You should choose hardwoods like cherry, maple, or oak for flat milling, as they have stable grain selection and minimal warping. Make certain the lumber has consistent moisture content—around 6-8%—to prevent movement during drying. These types of lumber respond well to milling, staying flat and true. Always check grain direction and moisture levels before milling to ensure the best results for your project.
How Do Environmental Conditions Affect Flat Milling Results?
Environmental conditions critically impact your flat milling results. If the moisture content fluctuates due to humidity changes, you may notice warping or twisting in your lumber. Temperature fluctuations can cause the wood to expand or contract, leading to uneven cuts or cracks. To guarantee flat, stable surfaces, keep your workspace climate-controlled, monitor moisture levels regularly, and process lumber when conditions are stable. This way, you maintain better control over your milling outcomes.
Can Handheld Tools Achieve the Same Flatness as Machines?
Handheld tools can’t quite match the flatness achieved by machines, but with handheld precision, you can get close if you take your time and work carefully. Machines provide consistent results due to their stability and precise settings, whereas handheld tools depend on your skill and technique. To maximize flatness, focus on steady movements and frequent checks, understanding that while handheld tools are versatile, machine consistency generally guarantees a more uniform, flat surface.
How Often Should I Calibrate My Milling Equipment?
You should calibrate your milling equipment at least once a week to keep equipment accuracy at its peak. Skipping calibration can turn your perfectly flat boards into a rollercoaster ride of unevenness! Regular calibration ensures your tools stay precise, preventing costly mistakes and wasted material. Make it a habit—think of calibration as your secret weapon for flawless, flat lumber every time.
What Safety Precautions Are Essential During Milling Operations?
You should always wear proper safety gear, including eye protection, earplugs, and a dust mask, to prevent injuries. Keep emergency procedures in mind, like knowing how to shut down the equipment quickly if needed. Make sure your work area is clean and free of hazards. Never bypass safety features, and stay alert while milling. These precautions help safeguard you and ensure smooth, safe operations.
Conclusion
By following these steps, you’ll have lumber that’s flat and true, making your projects stronger and more professional. Remember, a chain is only as strong as its weakest link, so don’t cut corners on flatness. Keep your tools sharp, stay attentive, and you’ll be surprised how smooth and flawless your finished pieces will look. With patience and practice, you’ll master the art of milling rough lumber — and turn rough into refined with ease.