
To fix most hand plane problems, start by ensuring the sole is flat and clean for smooth operation. Sharpen and align the blade for a sharp, true cut, then set the mouth opening appropriately for your material. Verify the depth of cut and position the chipbreaker for effective chip control. Finally, fine-tune the handle and overall fit for comfort and control. Mastering these checks will improve your planing—keep going to learn more essential tips.
Key Takeaways
- Ensure the sole is flat and clean for stable, accurate planing performance.
- Sharpen and align the blade for a clean, efficient cut.
- Adjust the mouth opening to match the material and desired finish.
- Set the correct depth of cut and position the chipbreaker for optimal chip control.
- Fine-tune the handle and overall fit for comfort, control, and reduced fatigue.

Taytools #5-1/2 Jack Bench Hand Plane #5-1/2, 14-3/4 Inch Sole, Ductile Cast Body, Lapped Sides and Sole, Sole and Sides Flat tio Withing 0.003", .125 inch thick Blade RHC 55-60, Sapele Handle & Tote
This #5-1/2 jack plane is the perfect tool to smooth and flatten areas and will achieve an produce…
As an affiliate, we earn on qualifying purchases.
As an affiliate, we earn on qualifying purchases.
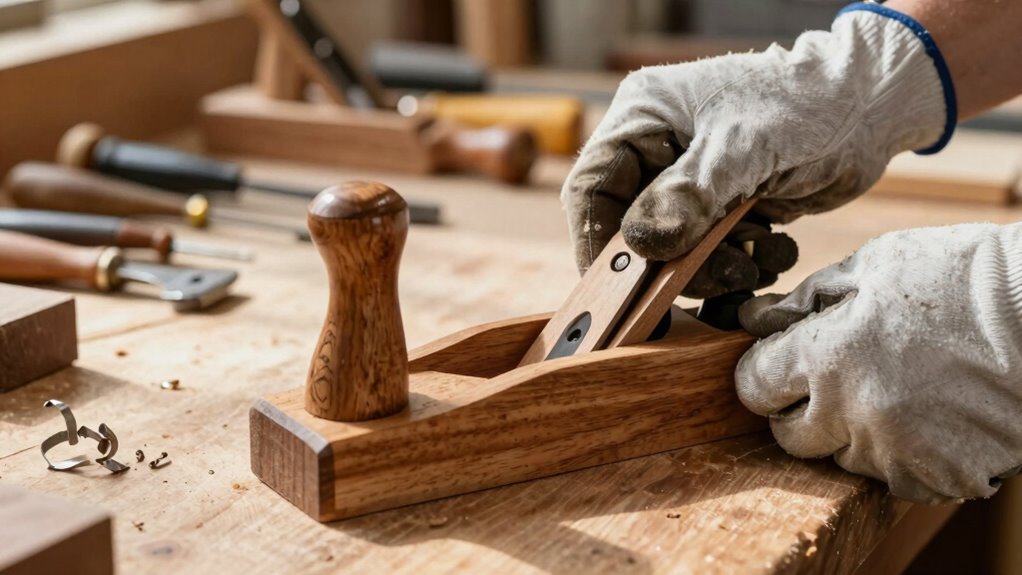
Check and Make Sure the Hand Plane’s Sole Is Flat and Clean
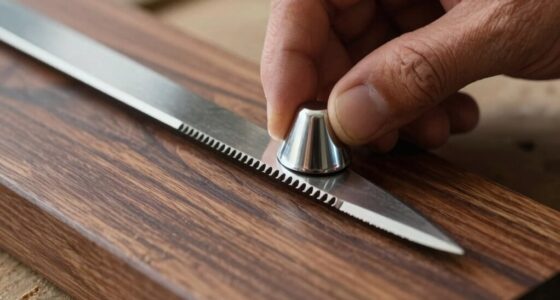
Before using your hand plane, it’s essential to make sure that the sole is both flat and clean. Sole flatness is vital for achieving smooth, even cuts, so check for any wobbling or unevenness along the sole’s surface. Use a straightedge or a piece of glass to verify flatness; if you notice high spots or hollows, you’ll need to flatten the sole. Sole cleanliness is equally important, as dirt, pitch, or old glue can interfere with proper contact and result in poor cuts. Wipe the sole thoroughly with a clean cloth and, if necessary, lightly sand it with fine grit to remove debris and restore a smooth surface. Ensuring sole flatness and cleanliness sets a solid foundation for effective tuning and peak performance. Proper maintenance of the hand plane also involves understanding the mechanics of tuning, which helps in diagnosing and fixing common issues efficiently.

Chisel Sharpening Kit with Honing Guide & 400/1000 Grit Diamond Stone, Woodworking Sharpening Jig for Chisels & Plane Blades, Angle Guide, Non-Slip Base & Bag
【COMPLETE SHARPENING SYSTEM FOR WOODWORKING】 This comprehensive chisel sharpening kit includes a honing guide jig, a double-sided 400/1000…
As an affiliate, we earn on qualifying purchases.
As an affiliate, we earn on qualifying purchases.
Sharpen and Edge-Align the Hand Plane Blade for a Clean Cut
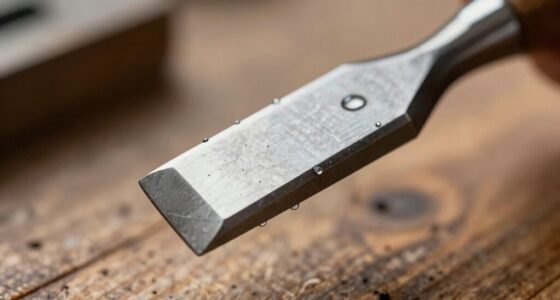
To achieve a clean, smooth cut with your hand plane, you need to sharpen and properly edge-align the blade. Blade sharpening is essential to create a keen edge that slices through wood fibers effortlessly. Use a sharpening stone or honing guide to maintain a consistent bevel angle, removing any nicks or dullness. Once sharpened, focus on edge alignment by ensuring the blade’s cutting edge is perfectly parallel to the sole of the plane. Proper edge alignment guarantees even shaving thickness and prevents tear-out. Check the blade’s position frequently and make fine adjustments until the edge is true and sharp. This process ensures your hand plane cuts cleanly, reduces effort, and produces smooth, professional results. Incorporating sound vibrations into your sharpening routine can also enhance the effectiveness of honing and edge retention.

JORGENSEN No.4 10" Wood Plane , Hand Plane for Woodworking, Professional Smoothing Plane for Trimming, Craft – Hand Plane with Ductile Iron Body, Adjustable Cutting Depth
Professional Level Blade: The blade is made of professional level O1 tool steel, improving cutting efficiency while minimizing…
As an affiliate, we earn on qualifying purchases.
As an affiliate, we earn on qualifying purchases.
Set the Mouth Opening Correctly for Your Material
Setting the mouth opening of your hand plane correctly is crucial for achieving ideal results with different types of wood and cuts. The mouth should be just wide enough to allow the blade to cut cleanly without tearing or chipping the material type. For softer woods, open the mouth slightly more to prevent clogging and ensure smooth shavings. For hardwoods or fine finishing, narrow the mouth to produce a smoother surface. The blade angle influences how much material passes through, so adjust the mouth accordingly to match your blade’s angle and the desired cut quality. A properly set mouth reduces tear-out and improves control, making your planing more efficient and precise. Always tailor the mouth opening to the material type for maximum performance. Proper mouth adjustment is also essential for woodworking safety since it helps prevent kickback and accidental damage during planing.

TOOLCOOL Wooden Handle Hand Plane Slotted Screwdriver Woodworking Handplane Flathead Screwdriver Wide Blade Screwdrivers
SOLID HARDWOOD HANDLE: Made of natural rosewood for durability, comfort and an elegant woodworking aesthetic.
As an affiliate, we earn on qualifying purchases.
As an affiliate, we earn on qualifying purchases.
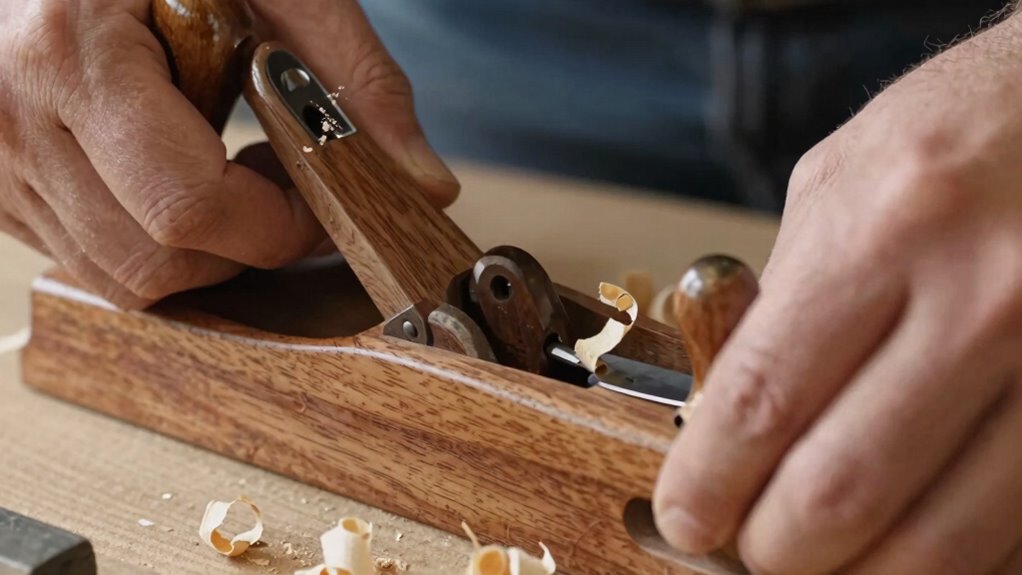
Verify and Adjust the Depth of Cut and Chipbreaker Position
Ensuring the correct depth of cut and proper chipbreaker position is essential for a smooth, efficient planing process. If your cut depth is too deep, you’ll struggle with tearing or gouging; too shallow, and the plane won’t cut effectively. Adjusting the chipbreaker position ensures chips break cleanly, preventing clogging and tear-out. To get it right, focus on these key points:
Proper cut depth and chipbreaker position ensure smooth, effective planing results.
- Set the cut depth just enough to smooth the surface without forcing the blade.
- Position the chipbreaker close to the blade edge for optimal chip control.
- Check that the chipbreaker securely maintains contact without restricting blade movement.
Getting these adjustments right makes the difference between a frustrating session and effortless, professional results. Properly verifying and adjusting the cut depth and chipbreaker position is your foundation for effective planing.
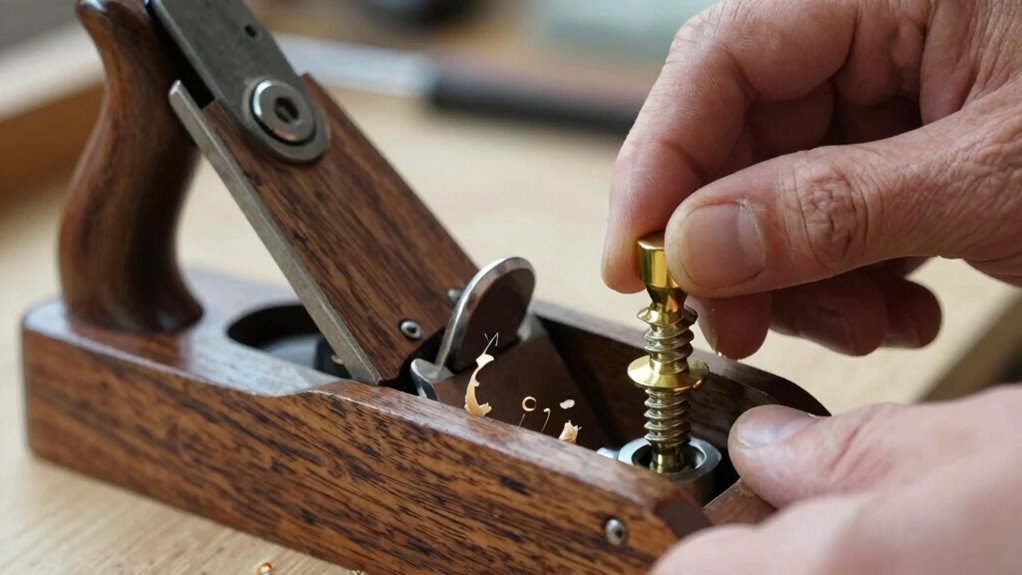
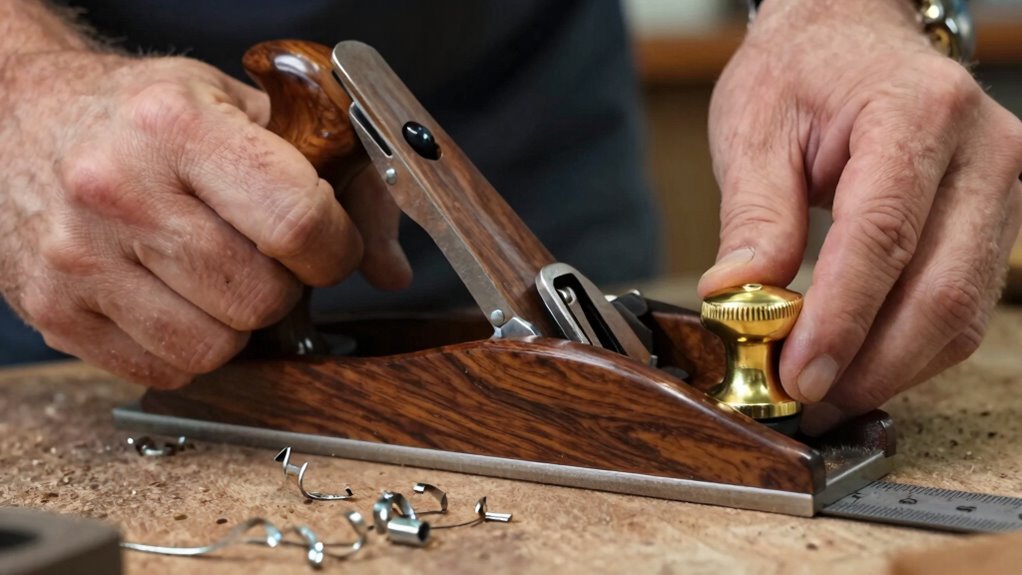
Fine-Tune the Handle, Knob, and Overall Fit for Comfort and Control
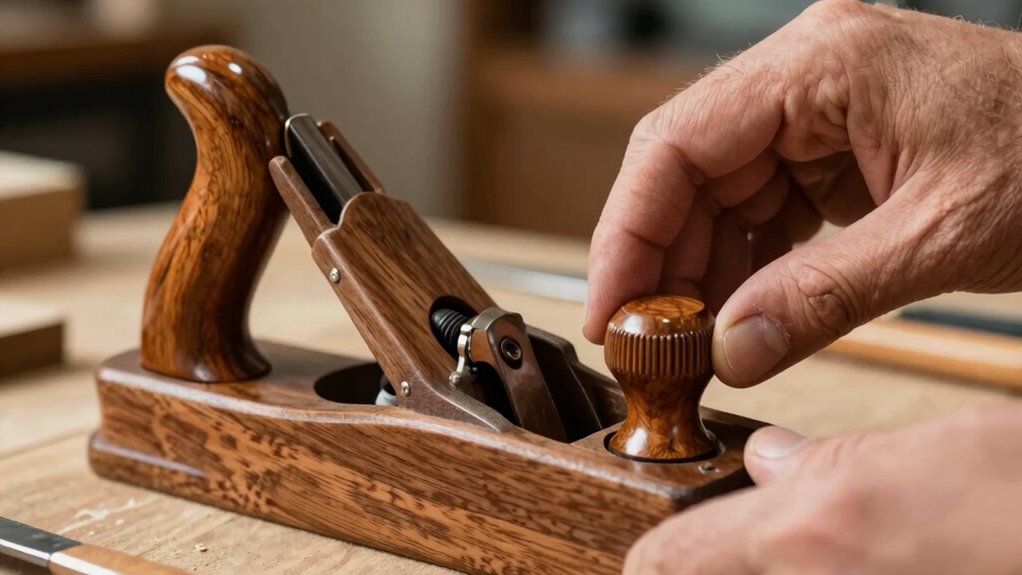
A comfortable, well-fitting handle and knob are essential for maintaining control and reducing fatigue during planing. To achieve an ergonomic grip, ensure the handle and knob fit your hand comfortably without slipping or causing strain. Check handle alignment; it should be positioned so your wrist remains in a natural, relaxed posture. If the handle feels awkward or interferes with your grip, consider reshaping or repositioning it. Secure any loose fittings tightly but avoid overtightening, which can distort the handle’s shape. Properly adjusted handles allow for smoother control and less effort, improving your overall planing experience. Remember, small adjustments here can make a big difference in comfort and precision, helping you work more efficiently and with less fatigue. Additionally, inspecting the air quality in your workspace can create a healthier environment, reducing irritation and fatigue during woodworking tasks.
Frequently Asked Questions
How Often Should I Check the Sole for Flatness During Use?
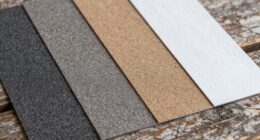
You should check the sole for flatness every few projects or after noticeable uneven cuts. During use, if you notice uneven shaving or inconsistent results, it’s time to recheck. Incorporate proper sanding techniques to maintain the sole’s flatness and make necessary blade angle adjustments for peak performance. Regular checks ensure your hand plane works smoothly, helping you avoid tear-out and achieve precise, clean cuts every time.
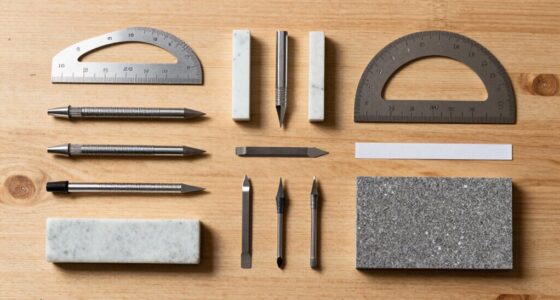
What Type of Sharpening Stones Work Best for Hand Plane Blades?
Think of sharpening your hand plane blades like forging a sword—sharpness is your ultimate weapon. Diamond stones excel as the blacksmith’s hammer, quickly removing material and shaping edges. Ceramic hones are like fine chisels, polishing and refining to a razor’s edge. Use diamond stones for rapid initial sharpening, then switch to ceramic hones for polishing. This combo guarantees your blades stay true and cut smoothly, transforming your woodworking into art.
How Do I Know if the Mouth Opening Is Set Too Wide or Narrow?
You’ll know if the mouth adjustment is off by examining the blade clearance. If shavings are thick, uneven, or tear out, the mouth might be too wide, allowing too much material to pass through. Conversely, if the blade struggles to cut or the shavings are too thin and clog easily, the mouth could be too narrow. Adjust the mouth opening to optimize blade contact and smooth, consistent shavings.
What Signs Indicate My Chipbreaker Needs Repositioning?
You’ll notice rough or torn cuts, which indicate your chipbreaker needs repositioning. Check the chipbreaker alignment to guarantee it’s close to the blade, providing proper support. If shavings are tearing or uneven, it’s time for a blade clearance adjustment and to realign the chipbreaker for ideal contact. Proper adjustment prevents tear-out and ensures smooth, clean cuts, making your hand plane perform at its best.
How Can I Improve the Ergonomics of My Hand Plane for Extended Use?
If you think your hand plane isn’t comfortable enough for long use, don’t worry—you can easily improve it. Adjust the ergonomic grip by reshaping the handle or adding padding, and reposition the handle for better control. Focus on handle positioning to reduce strain and increase precision. These tweaks make a huge difference, so your hands won’t tire quickly, and woodworking stays enjoyable even after hours.
Conclusion
By following these five checks, you’ll turn your hand plane into a precise and reliable tool. For example, imagine you’re working on a delicate cherry wood project, and a quick tune-up guarantees smooth, clean cuts without tear-out. Regularly inspecting the sole, blade, mouth, and comfort adjustments keeps your work consistent and enjoyable. With these simple steps, you’ll fix most issues and achieve professional results every time.