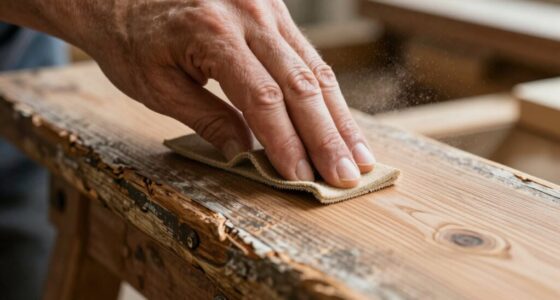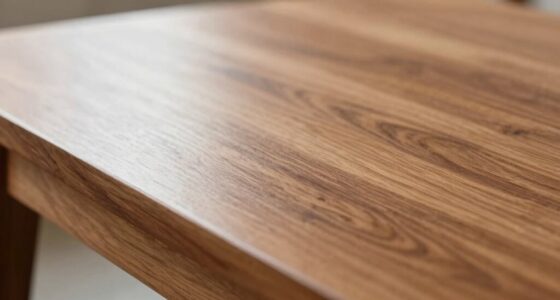
Skipping grit stages or over-sanding can lead to uneven surfaces, deep scratches, and wasted effort. Using the proper grit progression—from coarse to fine—ensures you gradually smooth the surface without causing damage. Rushing through or skipping steps leaves scratches that are hard to fix later and can ruin your finish. To avoid these issues, follow the right sequence and techniques; if you keep going, you’ll discover how to achieve a flawless, professional look.
Key Takeaways
- Follow a logical grit sequence from coarse (80) to fine (220-320) to prevent deep scratches and surface imperfections.
- Skipping grits causes uneven surfaces, requiring additional work and risking damage to the material.
- Use lighter pressure with finer grits to avoid over-sanding and material removal.
- Regularly inspect the surface between grit changes to ensure scratches are removed before progressing.
- Proper grit progression reduces sanding time, saves materials, and results in a smooth, professional finish.

Sandpaper Variety Pack, 20PCS Sand Paper Assorted for Wood Metal Sanding, Wet Dry Sandpaper Sheets 120/240/320/400/600/800/1200/1500/2000/3000 Grits, 9 x 3.6 Inch
✔ [Wide Variety of Grit ] Perfect selection of different grits, including 2 sheets of each grit: 120/240/320/400/600/800/1200/1500/2000/3000,…
As an affiliate, we earn on qualifying purchases.
As an affiliate, we earn on qualifying purchases.
Why Proper Grit Progression Is Key for a Smooth Finish
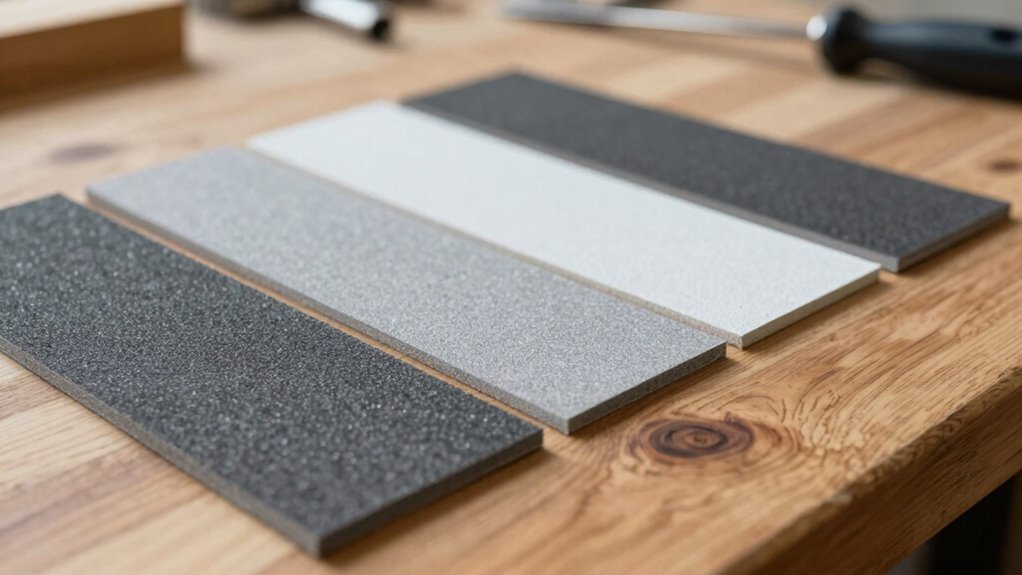
To achieve a smooth, professional-looking finish, you need to follow a proper grit progression during sanding. This involves understanding sanding techniques and how to perform a grit comparison to determine the right sequence. Starting with an abrasive grit that removes surface imperfections efficiently, then gradually moving to finer grits, ensures you don’t skip essential steps. Skipping grits can leave scratches or cause uneven surfaces, leading to more work later. Proper grit comparison helps you identify when it’s time to switch to a finer abrasive. This step-by-step approach minimizes over-sanding and ensures each layer prepares the surface for the next. Incorporating innovative methods into your sanding process can further enhance the quality of your finish. In short, a thoughtful grit progression enhances the quality of your finish, saving time and producing a professional result.

4 Pack Hand Sanding Sponge Set -120 220 320 400 Grit- Coarse Medium Fine Grit Sanding Block, Sander Sponges for Wood-Working Drywall Metal, Washable and Reusable Sponge for Rust Removal Polishing
Assorted Grit Sanding Blocks – This set includes 4 sponge sanding blocks (4 x 2.6 x 0.7 inches)…
As an affiliate, we earn on qualifying purchases.
As an affiliate, we earn on qualifying purchases.
What Do Sandpaper Grit Numbers Mean and How to Use Them
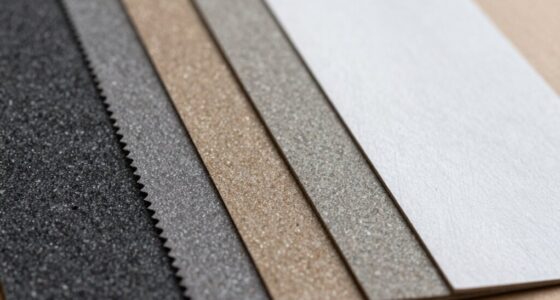
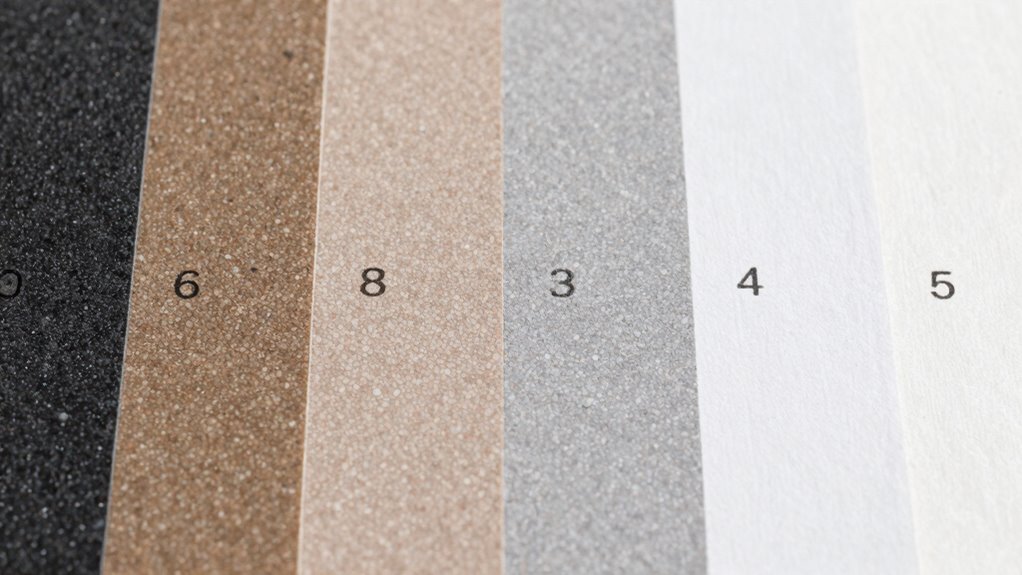
Understanding what sandpaper grit numbers mean is key to choosing the right abrasive for each stage of your project. Grit definitions indicate the size of abrasive particles on the paper—lower numbers like 60 or 80 are coarse, ideal for removing material quickly. Higher grit numbers, such as 220 or 320, are finer and suited for finishing or smoothing surfaces. Sandpaper types vary based on grit and material, including aluminum oxide, garnet, or silicon carbide. Knowing how to interpret grit numbers helps you select the appropriate sandpaper for each step, ensuring efficient material removal without damaging your work. Use coarse grits for initial shaping, then switch to finer grits for polishing. Proper grit progression is essential for achieving a professional finish and preventing over-sanding, which can damage the material or create uneven surfaces. Understanding grit progression helps you achieve optimal results and avoid over-sanding or skipping essential steps, especially when considering the types of sandpaper suitable for different materials.

SACKORANGE 12 Pack Single Sanding Sponge Set – 80/100/120/180/220/320 Grit Sanding Blocks Assortment, Washable and Reusable
2 PCS Each of 80/100/120/180/220/320 Grit -Coarse Medium Fine Hand Sanding Block Sandpaper Sponge for Metal Wood-Working Home…
As an affiliate, we earn on qualifying purchases.
As an affiliate, we earn on qualifying purchases.
How Skipping Grits Can Damage Your Surface and Make Work Harder
Skipping grits can cause deep scratches that damage your surface and make it harder to achieve a smooth finish. These imperfections force you to spend extra time and effort reworking the area. In the end, ignoring proper grit progression only increases your workload. Additionally, using the correct sandpaper grit progression ensures a more uniform and high-quality finish. Proper grit progression also helps prevent surface damage, which can compromise the integrity of your work.
Deepening Surface Damage
When you jump ahead to a coarse grit without properly smoothing the surface first, you risk causing deeper scratches and damage that can be harder to fix later. Skipping grits creates inconsistent abrasion patterns and disrupts grit consistency, which can deepen existing scratches. This improper technique can also lead to surface contamination, further complicating the sanding process. This results in rougher surfaces that require more effort to refine. To visualize, consider this table:
| Grit Level | Surface Condition | Damage Risk |
|---|---|---|
| Fine | Smooth, even | Minimal |
| Medium | Slight scratches | Low if done properly |
| Coarse | Deep scratches | High if skipped |
| Extra Coarse | Heavy gouges | Very high |
| Unsorted | Inconsistent finish | Uneven surface |
Skipping grits complicates your work, making refinishing more difficult and time-consuming.
Increasing Workload and Time
Neglecting to follow a proper grit progression doesn’t just compromise surface quality; it also leads to increased work and longer finishing times. When you skip grits, you force yourself to sand more aggressively later, which wears down abrasive durability faster. This accelerated wear results in the need to replace sandpaper more often, wasting time and money. Poor grit selection causes uneven surfaces, requiring extra sanding to correct mistakes. Instead of efficiently progressing through finer grits, you’ll spend unnecessary hours trying to fix damage caused by skipping steps. Proper grit progression ensures each stage prepares the surface adequately, reducing the workload and speeding up the finishing process. Additionally, understanding the why behind grit sequences helps prevent common mistakes and ensures optimal results. Recognizing the importance of abrasive durability can help you choose the right tools for the job, ultimately saving effort. Using a proper grit sequence** not only improves surface quality but also minimizes the risk of rework, leading to a more efficient workflow. Ultimately, applying correct sanding techniques saves you effort and guarantees a smoother, higher-quality result. Incorporating consistent sanding pressure** can further enhance the quality and efficiency of your work.

SKIL 5” Random Orbital Sander with Cyclonic Dust Box & 3pc Sanding Sheet – SR211601, Multicolor
POWERFUL – With a 2.8 amp motor and 13,000 orbits per minute, it's able to deliver a smooth…
As an affiliate, we earn on qualifying purchases.
As an affiliate, we earn on qualifying purchases.
When and How to Transition to Finer Grits for Best Results
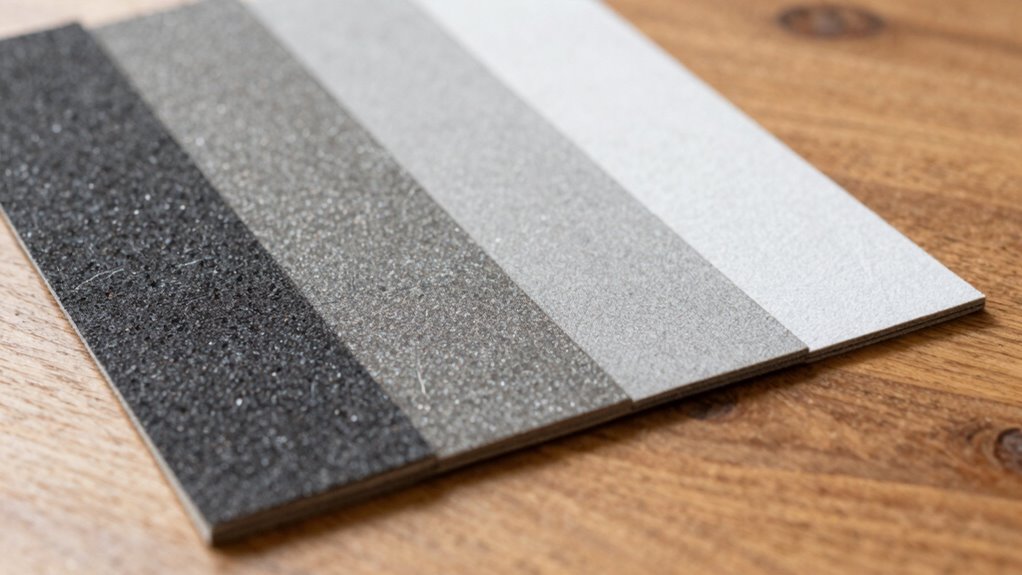
Switching to finer grit sandpaper at the right time is crucial for achieving a smooth, professional finish. You should move to a higher grain size once the surface feels smooth and free of major scratches from previous grits. Here’s how to do it effectively:
Transition to finer grit sandpaper only after removing deep scratches for a smooth, professional finish.
- Assess the surface for evenness and absence of deep scratches.
- Follow the proper sanding sequence, progressing gradually from coarse to fine.
- Confirm each grit removal leaves no visible marks before advancing.
- Recognize that skipping grits can cause uneven results and over-sanding, so move steadily through the sequence.
- Remember that sanding progression ensures a more durable and refined finish, minimizing the need for additional touch-ups.
Step-by-Step: The Correct Grit Progression for a Flawless Surface
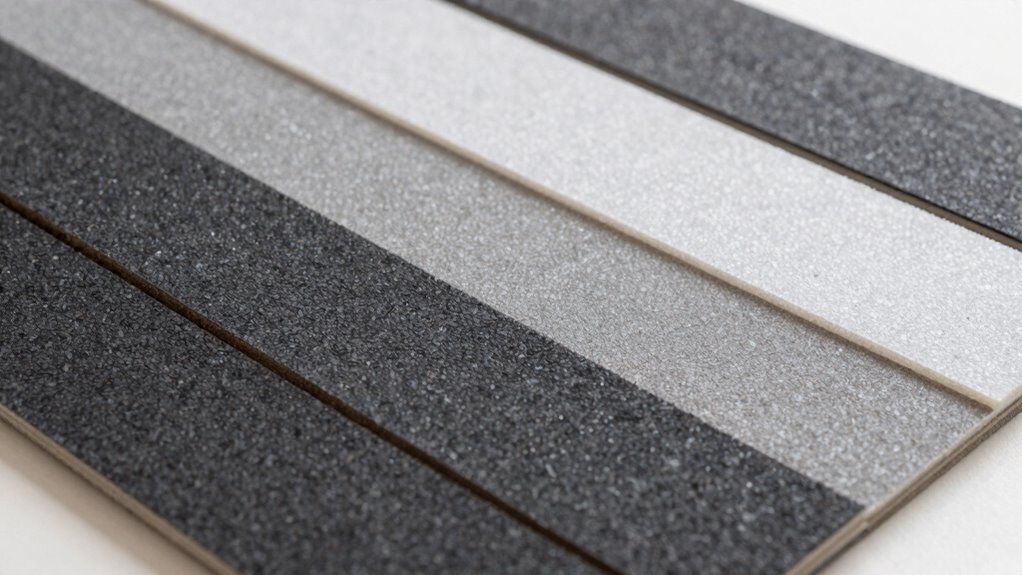
To achieve a perfectly smooth finish, follow a systematic progression through grit sizes, moving step-by-step from coarse to fine. Grit compatibility is essential; always match the grit to the surface and sanding stage to avoid over- or under-sanding. Start with a coarse grit to remove rough imperfections, then gradually switch to finer grits. Stick to a consistent sanding sequence—typically progressing from 80 to 120, then 220, and finally 320 or higher. This method ensures you don’t skip essential steps or create uneven surfaces. Proper grit progression allows each grit to effectively refine the surface without undoing previous work. Proper grit progression is crucial for preventing damage and ensuring a high-quality finish. Additionally, understanding free floating techniques can help maintain consistent pressure and movement during sanding, leading to more even results. Using appropriate sanding tools can further improve the efficiency and quality of your work. Selecting the right sanding equipment suited for your project can also optimize results and reduce the risk of surface imperfections. By adhering to a logical sanding sequence, you’ll achieve a flawless surface with minimal effort and maximum professionalism. Incorporating Glycolic Acid benefits into your skincare routine can also promote smoother, healthier skin, making the surface more receptive to finishing techniques.
Common Sanding Mistakes to Avoid and How to Fix Them
Skipping grits can leave scratches and imperfections on your surface, so always follow the recommended progression. Over-sanding can thin your material or create uneven areas that are hard to fix. Being mindful of these mistakes helps you achieve a smooth, professional finish every time. Additionally, understanding the importance of sanding grit progression ensures you use the right abrasive sequence for optimal results. Paying attention to abrasive sequence helps prevent common issues and ensures a more uniform, high-quality finish.
Skipping Grits Risks
Failing to follow a proper grit progression can lead to rough surfaces, visible scratches, and a longer sanding process. Skipping grits hampers your ability to refine the surface smoothly. When choosing abrasive materials, your grit selection should be deliberate; jumping ahead skips essential steps. Here’s why: 1. You risk leaving deep scratches that are hard to remove later. 2. The surface may feel uneven, affecting paint or finish adherence. 3. You’ll spend more time sanding because you’re not gradually smoothing out imperfections. 4. Inconsistent grit use can cause uneven wear on your sandpaper, wasting materials. Always progress through grits systematically, ensuring each step prepares the surface for the next. Proper grit selection and sticking to the sequence are key to achieving a professional, smooth finish. Additionally, understanding the abrasive materials can help you select the right grit for your specific project, especially considering different surface types to optimize your results. Neglecting to maintain proper grit progression can also lead to premature tool wear and increased costs over time. To further ensure quality results, consider correct sanding techniques that complement your grit choices.
Over-Sanding Consequences
Over-sanding can seem like a minor mistake, but it often leads to significant problems that are tough to fix. When you over-sand, you risk damaging the surface or removing too much material, which can compromise the finish. Using aggressive abrasive materials or improper sanding techniques accelerates this issue. The table below illustrates common consequences:
| Consequence | Effect | Solution |
|---|---|---|
| Surface gouging | Deep scratches requiring repair | Use finer grit and gentle strokes |
| Thin material removal | Weakens the surface, causing damage | Stop sanding earlier |
| Uneven finish | Extra sanding needed to smooth out | Follow grit progression precisely |
Avoid over-sanding by choosing appropriate abrasive materials and applying correct sanding techniques to preserve your project’s integrity.
Tips for Saving Time and Achieving a Professional Finish
To save time and achieve a professional finish when sanding, it’s essential to plan your grit progression carefully. Start with a coarse grit to remove rough material, then gradually move to finer grits for smoothness. Use these tips:
Plan your grit progression carefully for a smooth, professional finish.
- Compare Grits: Always perform a grit comparison to understand how each level improves surface quality.
- Choose the Right Sanding Tools: Select appropriate sanding tools for each grit stage to maximize efficiency.
- Avoid Skipping Grits: Skipping grits can cause more work later, so stick to a logical progression.
- Inspect Your Work: Regularly check for scratches or rough spots, adjusting your grit choice accordingly.
Following this sequence ensures you save time and get a professional-looking finish without unnecessary over-sanding.
Troubleshooting Rough or Scratchy Surfaces Caused by Poor Grit Use
Rough or scratchy surfaces often result from improper grit selection or inconsistent sanding techniques. Using too coarse a grit without progressing gradually leaves scratches, while too much sanding pressure can deepen these marks. To troubleshoot, assess your grain selection and pressure: are you skipping necessary grits or pressing too hard? Adjust your approach by choosing the right grit for each stage and applying consistent, light pressure. Below is a guide to help you visualize proper progression:
| Grit Level | Typical Use | Sanding Pressure |
|---|---|---|
| 80-120 | Initial material removal | Moderate |
| 150-220 | Smoothing surface | Light to moderate |
| 320-400 | Final finish preparation | Gentle |
| 600+ | Polishing or fine detail | Very light |
Frequently Asked Questions
How Do I Choose the Right Grit Progression for Different Materials?
When choosing the right grit progression, consider material compatibility and follow grit selection tips. For softer materials like drywall or wood, start with a coarser grit and move to finer grits for a smooth finish. For harder surfaces like metal or plastic, use finer grits from the beginning. Always match the grit to your material, gradually increasing to avoid over-sanding or damaging your work. This approach guarantees the best results and a professional finish.
Can Improper Grit Use Cause Long-Term Damage to My Project?
Can improper grit use cause long-term damage to your project? Absolutely. If you don’t consider abrasive compatibility and maintain grit consistency, you risk scratching or uneven surfaces that can weaken the material over time. Skipping grits or over-sanding may seem efficient but often leads to flaws that compromise your project’s durability. Always follow a proper grit progression to safeguard your work and ensure a smooth, lasting finish.
What’s the Best Way to Clean Sandpaper Between Grit Changes?
To clean sandpaper between grit changes, you should perform abrasive cleaning by rubbing the paper gently with a stiff brush or using compressed air to remove dust and debris. Make sure to check and confirm grit identification on the backing to verify you’re using the right grit for each stage. This prevents clogging and maintains effective sanding, helping you achieve a smooth finish without damaging your project.
How Do I Know When I’Ve Sanded Enough at Each Grit Level?
You’ll know you’ve sanded enough at each grit level when the surface feels silky smooth and shows a consistent, matte finish. Don’t rush this step, or you risk ruining your project. Use finishing techniques like checking for scratches or uneven spots. Trust your grit measurement and tactile feedback—if it feels smooth and looks evenly dulled, it’s time to move on. Over-sanding is like chasing perfection—sometimes, good enough is perfect!
Are There Specific Tools or Techniques to Speed up Finer Grit Sanding?
You can speed up finer grit sanding by using abrasive pads or sanding sponges, which conform to surfaces and remove material more efficiently than traditional sandpaper. These tools help you achieve a smooth finish faster by covering larger areas and applying even pressure. Keep in mind to clean or replace them regularly for maximum performance, and use light, even strokes to prevent over-sanding and ensure a professional result.
Conclusion
Think of sanding as tending a delicate garden; rushing or skipping steps leaves weeds of scratches and roughness. By respecting the progression of grit like nurturing each plant stage, you cultivate a flawless finish. Patience and proper technique are your tools, guiding your surface from rough soil to a polished bloom. Embrace the journey, and your craftsmanship will shine as brightly as a well-tended garden in full bloom.