
To prevent blowout when installing threaded inserts in wood, start by preparing the surface and selecting the right insert for your wood type and project load. Drill the hole to the correct size, keeping it straight, and avoid forcing the insert into an undersized hole. Use proper tools and techniques, such as countersinking for flush installation and tightening gradually. If you follow these tips, you’ll guarantee a strong, blowout-free hold—and there’s more to discover to perfect your process.
Key Takeaways
- Use the correct drill bit size to match the insert, preventing oversized holes that cause blowout.
- Drill straight and cleanly, avoiding angled or rough holes that weaken the wood.
- Create a small indentation with a center punch or awl to ensure proper alignment of the insert.
- Avoid over-tightening the insert to prevent stripping threads and damaging the wood.
- Select the appropriate insert type and size based on the wood’s hardness and project load requirements.

191 PCS Threaded Inserts for Wood, 1/4"-20, 5/16"-18, 3/8"-16 Threaded Wood Inserts Furniture Screw Assortment, Wood Threaded Inserts with Hex Wrench
How to Use: First drill the corresponding hole diameter on the wood block you need to connect, then…
As an affiliate, we earn on qualifying purchases.
As an affiliate, we earn on qualifying purchases.
Why Threaded Inserts Make Your Wood Joints Stronger
Threaded inserts substantially strengthen wood joints by providing durable, metal threads that grip the wood securely. This considerably enhances wood joint strength, making connections more reliable under stress. Without inserts, screws can strip out or loosen over time, especially in softer woods. The threaded insert benefits include distributing load more evenly, preventing damage, and allowing for repeated assembly and disassembly without weakening the joint. They create a strong, lasting connection that resists pullout and wobbling. Using threaded inserts ensures your projects stay intact longer, even with frequent use or heavy loads. Additionally, proper installation techniques are crucial to ensure the inserts function optimally and last longer. Employing correct installation methods can prevent common issues like misalignment or stripping, thereby extending the life of your wood joints. Choosing the right insert type based on your project needs is also essential for optimal performance. Overall, they provide a simple yet effective way to improve the durability and stability of wood joints, saving you time and effort on repairs. For optimal results, it’s also important to consider material compatibility to prevent corrosion or damage over time.

E-Z LOK 400-4 Thread Installation Kit for Wood Brass Threaded Inserts, Includes 1/4-20 Knife Thread Inserts (5), Drill, Installation Tool
THREAD INSERT INSTALLATION KIT – E-Z LOK Installation Kit makes it easy to put machine threads in hard…
As an affiliate, we earn on qualifying purchases.
As an affiliate, we earn on qualifying purchases.
Types of Threaded Inserts for Wood and How to Choose Them
Choosing the right type of threaded insert can substantially influence the strength and durability of your wood joints. For maximum fastener compatibility, consider inserts designed specifically for wood, such as heat‑set, compression, or T‑nuts. Heat‑set inserts are ideal for softer wood and require a soldering iron or heat gun for installation. Compression inserts work well in hardwoods and need a screwdriver or drill with appropriate bits. T‑nuts are best for situations needing high pull‑out resistance and are installed with a wrench or socket tool. Your choice depends on the project’s strength requirements and the tools you have on hand. Selecting the correct insert ensures a secure fit and long‑lasting joint, minimizing the risk of blowout or failure. Additionally, understanding the impact of insert material on performance can help you choose the most suitable type for your specific application, especially since material compatibility can affect the longevity of the connection. Recognizing the importance of proper installation techniques is also crucial to prevent damage and ensure optimal performance over time. Being aware of installation best practices can significantly extend the lifespan of your wood joints and prevent costly repairs.

Ktehloy 100Pcs #6-32 Threaded Inserts, #6-32 Female Thread SAE Knurled Nuts Assortment Kit, Brass Heat Set Insert for Plastic and 3D Printing Components (#6-32 * 5/32 * 5.4)
【Package Content】- The package includes 100 high-quality SAE threaded inserts for plastic heat-setting. With a large quantity available,…
As an affiliate, we earn on qualifying purchases.
As an affiliate, we earn on qualifying purchases.
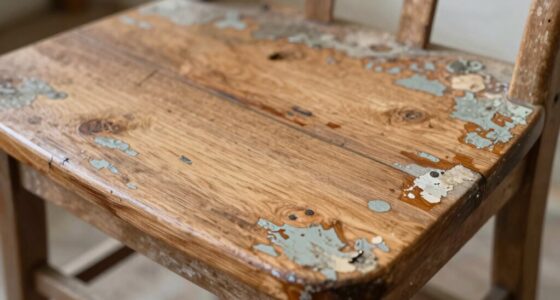
Preparing Your Wood Surface for Insert Installation
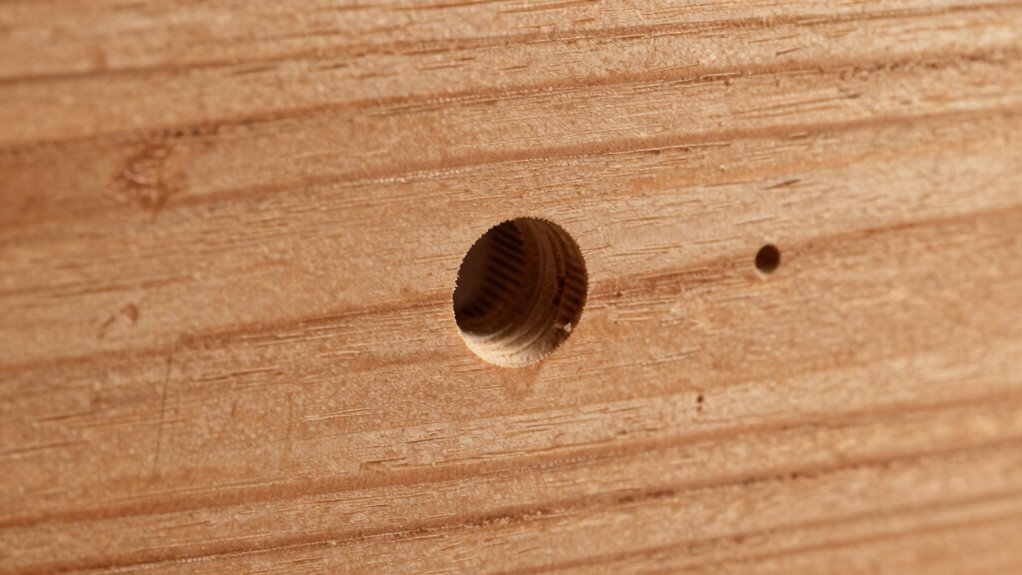
Properly preparing your wood surface before installing a threaded insert is essential to guarantee a secure and lasting connection. Start by inspecting the area for splinters, cracks, or uneven spots, and smooth these out with sandpaper. Clean the surface thoroughly to remove dust and debris, ensuring a clean working area. Accurate wood surface preparation also involves confirming your tools are properly calibrated; this means setting your drill bits and countersinks to the correct depth and size. Proper tool calibration prevents over-drilling or under-preparing the hole, which can lead to loose fittings or blowouts. Taking your time to prepare the surface carefully ensures the insert seats correctly and maintains the integrity of your project. Additionally, understanding wood properties helps you choose the right techniques and tools for a more durable installation. Knowing the material density of your wood can influence the selection of insert types and installation methods for optimal strength. Good preparation results in a professional, durable finish that lasts, especially when you consider the importance of proper load distribution in preventing damage over time. Furthermore, employing appropriate drill techniques can help minimize the risk of blowouts during installation. Being aware of grain direction can also improve the overall quality of your insert installation by reducing splintering and ensuring better load handling.

LBY 35 Sets Threaded Insert Nuts and Bolt Assortment Kit, 1/4-20 × 13mm Threaded Inserts & Hex Socket Furniture Barrel Bolts (5 Sizes) Combination, Carbon Steel (Black)
1.1/4-20 × 13mm nut inserts, bolt, furniture screw kit. Crib screws, bed frame bolts and nuts kit.
As an affiliate, we earn on qualifying purchases.
As an affiliate, we earn on qualifying purchases.
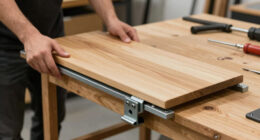
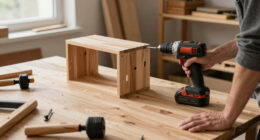
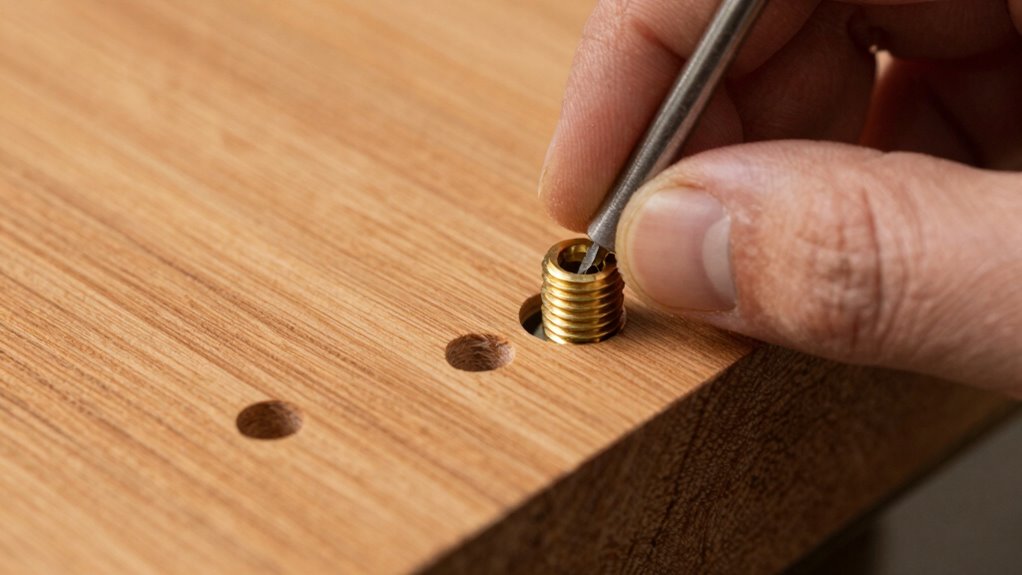
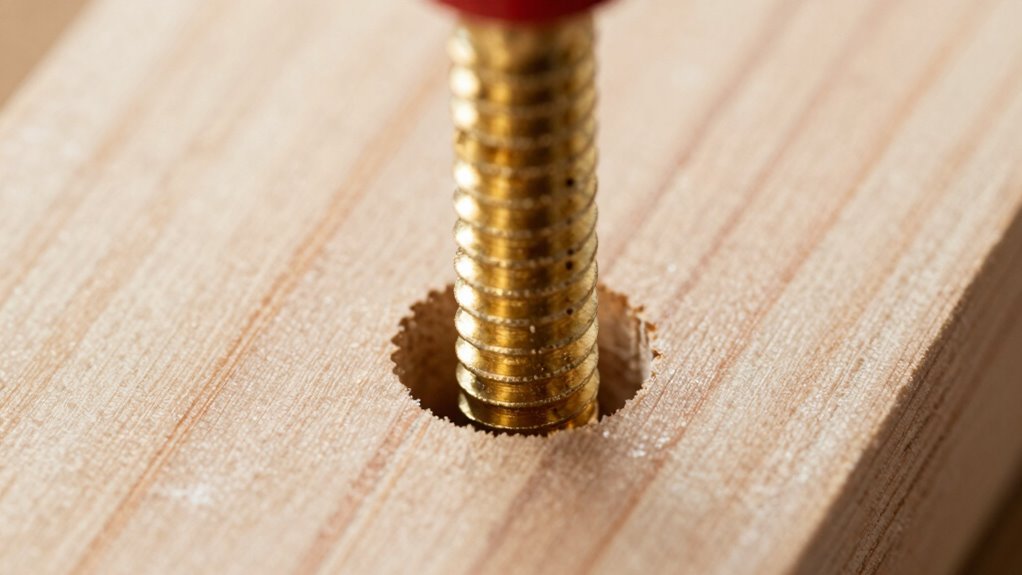
How to Install Threaded Inserts in Wood: A Step-by-Step Guide
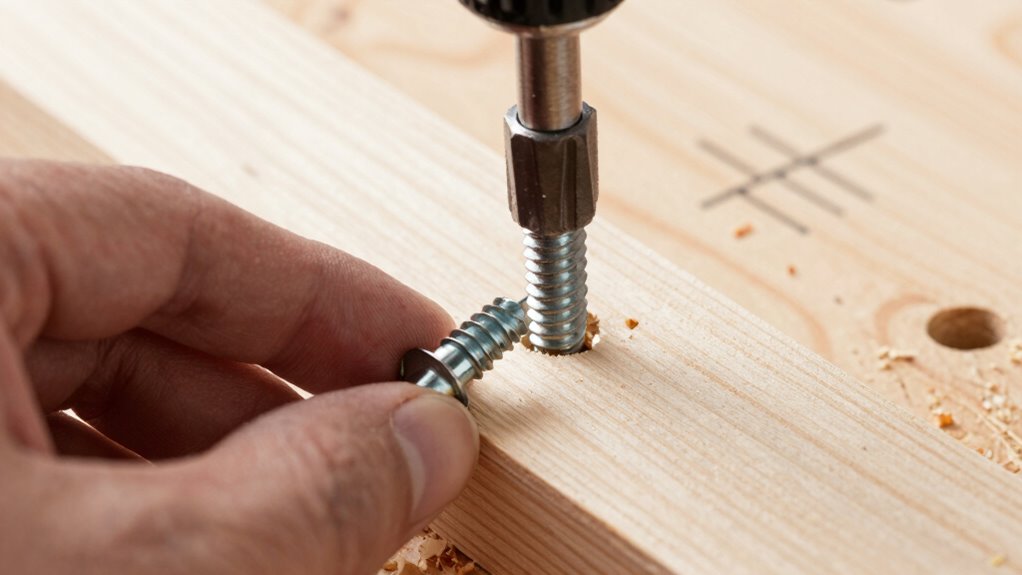
To install threaded inserts in wood effectively, start by marking the exact location where you want the insert. Use a center punch or a sharp awl to create a small indentation, ensuring the drill bit stays aligned. Choose a drill bit matching the insert’s outer diameter for a clean fit. Drill straight into the wood, avoiding angled holes that could cause blowout or weaken the joint. If the wood has a finish, drill slightly undersized to prevent splitting and preserve the surface. Use a tap or driver tool to screw the insert into the hole, ensuring it’s flush with the surface. Remember, screw compatibility is key—select the correct size for your project to ensure strength and durability without damaging the wood. Proper installation practices help maintain the integrity of the wood and prevent damage over time. Paying attention to wood grain orientation can further improve the stability and longevity of the insert. Additionally, understanding wood properties can assist in choosing the right type of insert for different projects. Moreover, selecting the appropriate insert material can enhance the overall durability of your woodworking project. Using the correct installation tools can also make the process easier and more precise.
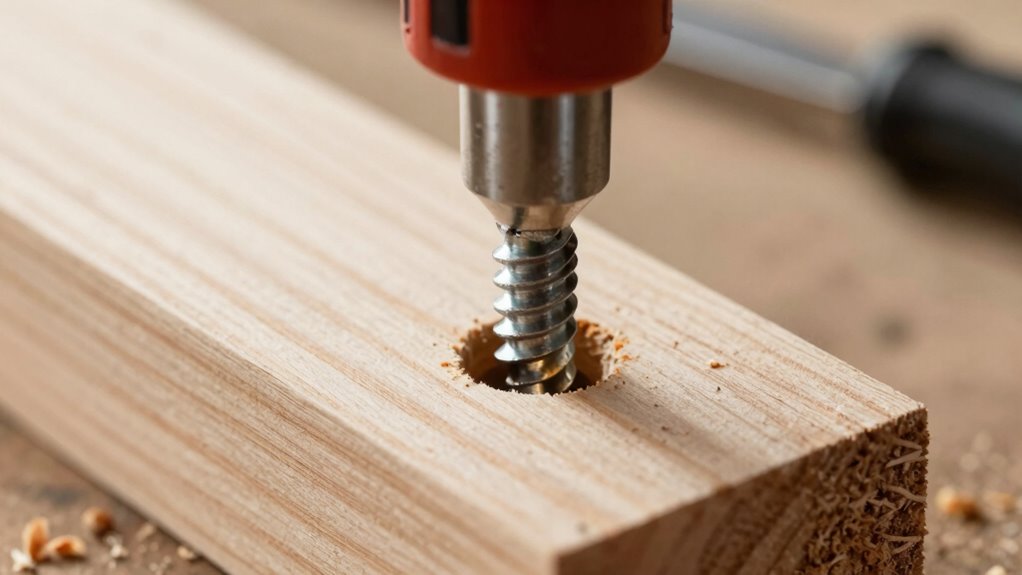
Common Mistakes When Installing Threaded Inserts in Wood (and How to Avoid Them)
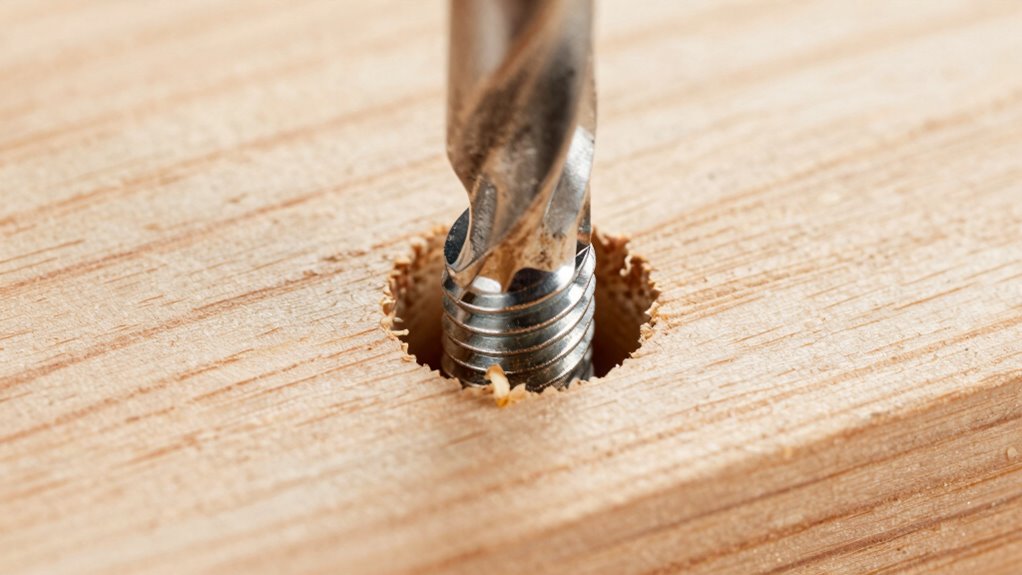
One common mistake is drilling holes that are too large or too small, which can compromise the strength and stability of the threaded insert. When the hole is too big, the insert may not grip securely, risking loosening over time. If it’s too small, forcing the insert in can crack the wood, increasing the risk of blowout and damaging your project. To guarantee woodworking safety, always measure carefully and use the correct drill bit size recommended by the insert manufacturer. Consider environmental factors, like humidity and wood type, which can affect how the wood responds to drilling. Properly aligned holes prevent uneven stress, reducing the chance of failure and environmental damage. Using the proper installation technique and understanding wood behavior can help ensure a secure, durable installation that’s safe for both the project and the environment. Additionally, understanding material properties can aid in selecting the right insert type for your specific application. Being aware of climate considerations can also help prevent issues caused by wood expansion or contraction over time. Recognizing the wood grain orientation during drilling can further improve the strength and longevity of your threaded insert installation. Avoid rushing this step to ensure a secure, durable installation that’s safe for both the project and the environment.
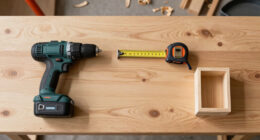
Tools and Materials You Need for Secure, Clean Insertion
To guarantee a clean and secure installation, you need the right tools for precision work, like a drill and the proper driver. Choosing quality threaded inserts and matching them to your wood type is essential for a snug fit. With the right materials and tools, you’ll make the process much easier and more effective.
Tools Needed for Precision
Achieving a secure and clean insertion of threaded inserts requires having the right tools and materials on hand. Precision tools are essential to ensure accuracy and prevent damage to your wood. Start with high-quality drill bits suited for the size of your threaded insert; using the correct drill bit size ensures a snug fit and reduces the risk of blowout. A drill with adjustable speed helps control the drilling process, giving you better precision. You might also need a countersink bit to create a recessed hole for flush insert installation. Having a steady hand or a drill guide keeps the hole straight and consistent. These tools work together to make installation easier, cleaner, and more professional-looking. Proper tools are key for achieving perfect, secure results every time.
Materials for Secure Fit
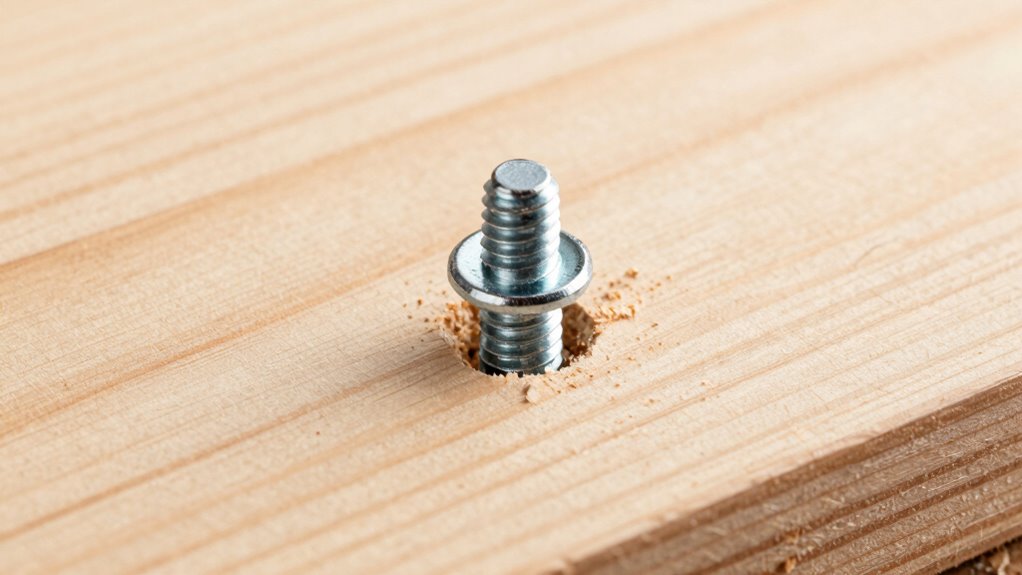
Using the right materials is vital for guaranteeing a secure and clean fit when installing threaded inserts in wood. Start by selecting inserts compatible with your fastener size and thread type to prevent stripping or loosening. Proper surface preparation is essential; ensure the wood surface is clean, smooth, and free of dust or debris. Pre-drilling the correct size hole helps prevent blowout and ensures the insert seats properly. Using a drill bit designed for wood and the insert’s diameter guarantees accuracy. Consider applying a small amount of wood glue if extra holding power is needed, but only if recommended. Overall, matching fastener compatibility and preparing the surface properly will lead to a cleaner installation that holds securely over time.
Which Size and Type of Threaded Insert Is Right for Your Wood Project?
Choosing the right threaded insert for your wood project depends on the size and type that best suit your needs. For example, if you’re working with thin or delicate wood, a smaller insert minimizes stress on the wood grain and reduces the risk of blowout. Larger inserts provide more strength for heavy loads. Consider the insert coatings too—some are zinc-plated for corrosion resistance, while others have a dry or self-lubricating coating for easier installation and removal. The thread type also matters; coarse threads grip more securely in soft woods, while fine threads suit harder woods. Match the insert size and type to your project’s requirements for durability and stability, ensuring your threaded insert performs reliably without damaging the wood.
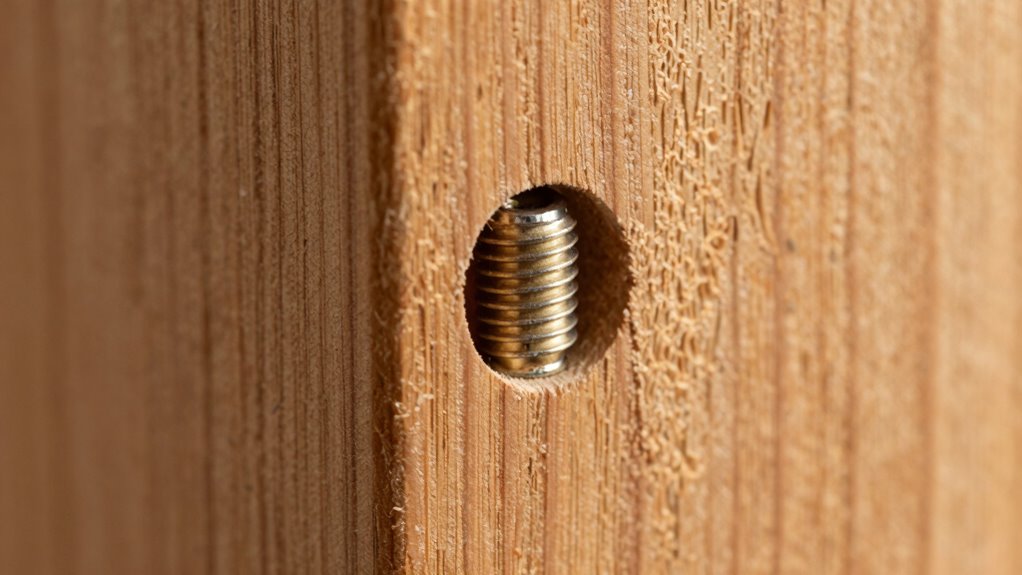
Troubleshooting Insert Seating and Thread Stripping Problems
When threaded inserts don’t seat properly or when the threads strip easily, it often indicates an issue with installation technique or compatibility. Wood expansion or contraction during installation can cause misalignment, especially if the grain orientation isn’t considered. Additionally, over-tightening can strip threads or damage the wood. To troubleshoot, consider these points:
- Ensure the insert is compatible with the wood type and density
- Drill the hole to the correct size, accounting for wood expansion after drilling
- Insert threads carefully, matching grain orientation to reduce stress and blowout
Properly aligning grain and avoiding over-tightening helps prevent stripping and ensures a secure fit. Recognizing how wood movement affects insert seating is key to troubleshooting common problems effectively.
Maintaining and Reusing Threaded Inserts in Your Woodwork
To keep your threaded inserts working smoothly, regular cleaning and inspection are essential. When removing inserts, use proper techniques to prevent damage and make sure they can be reused effectively. With proper maintenance and reapplication, you can extend the life of your inserts and keep your projects secure.
Cleaning and Inspection Tips
Regular cleaning and inspection are essential to keep threaded inserts in good condition and guarantee their longevity. Dirt, dust, and wood debris can accumulate around the insert, affecting its performance and potentially damaging the wood surface. During inspection, check for signs of wear, corrosion, or misalignment that could compromise the insert’s integrity. Proper cleaning involves gently removing debris with a brush or compressed air, avoiding harsh chemicals that could weaken the wood or insert. Ensuring the insert remains flush and well-aligned helps prevent future blowouts.
- Confirm the insert is flush and properly aligned with the wood surface
- Remove any debris or buildup around the insert
- Look for corrosion or wear that may need attention
Proper Removal Techniques
Removing threaded inserts carefully is essential to preserve the integrity of both the insert and the surrounding wood. Start by ensuring your workspace is clean and stable, prioritizing woodworking safety. Use the correct tools, such as a screwdriver or driver that fits snugly into the insert’s head, and turn slowly to avoid damaging the wood or stripping the threads. If the insert resists, apply gentle heat or use a specialized removal tool. Remember, threaded insert history shows that these fasteners are designed for reuse, but improper removal can compromise their strength. Take your time to lift the insert straight out, avoiding twisting or bending. Proper removal techniques prolong the life of your threaded inserts and maintain the quality of your woodworking projects.
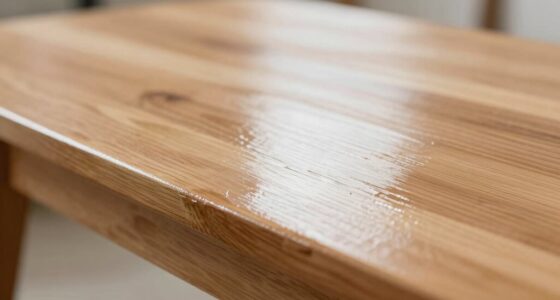
Reapplication and Maintenance
Proper maintenance and careful reapplication guarantee your threaded inserts stay functional and secure over time. To guarantee longevity, inspect the wood grain around the insert regularly, especially after changes in humidity or wear. Proper finish protection helps prevent the wood from swelling or cracking, which could loosen the insert. When reusing inserts, clean out any debris or old threadlocker to maintain a strong hold. Reapplying may involve revitalizing the finish or sealing the area to prevent moisture infiltration. Always check for signs of wear or damage before reusing an insert, and consider drilling a slightly larger hole if necessary. This approach preserves your woodwork’s integrity and keeps your threaded inserts secure for future projects.
Metal vs. Plastic Threaded Inserts for Wood: Which Is Better?
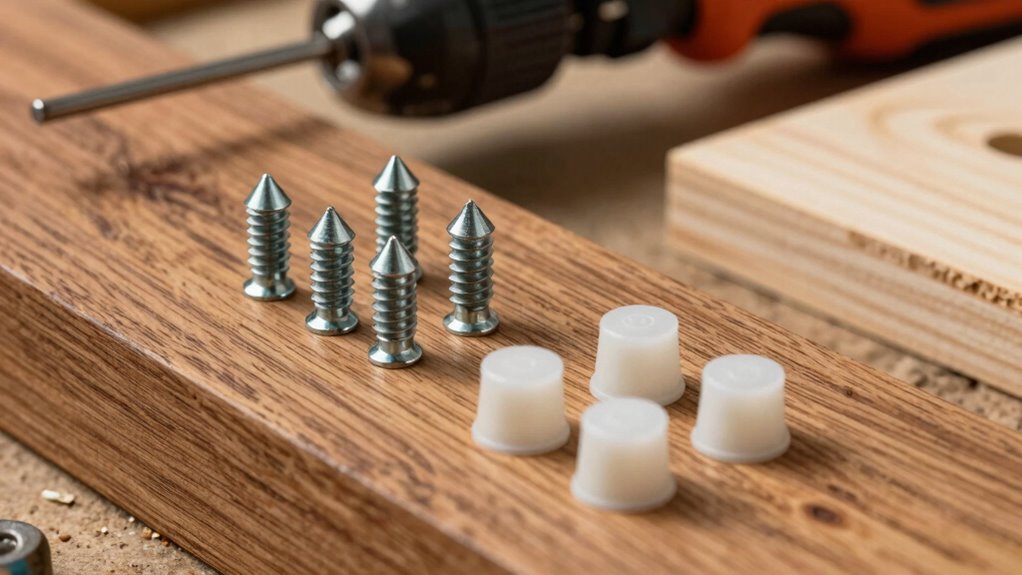
When choosing between metal and plastic threaded inserts for wood, understanding their differences is essential to making the right decision. Metal inserts are stronger and more durable, making them ideal for heavy-duty applications or furniture that sees frequent use. They provide reliable holding power and resist wear over time. Plastic threaded inserts, however, are easier to install and cost less, making them suitable for light-duty projects or thin materials like wood veneer. If you’re working with delicate or thin wood, plastic inserts won’t damage the veneer and are less likely to cause blowout. Ultimately, your choice depends on the load requirements and the type of wood you’re working with. For projects demanding strength, metal is better; for lighter tasks, plastic offers a convenient option.
Frequently Asked Questions
Can Threaded Inserts Be Installed in Outdoor Wood Projects?
Yes, you can install threaded inserts in outdoor wood projects. Just choose inserts with weather resistance and corrosion protection, like stainless steel or coated options. Make certain you seal the wood properly around the inserts to prevent water infiltration, which can cause rust or damage. Proper installation and selecting the right materials will help your outdoor projects stay sturdy and durable, even in harsh weather conditions.
How Do I Remove Threaded Inserts Without Damaging the Wood?
To remove threaded inserts without damaging your wood, use gentle removal techniques like unscrewing slowly, applying heat with a soldering iron to loosen adhesive, and using a punch or pliers carefully to pry them out. Protect the wood by applying a thin layer of wax or lubricant to ease removal. These steps help prevent damage, making your project look clean and professional while giving you control over the process.
Are There Specific Threaded Inserts for Hardwood Versus Softwood?
Yes, there are specific threaded inserts for hardwood versus softwood. You should consider material compatibility and insert sizing to make certain of a proper fit and secure hold. Hardwoods often require inserts with stronger threads or larger sizes to handle the denser material, while softwoods may need smaller, gentler inserts to prevent damage. Always select inserts designed for your wood type to avoid blowout and ensure durability.
What Are the Safety Precautions During Threaded Insert Installation?
During threaded insert installation, wear safety gear like goggles and gloves to protect yourself from wood chips and accidental slips. Follow installation tips such as drilling the correct size hole and securing the insert properly. Keep your workspace clean and stable to avoid mishaps. Always read the manufacturer’s instructions, work carefully, and use the right tools, ensuring safety and a successful project.
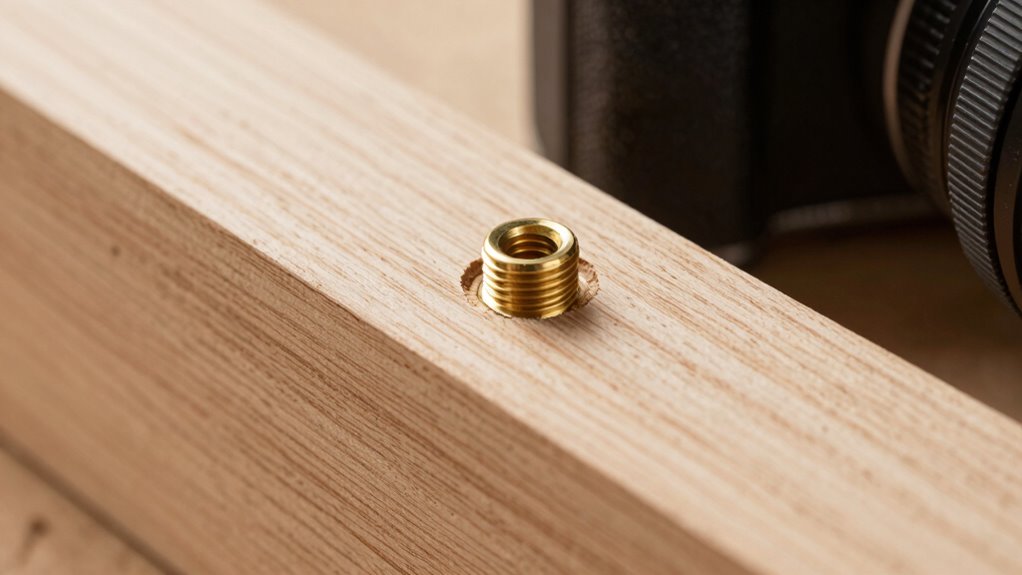
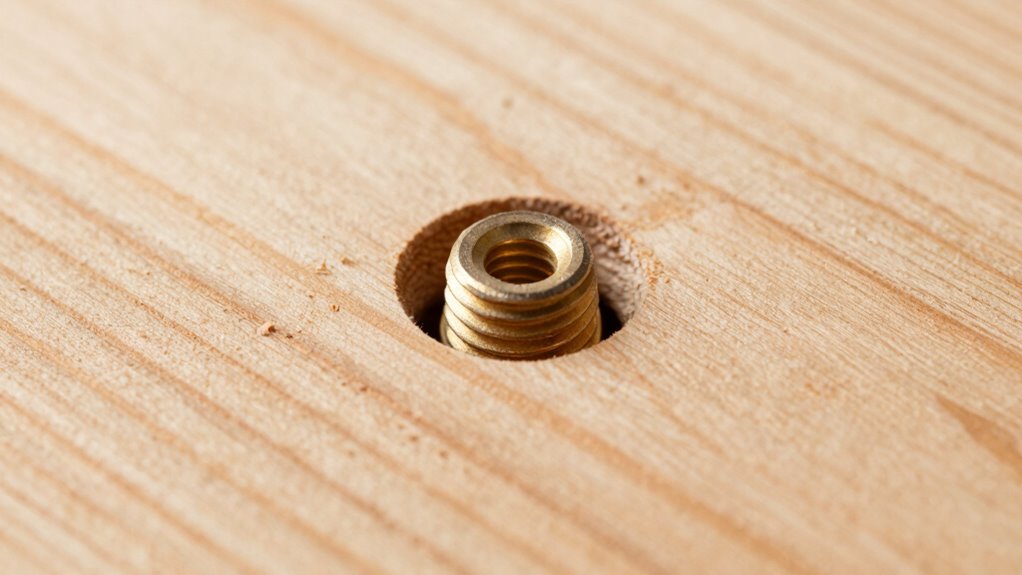
How Do I Know if a Threaded Insert Is Properly Seated?
You can tell if a threaded insert is properly seated by checking that it sits flush with the wood surface, with no gaps or wobbling. Use the correct seating techniques for your insert type—whether it’s a press-fit, screw-in, or heat-set. When installed correctly, the insert should feel secure, and the threads should be fully engaged without any movement. Double-check by gently trying to turn it; it should stay firmly in place.
Conclusion
Did you know that choosing the right threaded insert can actually prevent blowouts and strengthen your wood joints? By following proper installation techniques and selecting the correct size and type, you guarantee durability and safety. Some believe metal inserts are always better, but plastic ones can work just as well in lighter projects. Trust the process, stay precise, and you’ll see your woodworking projects hold strong for years to come.