
PVA glue has an open time of about 5 to 15 minutes, depending on temperature and humidity, giving you time to position your pieces. Clamp the bond for 30 minutes to an hour to guarantee strong adhesion, but full curing takes around 24 hours. Environmental factors can speed up or slow down drying, so adjusting conditions helps perfect your project. If you want to master these timing tips, keep exploring for more details.
Key Takeaways
- Open time for PVA glue typically ranges from 5 to 15 minutes, affected by temperature and humidity.
- Clamp time is generally 30 minutes to 1 hour, with environmental factors influencing the duration.
- Full curing and maximum bond strength usually take about 24 hours under optimal conditions.
- Cooler, humid environments extend curing time; warmer, dry conditions speed it up.
- Proper surface preparation and environmental control improve bonding and reduce curing time.

Books By Hand, PH Neutral PVA Adhesive, Bookbinding Glue, Dries Clear, Remains Flexible – 4 Ounce
Books by Hand acid-free adhesive has excellent lay-flat properties and dries clear
As an affiliate, we earn on qualifying purchases.
As an affiliate, we earn on qualifying purchases.
What Are PVA Glue’s Key Properties and Why Do They Matter?
What makes PVA glue a popular choice for many projects? Its adhesive chemistry plays a vital role, as it creates a strong, flexible bond with porous surfaces like wood, paper, and fabric. PVA glue’s key properties include quick bonding, easy application, and a clear finish, making it versatile for various tasks. Its water-based formula allows for simple application techniques, such as spreading with a brush or roller, and makes cleanup straightforward. The glue’s flexibility ensures it won’t crack or peel over time, which is essential for long-lasting results. Additionally, its non-toxic nature makes it safe for children and indoor use. Understanding these core properties helps you select and use PVA glue effectively, ensuring your projects hold together securely and look professional. Moreover, its environmentally friendly composition aligns with sustainable practices, making it a responsible choice for eco-conscious users. The open time of PVA glue can vary depending on factors like thickness and environmental conditions, affecting how long you have to adjust your pieces before it sets.

Mr. Pen- Bar Clamps for Woodworking, 6", 2 Pack, Orange, Quick Grip Clamps for Woodworking
Package includes 2 carpenter clamps.
As an affiliate, we earn on qualifying purchases.
As an affiliate, we earn on qualifying purchases.
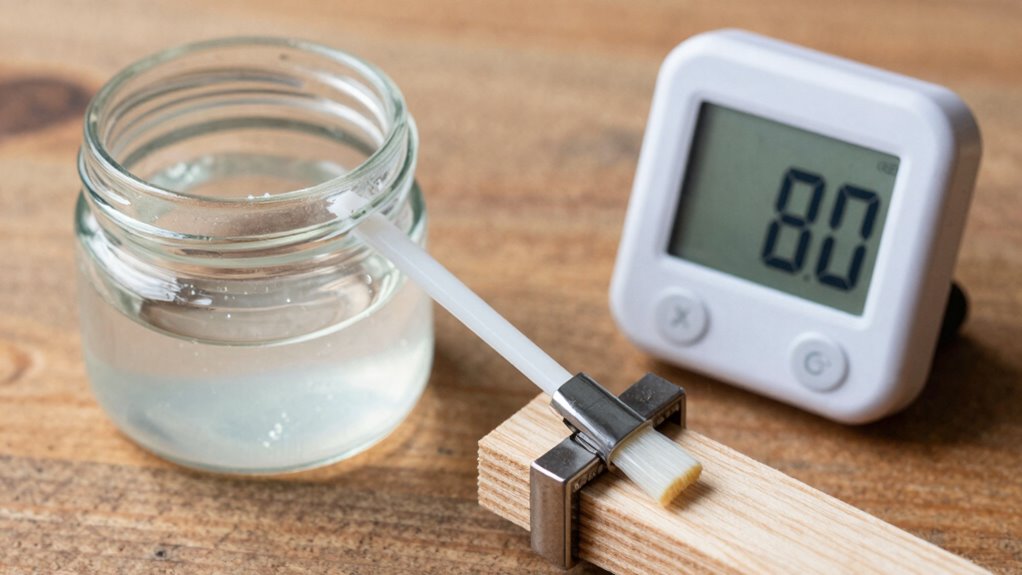
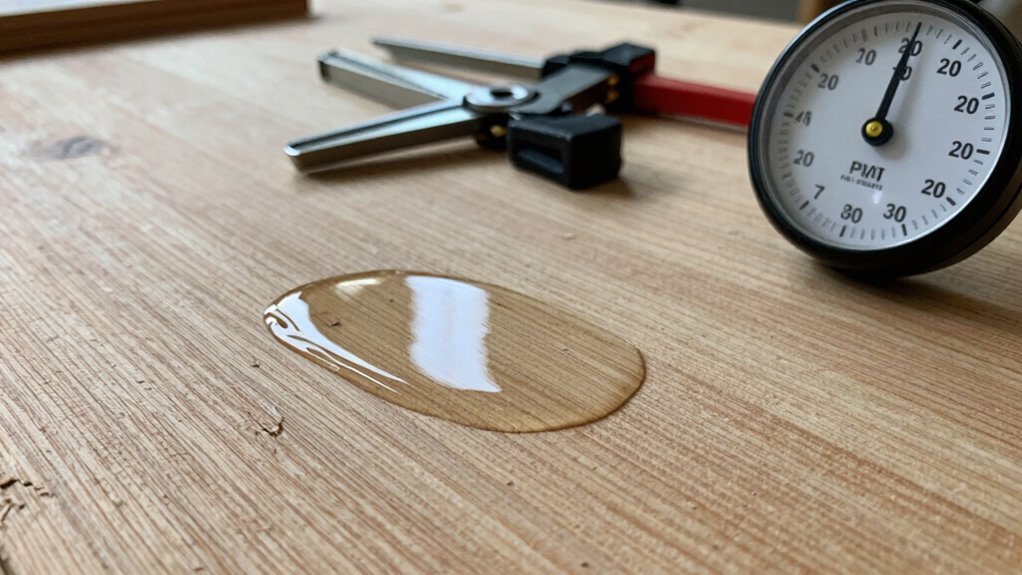
How Long Is the Open Time of PVA Glue?

Have you ever wondered how long you have to work with PVA glue before it starts to set? The open time typically ranges from 5 to 15 minutes, depending on factors like temperature and humidity. Proper storage conditions are essential; if stored in a cool, dry place, the adhesive shelf life extends, keeping the glue workable longer. Once opened, the glue may begin to thicken or become less effective over time, reducing your open time. To maximize working time, keep the container tightly sealed when not in use and avoid exposing it to extreme heat or moisture. Understanding how storage impacts the adhesive shelf life helps you plan your projects and ensures you get the most out of your PVA glue. Additionally, knowing working time is crucial for achieving optimal bonding results. Furthermore, environmental conditions can influence the application window, so adjusting your workflow accordingly is beneficial. Proper application techniques can also help extend the effective working period of the glue.
Books By Hand, PH Neutral PVA Adhesive, Bookbinding Glue, Dries Clear, Remains Flexible – 4 Ounce
Books by Hand acid-free adhesive has excellent lay-flat properties and dries clear
As an affiliate, we earn on qualifying purchases.
As an affiliate, we earn on qualifying purchases.
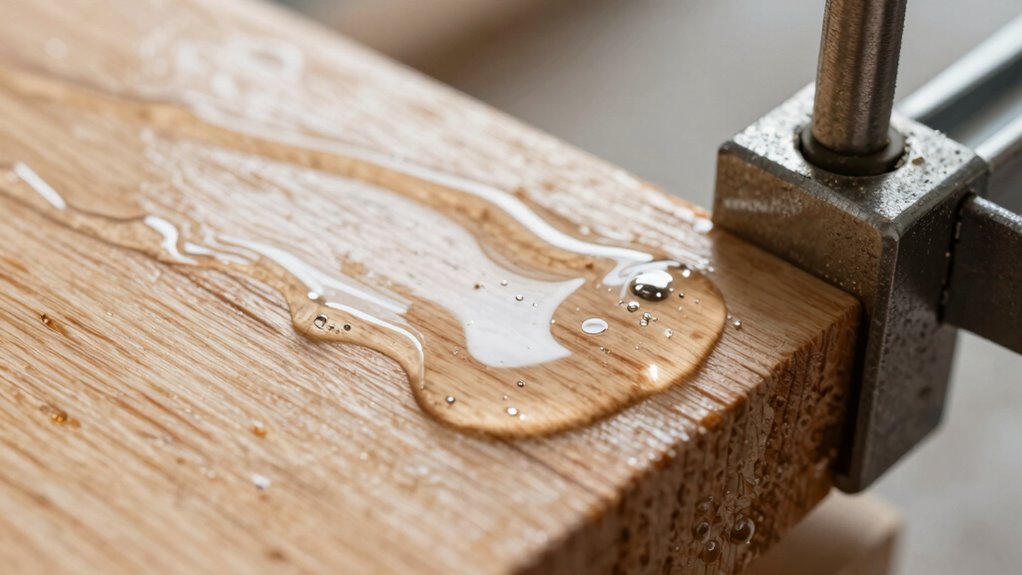
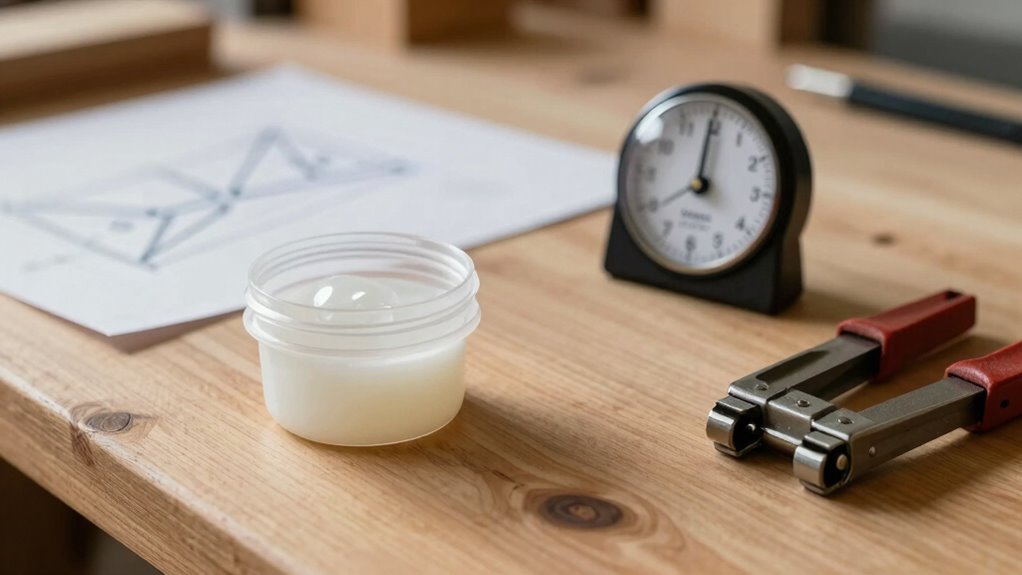
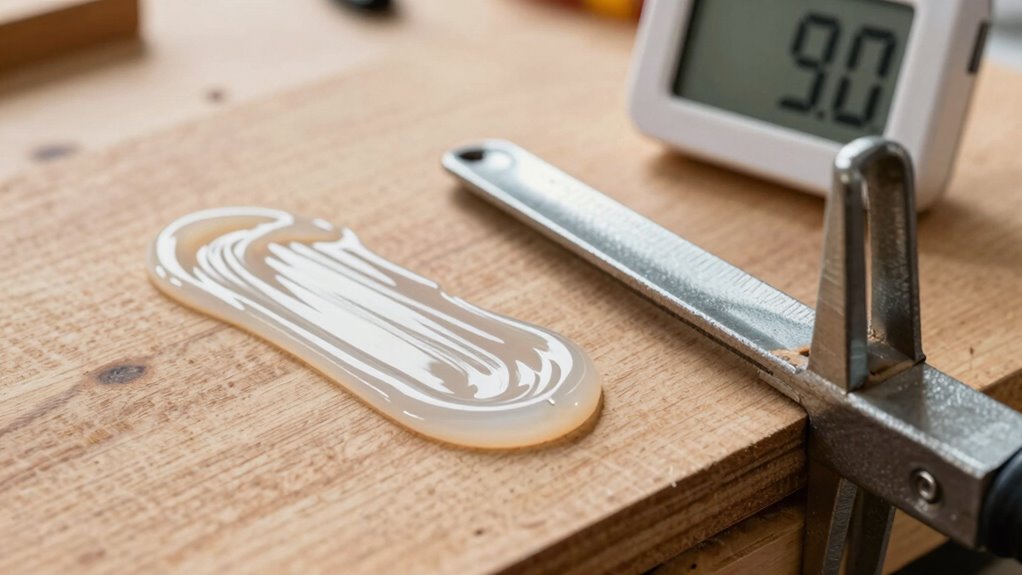
How Long Should You Clamp PVA Glue for a Strong Bond?

To guarantee a strong bond, you need to clamp PVA glue for the right amount of time, usually around 30 minutes to an hour. Environmental factors like temperature and humidity can affect how long you should clamp, so keep that in mind. Testing the bond after drying helps confirm your glue has set properly and is ready for use. Additionally, understanding the clamping process is essential for achieving optimal results in your projects.
Optimal Clamping Duration
Achieving a strong bond with PVA glue depends largely on how long you clamp the materials together. Generally, you should clamp for at least 30 minutes to guarantee proper adhesion. Applying adequate clamp pressure is essential; too little pressure won’t create a solid bond, while too much can squeeze out excess glue and weaken the joint. The drying environment also plays a role—high humidity or low temperatures can extend drying time, so you might need to clamp longer. For ideal results, maintain consistent pressure without over-tightening. After unclamping, allow the glue to cure fully, which can take up to 24 hours. Proper clamping duration ensures a durable, strong bond that withstands stress and use. Additionally, understanding the drying environment can help optimize the curing process for better results. When working with PVA glue, considering adhesion principles can further improve the strength and longevity of your bond. Ensuring proper surface preparation before applying glue can also significantly enhance adhesion and final bond strength. Taking into account material compatibility can help prevent joint failure over time.
Environmental Impact on Bond
Environmental conditions can considerably influence how long you should clamp PVA glue for a strong bond. Factors like humidity, temperature, and air circulation directly impact adhesive longevity. High humidity can slow down drying, requiring longer clamping to prevent weak bonds. Cold temperatures delay curing, so you might need to extend clamp time. Conversely, excessive heat can cause rapid drying, potentially weakening the bond if not monitored. To guarantee maximum adhesive longevity, consider these points:
- Keep the workspace dry and well-ventilated
- Maintain stable, moderate temperatures
- Avoid drafts that can cause uneven drying
- Adjust clamp time based on environmental conditions to ensure proper curing. Environmental factors such as humidity and temperature can also influence how long the glue remains workable before it begins to set, so monitoring these conditions can help optimize your clamping duration. Being aware of weather effects can help you plan your project more effectively.
Testing Bond Strength
Determining the ideal clamp time for PVA glue is essential to guarantee a strong and durable bond. To test bond strength, you should consider how adhesive flexibility and drying temperature influence the outcome. Proper clamping ensures the glue cures evenly, maximizing strength. For reliable results, apply consistent pressure and wait at least 24 hours before testing. This allows the glue’s adhesive flexibility to develop fully, especially in varying drying temperatures that can speed up or slow curing. Use this table to guide your expectations:
| Clamp Time | Bond Strength | Notes |
|---|---|---|
| Too short | Weak | Incomplete curing |
| Optimal | Strong | Fully cured, flexible |
| Excessive | Brittle | Excess glue squeezing out |
| Varying temps | Variable | Adjust clamp time accordingly |
Additionally, understanding the curing process can help you better anticipate how environmental factors impact the final bond quality. Awareness of clamp time and its effects enables more effective use of PVA glue in your projects.

Gorilla Ultimate Waterproof Wood Glue, Natural Wood Color, 8 Ounce (Pack of 1) – Waterproof for Indoor or Outdoor Projects and Repairs
Use indoors or outdoors: Give your indoor or outdoor projects a Gorilla Tough bond with waterproof Ultimate Gorilla…
As an affiliate, we earn on qualifying purchases.
As an affiliate, we earn on qualifying purchases.
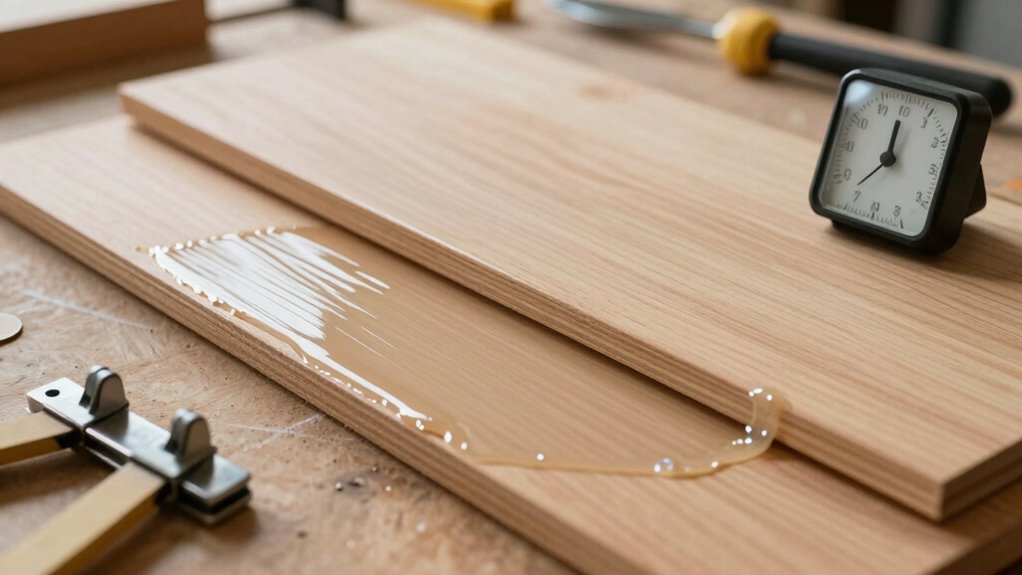
When Is PVA Glue Fully Dry and Cured?

You’ll know PVA glue is fully dry when it feels firm and slightly matte to the touch. Keep in mind that humidity and temperature can affect drying and curing times. Typically, it takes about 24 hours for the glue to fully cure, but this can vary based on conditions. For optimal results, consider proper ventilation to help speed up the curing process and ensure the best bond. Additionally, understanding modern kitchen technology can help you create a more efficient workspace during projects. Incorporating climate control devices, such as dehumidifiers or heaters, can further optimize drying conditions for a better finish. Being aware of seasonal maintenance tips can also help you manage your workspace environment for more consistent results. Moreover, leveraging environmental factors such as airflow and ambient temperature can significantly influence the drying time and final bond strength.
Recognizing Fully Dry Stage
Knowing when PVA glue has fully dried and cured is essential for ensuring a strong, lasting bond. To recognize this stage, check the finish appearance—look for a smooth, uniform surface without shiny or wet spots. The drying time indicates when the glue no longer feels tacky, usually after 15-30 minutes, but full curing may take longer. You can also perform a gentle tap test; if it feels firm and solid, it’s likely dry. Keep in mind that the surface may appear dry but still need curing underneath. For best results, wait at least 24 hours before stressing the joint. Additionally, the curing process involves chemical changes that strengthen the adhesive beyond initial drying, ensuring maximum durability. Proper curing is crucial for achieving optimal strength and longevity of the bond. Surface feels matte and no longer tacky No visible wet or shiny areas Light pressure doesn’t cause movement Complete cure achieved, strength maximized
Impact of Humidity and Temperature
Environmental factors like humidity and temperature profoundly influence how quickly PVA glue dries and cures. High humidity slows evaporation, extending open and clamp times, while low humidity accelerates drying. Temperature influence is equally significant: warmer conditions speed up curing, whereas cooler environments delay it. To better understand these effects, consider this table:
| Condition | Impact on Drying and Curing |
|---|---|
| High humidity | Slows humidity effects, prolonging dry time |
| Low humidity | Speeds up drying process |
| High temperature | Accelerates cure time |
| Low temperature | Delays drying and curing |
| Ideal conditions | Achieve full cure efficiently |
Typical Curing Duration
Typically, PVA glue takes about 24 hours to fully dry and cure under standard conditions. The drying process varies depending on environmental factors like humidity, temperature, and air circulation. To ensure proper curing, it’s important to contemplate these factors. For example, high humidity can prolong drying, while warmer temperatures speed it up. Here are some key points to keep in mind:
- Adequate ventilation accelerates the drying process
- Cooler, damp environments may extend curing time
- Thin layers dry faster than thick ones
- Complete curing ensures maximum bond strength
Patience is essential; even if the surface feels dry earlier, full curing might take longer. Understanding these environmental influences helps you achieve a strong, durable bond with PVA glue.
How Can You Adjust PVA Glue’s Timing for Different Projects?
Adjusting the working time of PVA glue allows you to better suit your project’s needs. To do this, consider your clamp pressure; applying lighter pressure can extend open time, giving you more working room. Conversely, increasing clamp pressure can shorten the working time but ensures a tighter bond. Your drying environment also plays a role—humid conditions slow down drying, while a warm, dry space speeds it up. If you need more time, work in a cooler, less ventilated area or reduce clamp pressure to avoid premature setting. For faster projects, increase clamp pressure and choose a warmer, drier environment to speed up curing. Understanding how these factors influence drying helps you manipulate PVA glue’s timing effectively.
Tips to Extend or Shorten PVA Glue’s Working Time
To effectively regulate the working time of PVA glue, you can manipulate several key factors. First, adjusting the glue’s thickness impacts open time—thicker glue shortens, thinner extends it. Second, temperature matters; warmer environments speed up drying, while cooler slows it down. Third, controlling humidity can influence cure speed. Lastly, proper storage techniques preserve adhesive shelf life, keeping it from drying out or deteriorating. To extend working time, consider thinning the glue slightly or working in cooler, less humid conditions. To shorten it, use the glue at room temperature and apply it quickly. Keep your glue sealed tightly between uses to maintain ideal consistency. These steps help you fine-tune your project timing and ensure a reliable bond.
Common Mistakes That Affect PVA Bonding and How to Avoid Them
Using PVA glue correctly is key to achieving a strong, lasting bond, but common mistakes can undermine its effectiveness. One mistake is using glue with incorrect consistency; too thick, and it won’t spread evenly, too thin, and it won’t bond well. Additionally, poor storage conditions, like exposure to heat, cold, or moisture, can degrade the glue’s quality. Always check your glue’s consistency before application and store it in a cool, dry place. To help you avoid these pitfalls, consider this table:
| Mistake | How to Avoid | Impact |
|---|---|---|
| Using inconsistent glue | Stir or remix before use | Weak or uneven bonds |
| Storing improperly | Keep in a sealed container in a cool place | Reduced shelf life, compromised adhesion |
| Applying too much glue | Use sparingly, spread evenly | Excess squeeze-out, weaker joint |
| Not checking glue freshness | Test before use | Poor bonding, longer cure time |
How Do PVA Glue’s Timing Properties Compare to Other Adhesives?
PVA glue typically offers slower setting times compared to many other adhesives, which can be advantageous for projects that require repositioning or adjustments. When doing an adhesive comparison, you’ll notice that PVA’s drying times are longer, giving you more flexibility during application. Unlike quick-setting glues like super glue or hot glue, PVA allows for open time to adjust pieces easily.
- Longer open time helps with precise positioning
- Slower cure allows for better penetration and bonding
- Extended drying times mean patience is key
- Less immediate strength gain compared to fast adhesives
Understanding these timing properties helps you choose the right glue for your project, especially when working with delicate or complex assemblies.
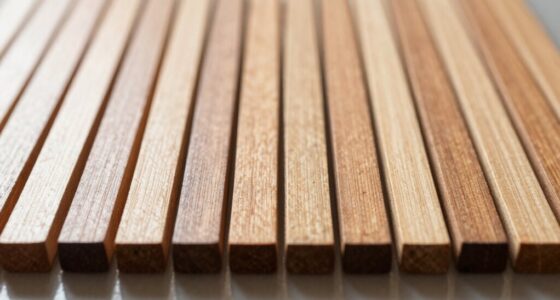
Timing Strategies for Crafting, Woodworking, and DIY Projects

Timing strategies are essential for achieving successful results in crafting, woodworking, and DIY projects. To optimize your work, consider drying techniques that prevent excess moisture and assure a strong bond. Use proper storage tips to keep your PVA glue fresh and ready for use, avoiding clumping or drying out. Plan your project timeline to match open and clamp times, allowing sufficient curing before handling. When working with delicate materials, adjust your drying techniques to prevent warping or damage. Store unused glue in a cool, airtight container to maintain its effectiveness. By managing these timing strategies, you can improve adhesion quality and reduce mistakes. Remember, understanding your glue’s open, clamp, and cure times helps you schedule tasks efficiently, leading to cleaner, more durable results.
Frequently Asked Questions
Can Environmental Factors Like Humidity Affect PVA Glue’s Open and Cure Times?
Yes, humidity impact is significant when working with PVA glue. Higher humidity can extend the open time, giving you more time to position your pieces. Conversely, low humidity may shorten open and cure times, so you might need to adjust your application accordingly. To guarantee ideal bonding, monitor environmental conditions and make open time adjustment as needed, especially in humid or dry environments.
How Does PVA Glue Perform in Outdoor or Humid Conditions?
You might think PVA glue performs well outdoors, but traditional formulas lack weather resistance and aren’t waterproof. In humid or rainy conditions, the glue’s open and cure times slow markedly, risking weak bonds. To guarantee durability outside, look for waterproof formulations designed specifically for outdoor use. These specialized glues resist moisture better, providing stronger, longer-lasting bonds even in challenging weather, making them ideal for outdoor projects.
Are There Different Types of PVA Glue With Varying Open or Cure Times?
Yes, different PVA types have varying open and cure times. Some are formulated for quick bonding, offering shorter open times, ideal for fast projects. Others have longer open times, allowing more working flexibility. You can choose based on your needs, whether you require rapid assembly or more working time. Always check the product specifications, as open time variability depends on the glue’s formulation and intended application.
What Are Signs That PVA Glue Has Not Bonded Properly?
Did you know that bonding failure accounts for nearly 30% of woodworking repairs? If your PVA glue hasn’t adhered properly, you’ll notice signs like a weak or brittle joint, peeling, or gaps between surfaces. Improper adhesion often results from insufficient clamping, contamination, or not allowing enough cure time. Keep an eye out for these issues to prevent ongoing problems and ensure your projects stay strong and durable.
How Does Temperature Influence PVA Glue’s Drying and Curing Process?
Temperature effects PVA glue’s drying and curing process substantially. When it’s warmer, curing accelerates, so your glue dries faster and gains strength quicker. Conversely, colder temperatures slow down curing, extending open and clamp times, which can affect bond quality. To guarantee strong adhesion, keep the environment within the recommended temperature range, ideally between 65°F and 85°F, and avoid extreme temperature fluctuations that can hinder proper curing.
Conclusion
Understanding PVA glue’s open, clamp, and cure times helps you achieve strong, lasting bonds. While it might seem tricky to time everything perfectly, with a few tips, you’ll master its working window for any project. Don’t worry if you need a little extra working time—adjustments are simple and safe. With practice, you’ll confidently use PVA glue to create durable crafts and furniture, saving time and avoiding frustration along the way.