
To make sure your cuts are repeatable without creep, securely set up your stop block using durable materials like aluminum or steel. Clamp it firmly to your work surface or fence, making sure it’s square and flush with your workpiece. Double-check measurements often and avoid over-tightening to prevent deformation. Proper clamping, precise adjustment, and regular maintenance are key. Keep your setup consistent, and you’ll achieve accurate, creep-free cuts every time—learn the details to perfect your technique.
Key Takeaways
- Use durable, high-quality materials like aluminum or steel for stop blocks to prevent deformation and slipping.
- Secure stop blocks firmly to the work surface or fence using clamps or mounting hardware.
- Ensure stop blocks are perfectly square and flush with the workpiece for consistent positioning.
- Regularly check and re-calibrate measurements to maintain accuracy and prevent creep during repeated cuts.
- Maintain sharp blades and proper tool maintenance to ensure clean cuts and reliable results.
Why Stop Blocks Are Key to Creep-Free, Accurate Cuts

Stop blocks are vital tools for achieving precise cuts because they keep your workpiece firmly in place, preventing any shifting during the cut. Proper clamping techniques ensure that your material stays aligned, which directly impacts measurement accuracy. When you use a stop block correctly, you eliminate the risk of creep—a common issue that causes inconsistent cuts. By securing the workpiece against the fence with a reliable stop, you maintain consistent positioning, making each cut repeatable. This consistency is essential for projects requiring multiple pieces of the same size. Additionally, well-placed stop blocks reduce the need for constant measuring, saving you time and effort. Understanding cutting accuracy and how to enhance it can significantly improve your woodworking results. Moreover, selecting the right stop block based on your project type and material can further improve precision. Furthermore, mastering the use of stop blocks can help you develop a more efficient workflow. Proper clamping techniques also contribute to maintaining stability and preventing creep during cuts. Utilizing properly maintained tools and ensuring consistent airflow around your workshop equipment can further enhance your overall precision and safety, leading to cleaner, more accurate cuts every time.
How to Choose the Best Stop Block for Your Woodworking Projects

When selecting a stop block, you need to take into account material compatibility to ensure it won’t damage your workpiece or the tool. You’ll also decide between adjustable or fixed options based on how versatile your projects need to be. Understanding these points helps you pick a stop block that’s reliable and fits your woodworking style.
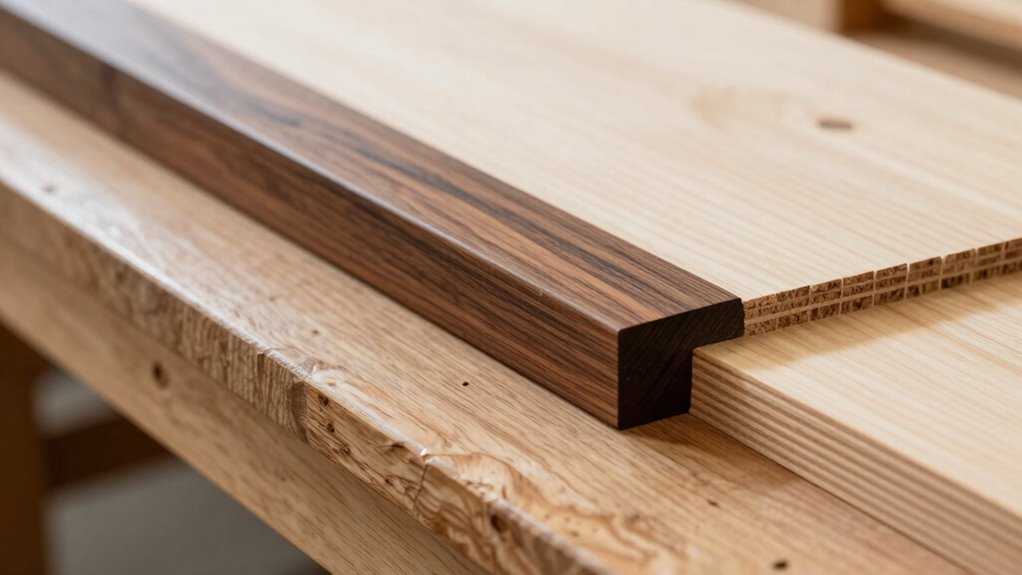
Material Compatibility Tips
Choosing the right material for your stop block is essential to guarantee safety, durability, and accurate cuts in your woodworking projects. When selecting material types, consider how well they withstand pressure and frequent use. Hardwood like maple or oak offers strength and longevity, reducing the risk of warping or damage. Avoid softer woods or plastics that may wear quickly or deform under pressure. Compatibility issues can arise if the stop block material reacts with adhesives or finishes, so verify your chosen material won’t cause chemical reactions or staining. Additionally, think about how easily the material can be cut and shaped to fit your jig or saw setup. Selecting a suitable, compatible material helps ensure your stop blocks perform consistently and last through many projects. Material compatibility is also crucial to prevent potential damage to your tools or workpieces over time. Understanding material properties can further aid in selecting the best options for your specific needs, especially when considering how certain materials respond to pressure and wear.
Adjustable vs Fixed Options
Selecting the right type of stop block depends on how flexible your woodworking setup needs to be. Adjustable options offer versatility, allowing you to set precise measurements quickly and easily for different cuts. They’re ideal if your projects vary in size and you need to make frequent adjustments. They also often feature precise measurement mechanisms that help ensure accuracy. Additionally, adjustable stop blocks can help prevent measurement creep during repeated cuts, maintaining consistent results over time. Fixed options, on the other hand, are set at a specific measurement and excel in repetitive cuts where consistency is key. They’re simple to use and often more durable since they don’t have moving parts. Consider how often you’ll need to change measurements and how precise those adjustments must be. If your work involves varied cuts, adjustable options give you flexibility. For high-volume, uniform cuts, fixed options provide reliability and speed, making them the best choice.
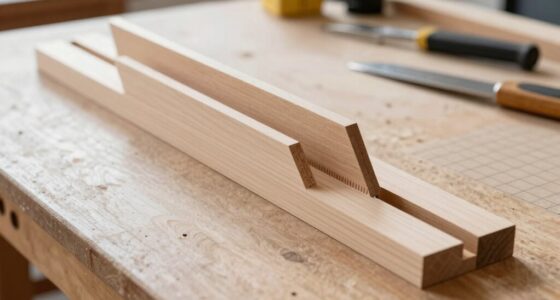
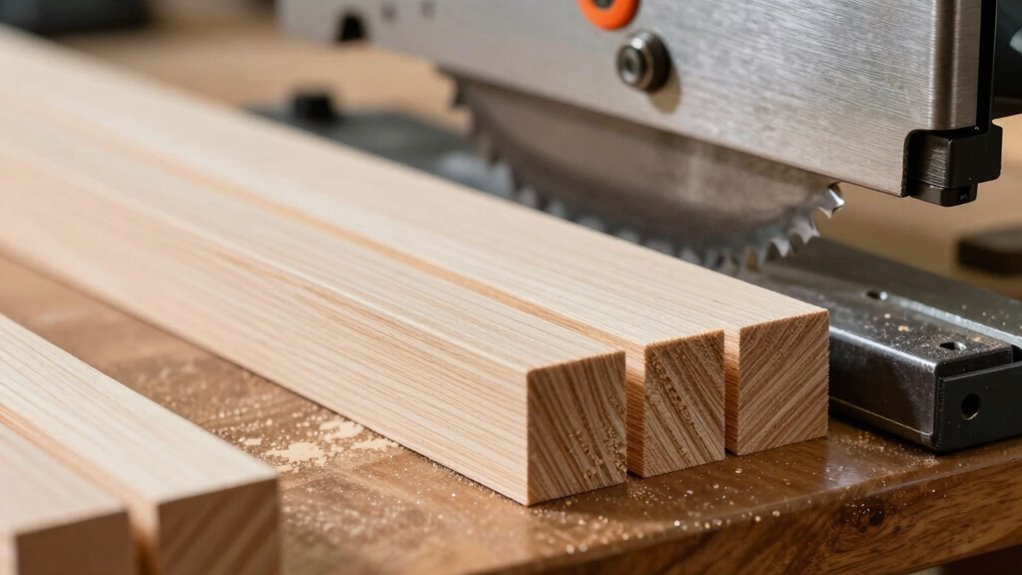
Setting Up Your Stop Block Properly to Prevent Creep
Properly setting up your stop block is essential to prevent creep during machining. First, choose a durable stop block material, like aluminum or steel, that won’t deform under pressure. Secure the stop block firmly to your work surface or fence, ensuring it won’t shift during cuts. Pay close attention to stop block alignment, making sure it’s perfectly square and flush with your workpiece. Misaligned or loose stops can cause the workpiece to shift, leading to inaccurate cuts. Double-check that the stop block is snugly in place before starting your cut, and verify its position with a square or measuring tool. Proper setup minimizes movement, ensuring each cut repeats precisely without creep or slipping.
Common Mistakes That Cause Your Stop Block to Slip or Creep
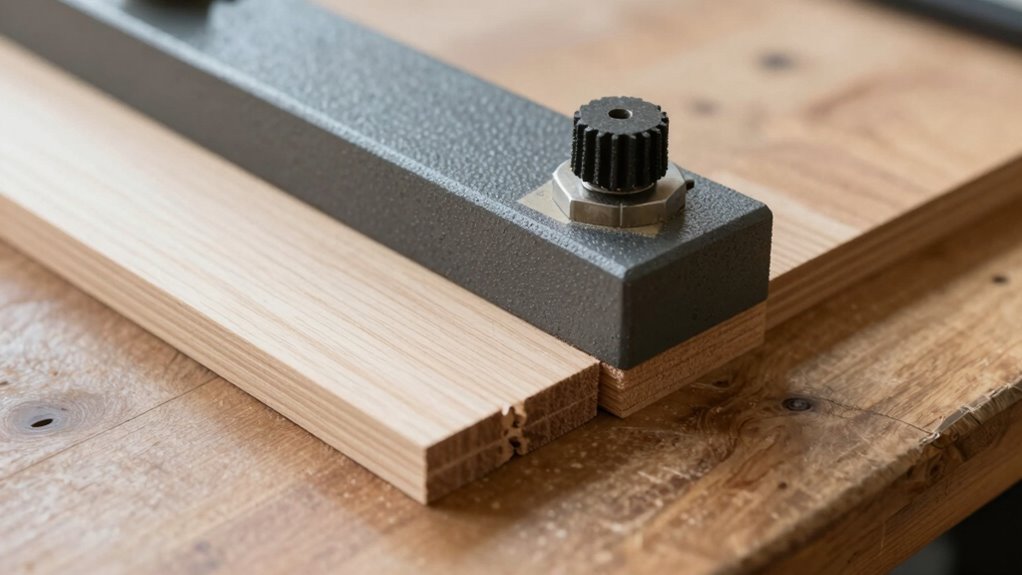
One of the most common reasons your stop block slips or creeps is because it’s not secured tightly enough or mounted incorrectly. Over tightening clamps can cause deformation or damage, reducing grip and increasing the risk of slipping. Additionally, using incompatible materials, like applying metal clamps on softwood, can cause uneven pressure and creep. Make sure your clamps are appropriate for your material and tightened just enough to hold securely without deforming. Also, double-check your mounting method—poor alignment or loose screws allow movement. Proper material compatibility and understanding of leverage are key to ensuring stability during cuts. Being aware of hydraulics principles can also help you apply appropriate force and prevent creeping. Paying attention to clamp force distribution can further improve the stability of your setup. Understanding pressure distribution can help optimize your clamping technique to prevent slipping.
Pro Tips for Achieving Consistent, Repeatable Cuts
To get consistent, repeatable cuts, focus on using steady clamping techniques that hold your work securely. Keep your blades sharp to guarantee clean, accurate cuts every time. Additionally, measure carefully and double-check your settings before each cut to maintain precision. Consistent cutting techniques are essential for achieving reliable results in every project. A well-understood vintage technology can help you make more informed investment decisions for your retirement savings. Incorporating project management support from professionals can further ensure that your workflow remains smooth and predictable. Understanding your home energy setup can also help optimize your workspace, making your cutting projects more efficient and safe.
Use Consistent Clamping Techniques
Consistent clamping is key to achieving precise, repeatable cuts, so you should develop a reliable system that keeps your workpieces securely in place. Apply even clamping pressure to guarantee your material grip remains steady without deforming or shifting. Using the same clamping method each time helps eliminate variables that can cause inconsistency. Position your clamps so they evenly distribute pressure across the workpiece, preventing movement during the cut. Avoid overtightening, which can damage the material or affect the cut accuracy. Instead, find the ideal pressure that secures your workpiece firmly yet gently. Developing a consistent approach to clamping ensures your cuts are uniform and predictable, making your project safer and your results more professional. Paying attention to piercing care and hygiene can also help maintain the integrity of your work environment and prevent issues that could affect your projects. Additionally, proper maintenance of tools and equipment supports consistent results by ensuring your tools function correctly and produce clean cuts.
Maintain Sharp Blade Edges
A sharp blade is essential for achieving clean, accurate cuts every time. Regular blade maintenance ensures your blade stays sharp, preventing dullness that can compromise cutting accuracy. Inspect your blade frequently for nicks or dull edges, and sharpen or replace it as needed. A dull blade increases the risk of uneven cuts and tear-out, making your stop blocks less reliable. Proper maintenance also includes cleaning the blade to remove pitch, resin, and debris that can hinder performance. Keep your tools sharp and well-maintained to maintain consistent cut quality and reduce the need for rework. When your blade is sharp and clean, you’ll experience smoother cuts, more precise measurements, and greater confidence in your repeatability. Blade maintenance is a crucial part of safe and effective power tool operation, ensuring longevity and optimal performance.
Implement Accurate Measuring Strategies
Achieving accurate, repeatable cuts starts with implementing precise measuring strategies. To boost measuring accuracy and marking precision, follow these steps:
- Use a reliable ruler or caliper for exact measurements.
- Mark your cut lines with a sharp pencil or marking knife for clarity.
- Double-check measurements before cutting to avoid errors.
- Keep your measuring tools clean and calibrated for consistent results.
Troubleshooting and Fine-Tuning Your Stop Block for Perfect Results
Even the most carefully set stop blocks can sometimes require adjustments to guarantee perfect cuts. Start with stop block calibration by double-checking your measurements and alignment. If your cuts are slightly off, re-measure and reposition the stop block to make certain it’s precisely aligned with your desired dimension. Material adaptation is also vital; different materials may cause slight variations in how your stop block performs. For softer woods, you might need to add a shim or make minor adjustments for stability. For harder materials, ensure your stop block is securely fastened and not slipping. Fine-tuning involves testing with scrap pieces and making small positional tweaks until your cuts are consistently accurate. Regularly check your setup to maintain precision and prevent errors.
Frequently Asked Questions
Can Stop Blocks Be Used With All Types of Saws?
Stop blocks can be used with many types of saws, but you should check saw compatibility first. Some saws, like table saws and miter saws, work well with stop blocks, while others may not have the right setup. Also, consider material considerations, as thicker or harder materials might require different stop block designs. Always guarantee your stop block fits securely for accurate, repeatable cuts without “creep.”
How Often Should I Replace or Check My Stop Block?
You should check your stop block before every use and replace it if you notice signs of wear or damage. Regular maintenance tips include cleaning and inspecting for cracks or deformation to guarantee accuracy. Safety considerations mean never compromise on the integrity of your stop block; a worn or loose one can cause unsafe cuts. Always follow manufacturer guidelines for replacement intervals, and perform routine checks to keep your work safe and precise.
Are There Safety Risks Associated With Improper Stop Block Setup?
Improper stop block setup can pose safety hazards, risking kickback or slips during cuts. If your stop block isn’t properly secured or aligned, you could lose control of your workpiece, leading to injury. Always verify your stop block is correctly installed and tightly secured before use. Proper setup minimizes these risks, keeping your workspace safe and your cuts accurate. Regularly check your stop block to maintain safety and precision.
What Materials Are Best for Making Custom Stop Blocks?
Choosing the right material for your custom stop blocks can be a game-changer. Opt for dense hardwoods like maple or oak—they offer superior durability and hold up well under repeated use. Avoid softwoods that may wear or compress over time, risking inaccurate cuts. The right wood selection guarantees your stop blocks stay true, providing reliable, repeatable cuts, and keeping your workspace safe and efficient. Don’t settle for less when precision matters most.
How Do I Modify a Stop Block for Angled Cuts?
To modify a stop block for angled cuts, start by adjusting the angle adjustments on your saw or fence to match your desired cut. Then, secure the stop block using clamp modifications, guaranteeing it’s firmly held at the correct angle. Double-check the angle alignment before making your cut. This ensures precision and repeatability, allowing you to make accurate angled cuts without slipping or “creep.”
Conclusion
With the right stop block, you hold the power to turn chaos into precision, transforming your workshop into a symphony of perfect cuts. Think of it as your trusted compass, guiding each measurement straight and true. When set up correctly, it keeps your cuts as steady as a mountain’s peak—unwavering and reliable. Master these techniques, and every project becomes a masterpiece, proving that precision isn’t just a goal; it’s your signature.