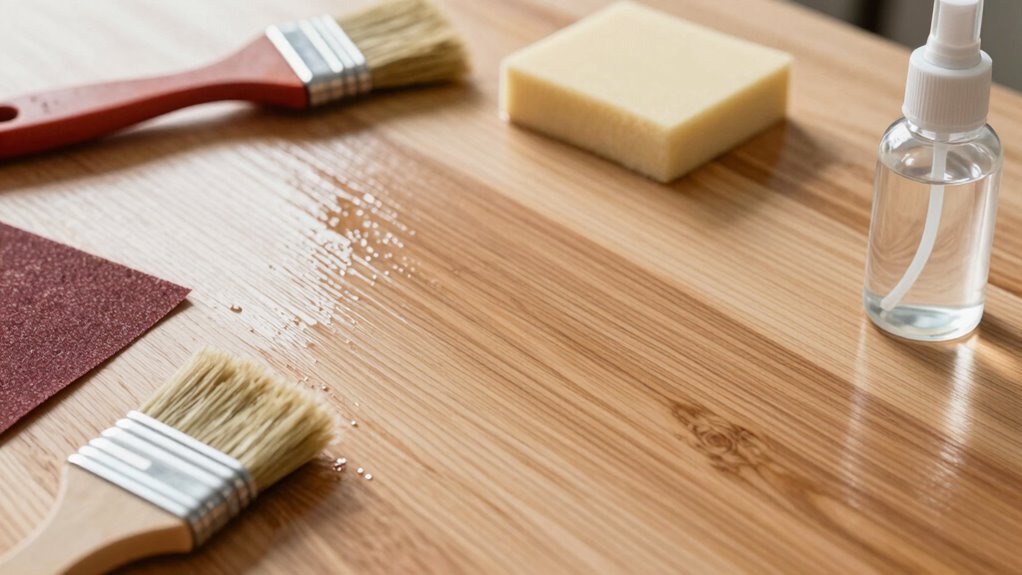
Sanding sealer is a coating you apply to prepare wood for finishing, helping fill pores and create a smooth surface. It’s best used after final sanding and before the topcoat to improve adhesion, reduce blotchiness, and enhance grain. However, it can cause issues if applied improperly, over-sanded, or skipped when surfaces don’t need sealing. For tips on using it effectively and avoiding common pitfalls, keep exploring the details below.
Key Takeaways
- Sanding sealer helps create a smooth, even surface, reducing grain raising and blotchiness before applying final finishes.
- It is most beneficial when applied after final sanding and before staining or topcoats for better adhesion and appearance.
- Over-sanding or applying too much sealer can damage the layer, causing scratches, uneven surfaces, or poor adhesion.
- Skipping sealing is advisable if the wood is already smooth, well-prepared, or the finish doesn’t require sealing.
- Using incompatible surfaces or poor surface prep can cause peeling, poor adhesion, or raise the grain, making sealer counterproductive.

Minwax Water-Based Professional Formula Wood Sanding Sealer, 1 Gallon
CLEAR SANDING SEALER – Minwax Professional Formula Sanding Sealer is a clear sealer formulated for application over bare…
As an affiliate, we earn on qualifying purchases.
As an affiliate, we earn on qualifying purchases.
What Is Sanding Sealer and How Does It Work?
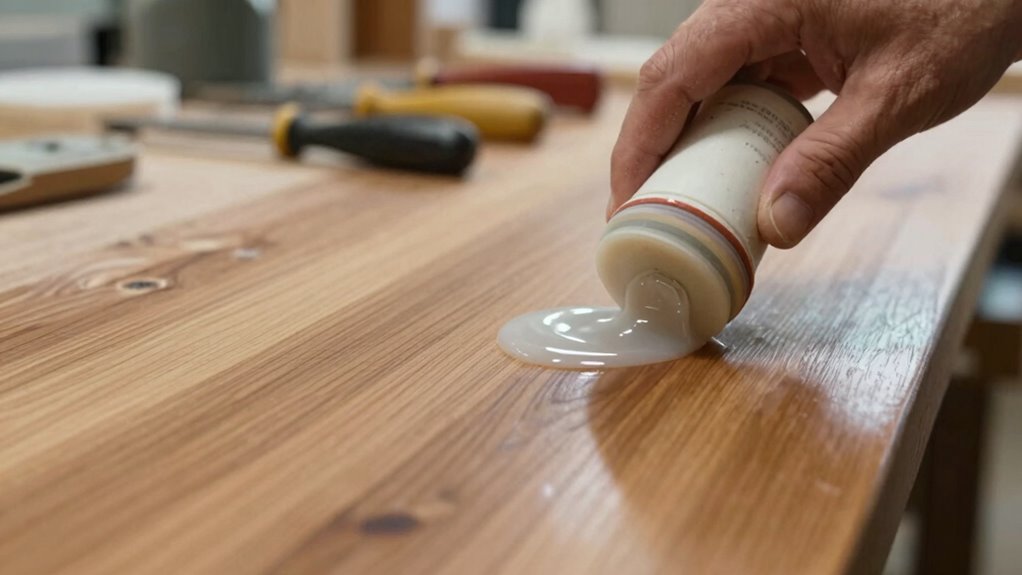
Sanding sealer is a protective coating designed to prepare wood surfaces for finishing. It helps create a smooth, even base, sealing the grain and reducing the number of coats needed later. To apply it effectively, use proper application techniques such as brushing, spraying, or wiping with a clean cloth, ensuring an even coat. After application, drying time is vital; it typically takes 1-2 hours, but can vary based on humidity and temperature. Allow the sealer to dry thoroughly before sanding lightly, which helps smooth out imperfections and prepares the surface for topcoats. Proper application techniques and understanding drying time ensure you get a uniform finish, minimize sanding issues, and improve the overall quality of your project. Additionally, understanding how drying time affects the process can help you plan your project more efficiently.

Deft 37125015138 Lacquer Sanding Sealer Spray, 12-Ounce
Use for the first coat on any lacquer finishing project
As an affiliate, we earn on qualifying purchases.
As an affiliate, we earn on qualifying purchases.
When’s the Best Time to Use Sanding Sealer?
You should apply sanding sealer after preparing your surface and before the final finish to guarantee the best results. The timing depends on the type of finish you want and how much you want to highlight the wood grain. Knowing when to use it helps you achieve a smooth, professional look. Additionally, understanding safety precautions during application ensures you work efficiently and avoid potential hazards.
Surface Preparation Timing
Choosing the right time to apply sanding sealer is essential for achieving a smooth, professional finish. You want to wait until the wood’s grain pattern is clearly defined but not overly exposed, which helps control stain penetration and prevents blotchiness. Applying too early can fill the grain prematurely, hampering adhesion of subsequent coats, while waiting too long risks dust settling or surface contamination. Ideally, sand the wood smooth, then apply the sealer when the surface feels tacky but isn’t sticky, ensuring ideal absorption. Use this table to guide your timing:
| Stage | Why It Matters |
|---|---|
| Just after final sanding | Grain pattern is visible, ready for sealing |
| Before stain application | Sealer controls stain penetration effectively |
| When surface is tacky | Ensures proper adhesion without smudges |
| Not too wet or dry | Prevents uneven coating or dust pickup |
| Before finishing coats | Provides a smooth base for final finish |
Proper timing also ensures that the adhesion of the final coats is optimal, leading to a more durable and attractive finish.
Type of Finish
Selecting the right finish depends on the desired look and durability of your project, and applying sanding sealer at the ideal time enhances these qualities. Different finish types, such as gloss, matte, or satin, require specific application techniques to achieve the best results. Sanding sealer works well under oil-based or polyurethane finishes, providing a smooth base that minimizes grain raise and uneven textures. It’s especially helpful when working with porous woods or detailed carvings, where a uniform surface is critical. Timing is key; apply the sealer after surface preparation and before the final coat. Proper application techniques ensure the sealer penetrates deeply and dries evenly, setting the stage for a flawless finish that highlights your project’s natural beauty. Additionally, understanding the importance of surface preparation ensures optimal adhesion and finish quality in your project.
Wood Grain Visibility
Wondering when to use sanding sealer to maximize wood grain visibility? The best time is before applying your final coat, as it enhances grain and improves finish clarity. Sanding sealer fills pores and smooths surface imperfections, allowing the natural beauty of the wood to shine through. Use it when you want to highlight wood grain and achieve a richer appearance. Be cautious—over-application can dull the grain or obscure details. Consider this table to guide your choice:
| When to Use | Grain Enhancement | Finish Clarity |
|---|---|---|
| Before final coat | Yes | Yes |
| Under painted layers | No | No |
| For open-grain woods | Yes | Yes |
| On soft woods | No | Yes |
| To deepen color | Yes | Yes |
This strategic step lets your wood’s character stand out while maintaining clarity. Understanding free floating techniques can help prevent issues like uneven finishes or trapped air bubbles that compromise the final look.

Aqua Coat Water-Based Clear Wood Grain Filler Gel, Fast-Drying, Low Odor, Low VOC, Sandable, Stainable & Paintable, Easy Water Cleanup, Glossy Finish, 16 oz
SPECIALLY FORMULATED FOR DEEPER PENETRATION: Our small particle size wood filler gel formula penetrates and seals pores and…
As an affiliate, we earn on qualifying purchases.
As an affiliate, we earn on qualifying purchases.
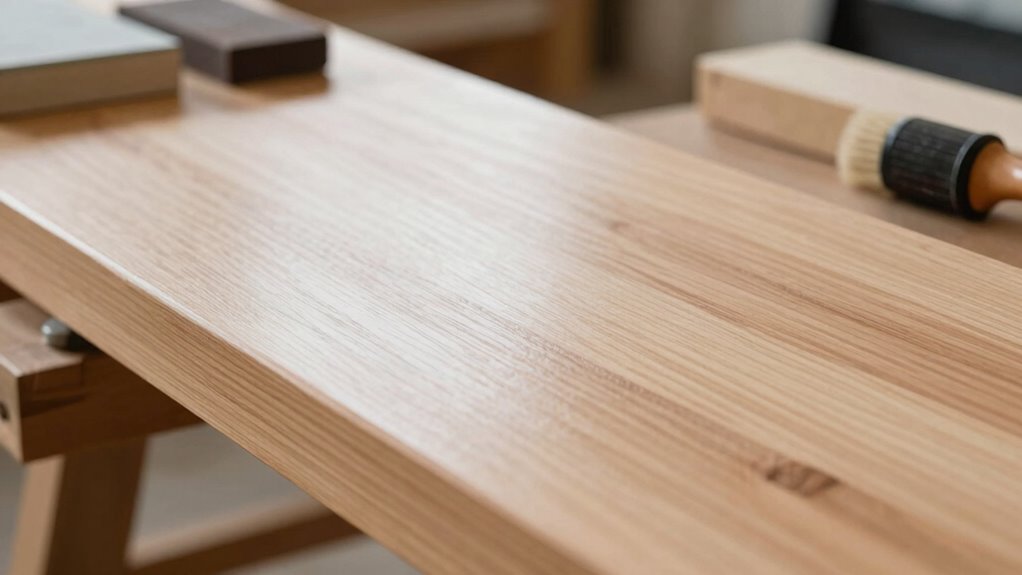
Benefits of Using Sanding Sealer Before Finishing
Applying a sanding sealer before finishing offers several key benefits that can substantially improve your project’s outcome. One major advantage is the primer benefits, as it prepares the surface for the topcoat, promoting better adhesion and durability. Sanding sealer seals the wood pores, providing sealing advantages that help prevent uneven absorption of stain or finish. This results in a smoother, more consistent surface, reducing the need for multiple sanding steps later. Additionally, using a sealer minimizes blotching and enhances color uniformity, giving your project a professional appearance. It also reduces the number of coats needed for the final finish, saving you time and effort. Overall, applying sanding sealer streamlines the finishing process while ensuring a high-quality, long-lasting result. Incorporating navigation and mapping techniques can further optimize the application process, especially for complex or large projects.
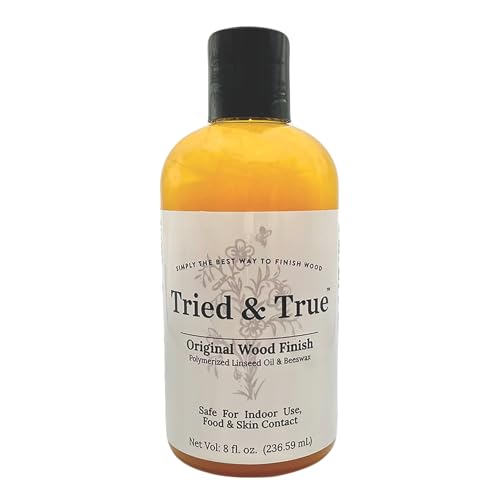
Tried & True Original Wood Finish, 8 oz. – Linseed Oil & Beeswax Blend, Ideal for All Woodwork, Long-Lasting Durability, Food Safe Sealer, Non-Toxic Wood Finish
SUPERIOR BLEND OF LINSEED OIL & BEESWAX: Tried and True wood finish is a superior blend of linseed…
As an affiliate, we earn on qualifying purchases.
As an affiliate, we earn on qualifying purchases.
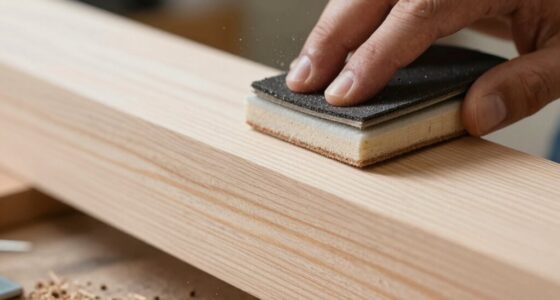
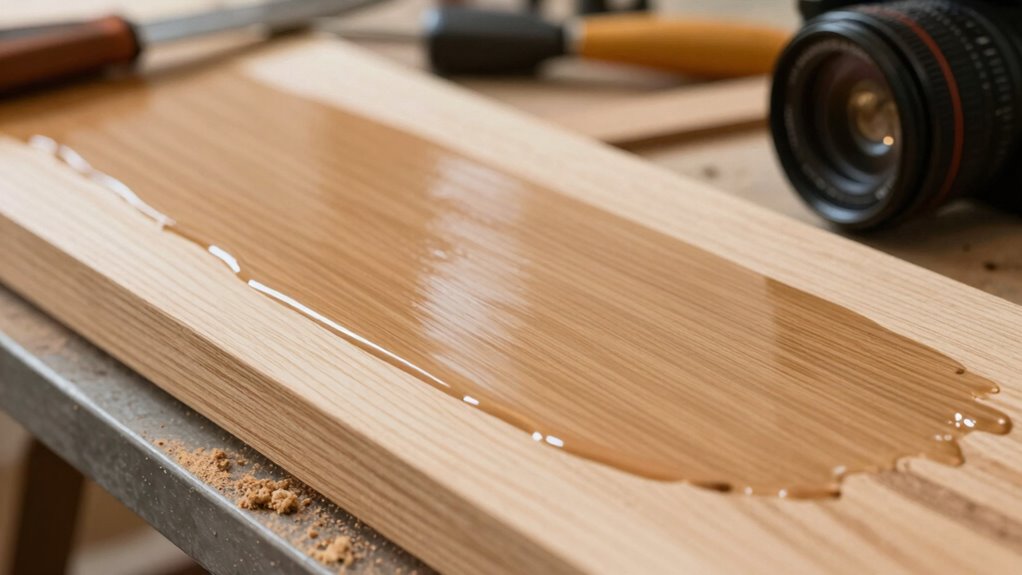
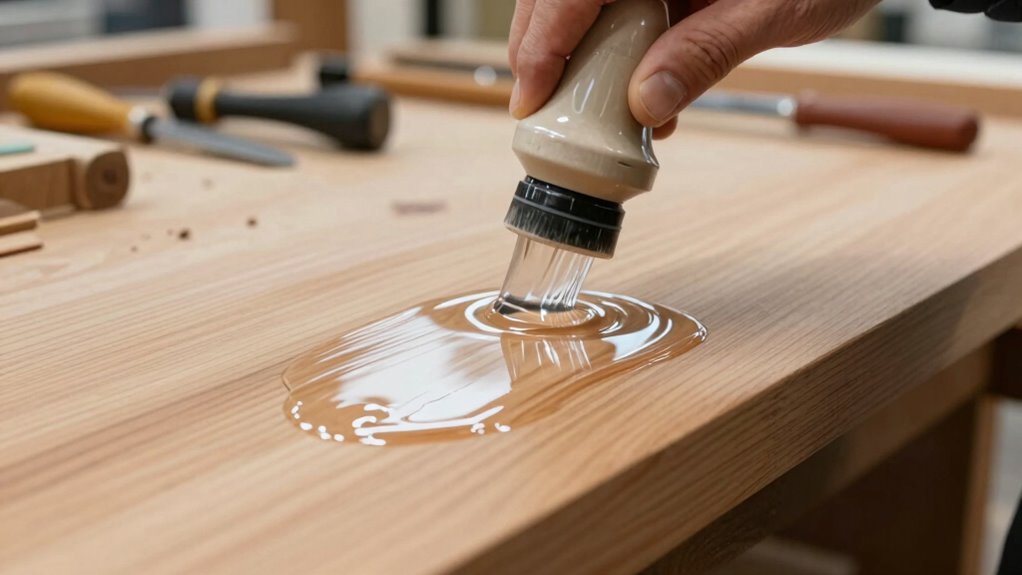
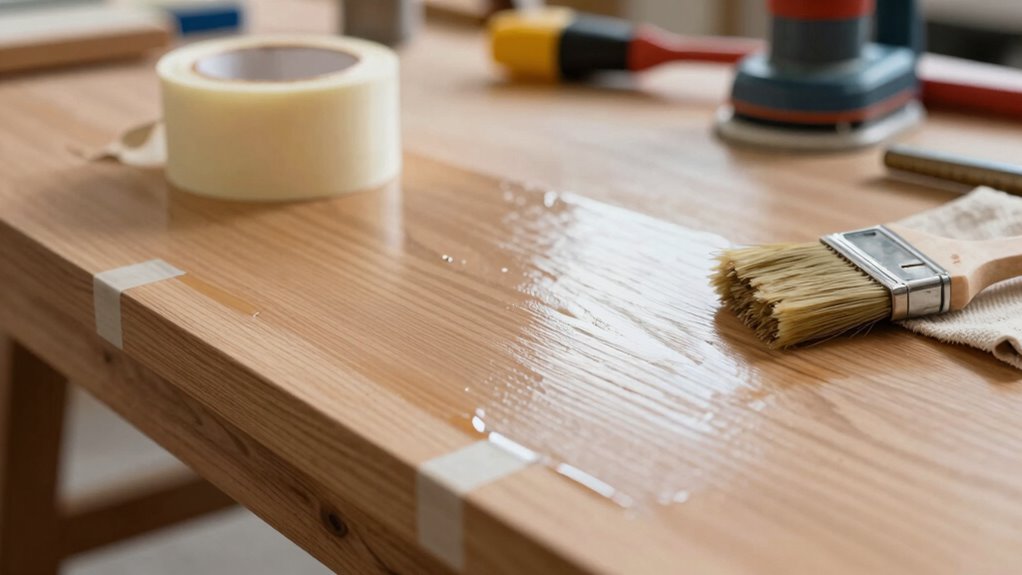
How to Apply Sanding Sealer for a Smooth, Professional Finish

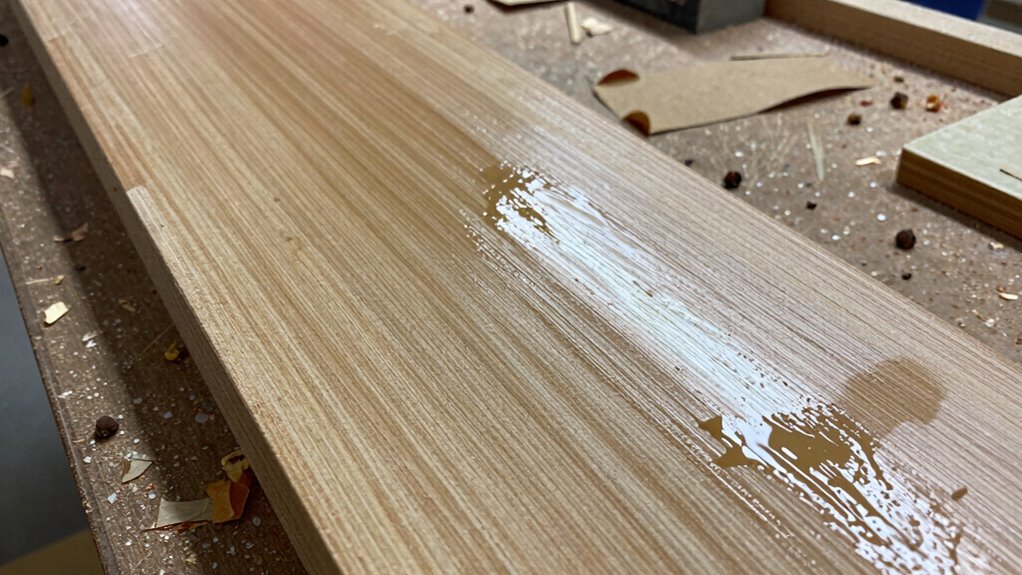
To achieve a smooth, professional finish with sanding sealer, proper application technique is essential. Start by ensuring the surface is clean and lightly sanded to open the grain pattern. Use a high-quality brush or spray for even coverage, applying thin coats to prevent drips or uneven texture. Allow each coat to dry thoroughly before lightly sanding with fine-grit paper; this helps achieve a smooth surface and enhances the finishing sheen. When applying, follow the wood’s grain pattern to avoid brush marks and ensure uniform coverage. Multiple thin coats build durability and a flawless appearance. After the final coat, lightly sand again if needed, then polish or topcoat for a sleek, professional finish. Patience and precision are key to perfect results. Additionally, understanding the difference between sealing and finishing products, such as sealer vs topcoat, can help you choose the right materials for your project.
Situations Where Sanding Sealer Might Do More Harm Than Good
Using sanding sealer isn’t always the best choice, especially when you sand too aggressively or too much, which can damage the surface. If the sealer isn’t compatible with your wood or finish, it might cause uneven results or adhesion problems. Recognizing these risks helps you avoid making mistakes that could ruin your project. Additionally, improper piercing care and hygiene can lead to infection and irritation, similar to how incorrect sanding techniques can compromise your wood finish.
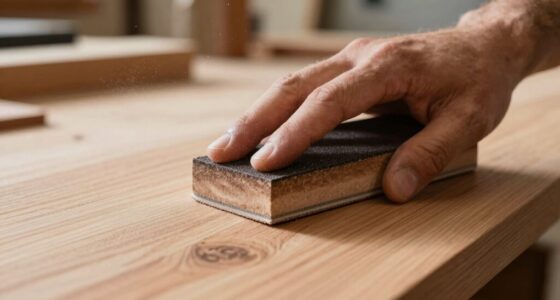
Excessive Sanding Risks
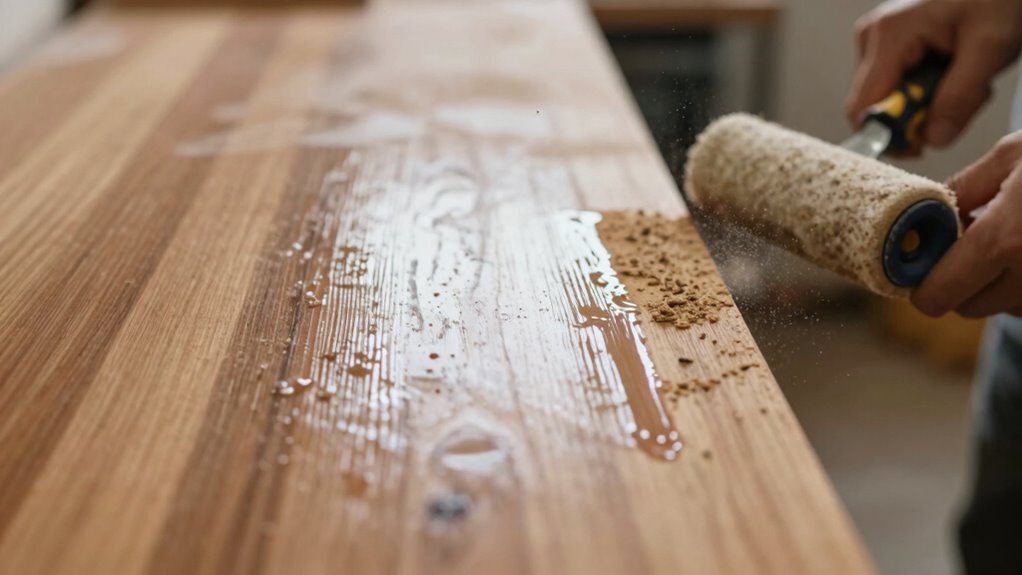
While sanding sealer can enhance your project’s finish, sanding too aggressively or repeatedly can actually cause more harm than good. Excessive sanding risks removing too much material, leading to uneven surfaces or thinning the sealer layer. This can result in surface damage, such as gouges or scratches that are difficult to repair. Over-sanding also weakens the protective qualities of the sealer, leaving your wood vulnerable to moisture or damage. If you press too hard or sand for too long, you might strip away the sealer entirely, undoing your progress. To avoid these issues, use gentle, even strokes and stop sanding once the surface feels smooth. Remember, less is often more when it comes to sanding sealer. Additionally, improper sanding techniques can disrupt the integrity of the finish, making it more susceptible to wear over time.
Surface Compatibility Issues
Applying sanding sealer isn’t always straightforward; certain surfaces can make it more harmful than helpful. If the material has poor surface adhesion, the sealer may not bond properly, leading to uneven finishes or peeling over time. For instance, glossy or slick surfaces like laminated wood or plastics often resist sealing, compromising finish compatibility. Using sealer on incompatible surfaces can result in a finish that doesn’t adhere well or appears blotchy. Additionally, porous or soft woods may absorb too much sealer, causing raised grain or uneven texture. It’s essential to assess the surface’s nature before applying sanding sealer. When surface compatibility isn’t right, the sealer can hinder the final finish rather than enhance it, making your project look less polished and durable. Understanding surface types can help prevent these issues and ensure a smoother application process.
Signs You Should Skip the Sanding Sealer This Time
Sometimes, skipping the sanding sealer is the best choice, especially when the wood is already smooth or well-prepared. If your project involves a finish that’s compatible with your brush and doesn’t require extra adhesion, applying a sealer might be unnecessary. Also, consider the drying time; if you’re on a tight schedule, skipping the sealer can save you time. Additionally, if you’re using a finish that doesn’t benefit from sealing or if the surface is highly absorbent, sealing may not improve the final result. Sometimes, the extra step could even hinder the look or feel of your project. Trust your assessment of the wood’s condition and the compatibility of your materials before deciding to skip the sealer.
Troubleshooting: What to Do When Sanding Sealer Doesn’t Work
If your sanding sealer isn’t delivering the desired results, it’s important to identify the underlying issue before taking further steps. Poor grain pattern concealment or uneven finish durability often points to application errors or incompatible products. First, check if you’ve applied the sealer too thick or unevenly, causing a muddled grain pattern or reduced adhesion. Sand lightly to smooth out imperfections and remove any buildup. Make sure you’re using the right type of sealer for your project and surface. If the finish still lacks durability, consider whether the sealer was applied over a dirty or oily surface. Sometimes, applying a fresh coat after proper surface prep can restore the finish’s integrity. Troubleshooting these issues helps improve both grain visibility and long-term durability.
Alternatives to Sanding Sealer for Achieving a Perfect Finish
When seeking alternatives to sanding sealer, you have several effective options to achieve a smooth, professional finish. These methods can enhance grain appearance and improve sealing efficiency without the drawbacks of traditional sealer.
- Pre-stain conditioners: Help even out grain absorption, reducing blotchiness.
- Shellac or lacquer: Provide quick-drying, high-gloss finishes that seal well.
- Oil-based finishes: Such as tung or linseed oil, enhance grain and offer natural sealing.
- Thinned polyurethane: Applied in multiple coats, it boosts sealing efficiency and smoothness.
These alternatives can deliver excellent results, especially if you focus on grain enhancement and sealing efficiency, ensuring your project looks flawless with minimal sanding.
Frequently Asked Questions
Can Sanding Sealer Be Used on All Types of Wood?
Sanding sealer isn’t suitable for all wood types. You use it mainly for sealing porous surfaces and enhancing wood grain, especially on soft or uneven woods. It works well on woods like pine or oak, but on very soft or oily woods, it might not adhere properly or could affect the finish. Always test a small area first to see how the sealer interacts with your specific wood.
How Long Should Sanding Sealer Dry Before Sanding?
You should wait about 30 minutes to an hour for sanding sealer to dry before sanding, but it depends on application timing and drying conditions. Make sure the sealer is fully dry and tack-free before sanding to avoid gumminess or uneven surfaces. Humidity, temperature, and thickness of coats influence drying time. Always check the manufacturer’s instructions and test a small area to confirm it’s ready for sanding.
Is Sanding Sealer Necessary for Outdoor Projects?
Did you know that properly prepared surfaces last 50% longer? For outdoor projects, sanding sealer isn’t always necessary but can be beneficial. It improves weather resistance and enhances surface preparation, creating a smoother finish and better adhesion for top coats. If your project faces harsh weather, applying a sanding sealer helps protect your work. However, skip it for simple outdoor furniture or when using weather-resistant paints, saving time without sacrificing durability.
Can I Mix Sanding Sealer With Other Finishes?
You can mix sanding sealer with other finishes, but you need to consider sealer compatibility and proper mixing ratios. Always check the manufacturer’s guidelines to ensure compatibility, as incompatible finishes can cause issues like poor adhesion or uneven curing. Use the correct mixing ratios to achieve a uniform application. Testing a small area first helps prevent potential problems, guaranteeing your final finish looks smooth and durable.
Does Sanding Sealer Affect the Color of the Wood?
Yes, sanding sealer can influence the color of the wood. It may deepen or modify the wood’s hue, impacting the overall appearance. To achieve wood grain enhancement and maintain color consistency, apply a thin, even coat and test on a hidden area first. This way, you can control how the sealer affects the wood’s natural color and ensure a beautiful, uniform finish.
Conclusion
Think of sanding sealer as a trusty guide on your woodworking journey. When used wisely, it clears the path for a smooth, polished finish. But if you force it when the terrain isn’t right, it can lead you astray. Trust your instincts, read the signs, and choose your moments carefully. With patience and the right approach, you’ll navigate your project to a beautiful, professional result—like reaching a shining summit after a careful climb.