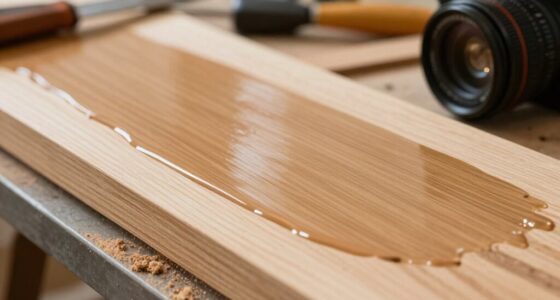

To raise the grain for a smooth, glass-like finish, start by dampening your wood with a clean cloth or sponge evenly across the surface. Let it sit for a few minutes so the fibers swell, then gently sand along the grain with fine grit sandpaper. Repeat the process if needed to make certain of an even raised surface, which will minimize imperfections. For detailed steps and tips to achieve a flawless finish, keep exploring further.
Key Takeaways
- Dampening the wood surface evenly with a clean sponge or cloth encourages uniform grain swelling.
- Wait a few minutes after moistening to allow moisture to penetrate before sanding.
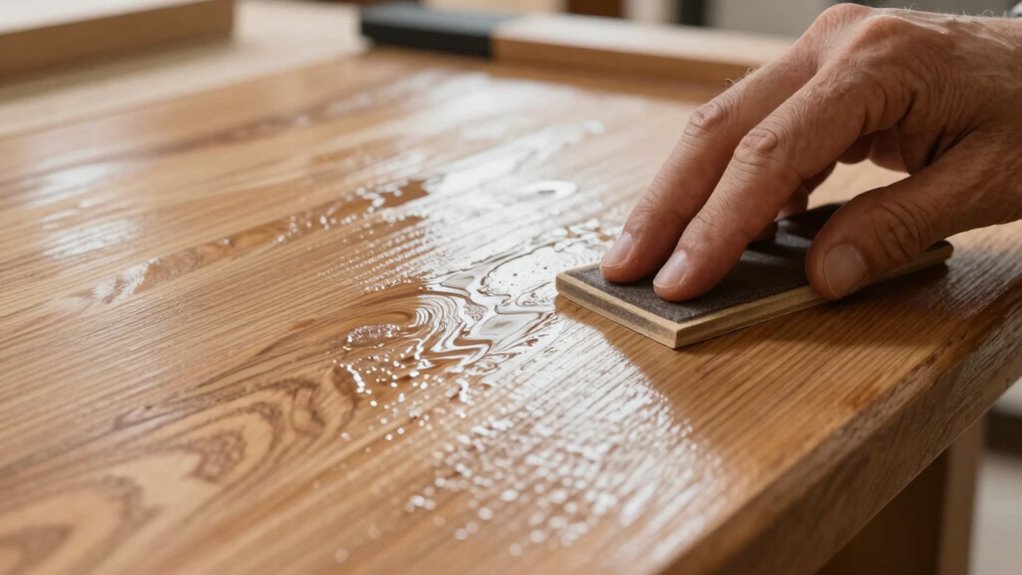
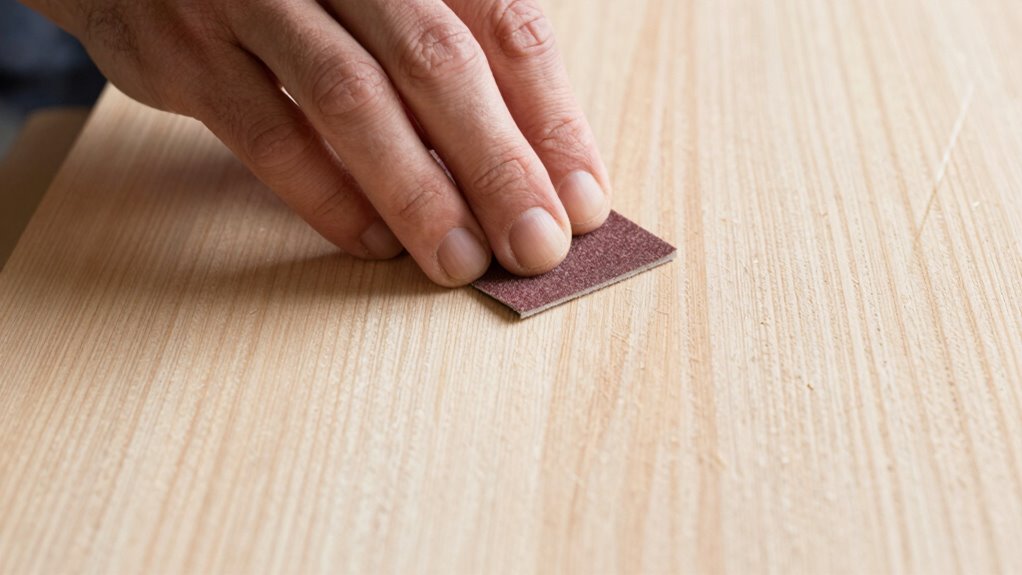
- Gently sand with fine-grit sandpaper along the grain to lift and raise tiny fibers.
- Repeat dampening and sanding as needed, avoiding over-saturation to prevent uneven swelling.
- Finish with progressively finer sandpaper, thorough dust removal, and high-quality finishes for a glass-like surface.

Sandpaper Sheets Assortment for Automotive :42 Pcs Wet Dry 9×3.6 Inch Ultra Fine Sand Paper 1000 1200 1500 2000 3000 5000 High Grit for Car Polishing Meatal Wood Finishing
Sandpaper Assortment Pack for Automotive :1000/1200/1500/2000/3000/5000 Grit (7 sheets of each), 42 Pcs ultra-fine kit for car polishing,…
As an affiliate, we earn on qualifying purchases.
As an affiliate, we earn on qualifying purchases.
Why Raising the Grain Matters for a Flawless Finish
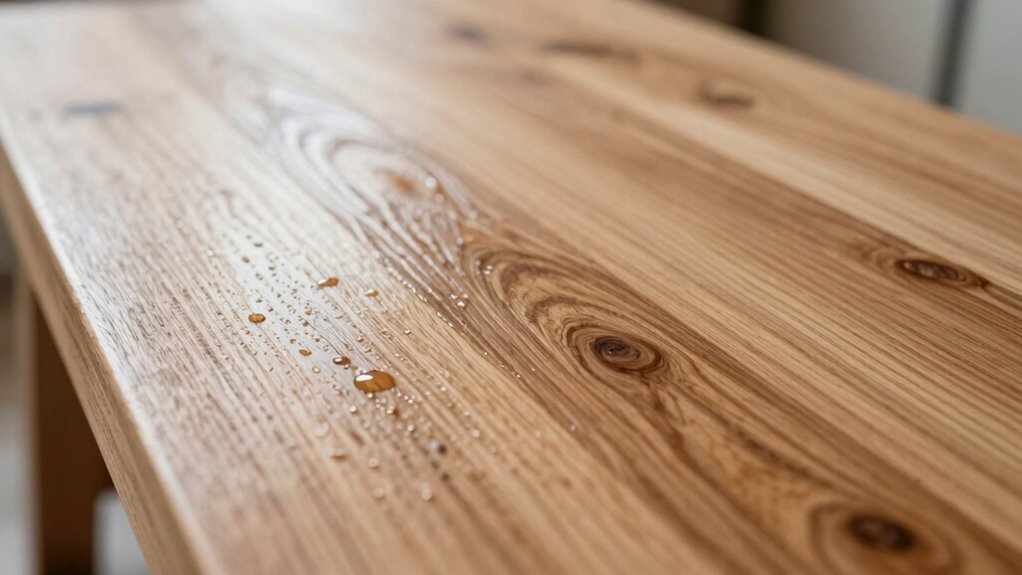
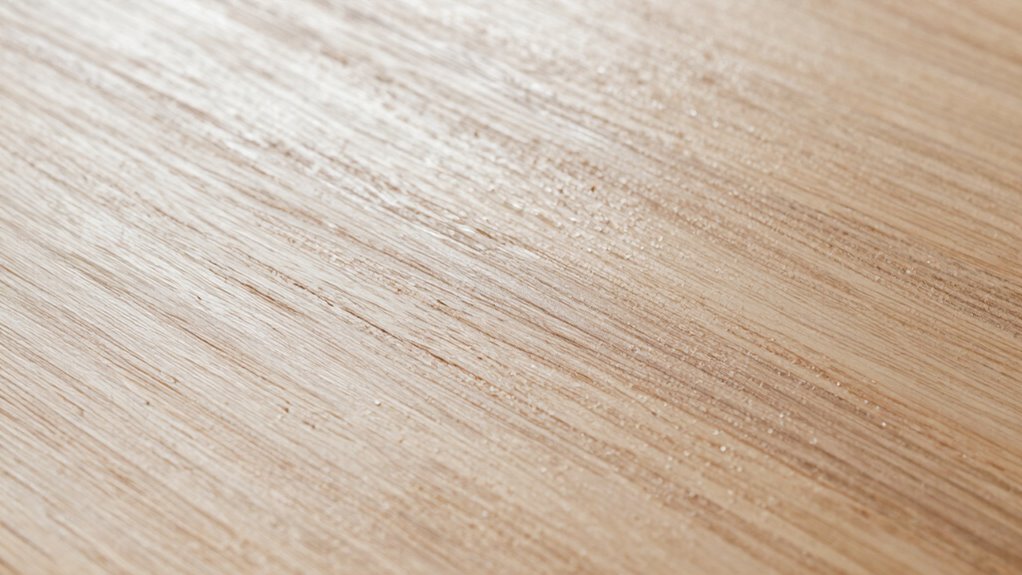
Raising the grain is a crucial step in achieving a flawless finish because it directly affects how smooth and even your surface will be. When you wet the wood, the moisture causes the grain to swell unevenly, especially in areas with higher grain density. This swelling lifts the tiny fibers, creating a rough surface that’s ready for sanding. If you skip this step, the finish can bleed into the open fibers, resulting in a rough, uneven appearance. By raising the grain properly, you guarantee those fibers are raised uniformly, making sanding more effective. This process helps you achieve a smoother final coat and a polished look, highlighting your craftsmanship and preventing issues caused by uneven absorption or surface imperfections. Additionally, understanding the grain structure of the wood can help you anticipate how it will react during this process, leading to better results. Being aware of the wood’s moisture content can also influence how well the grain raises and how predictably it responds to wetting. Recognizing the wood’s natural properties can further improve your technique and the overall outcome.
wood dampening sponge for raising grain
As an affiliate, we earn on qualifying purchases.
As an affiliate, we earn on qualifying purchases.
How to Prepare Your Wood for Raising the Grain
Before you raise the grain, making sure to properly prepare your wood is essential for a successful result. First, verify your wood has the right moisture level; slightly dampening the surface helps the grain swell evenly. Avoid oversaturating, as too much moisture can cause uneven swelling or damage. Next, follow a consistent sanding sequence, starting with coarse grit and gradually moving to finer grits. This smooths the surface and opens the wood pores, making the raising process more effective. Proper sanding also removes surface fibers that could interfere with uniform swelling. Additionally, understanding the importance of moisture content in wood can help you achieve more predictable results. When your wood is slightly moist and well-sanded, the raised grain will be even and predictable, setting the stage for a flawless finish. Ensuring consistent wood preparation techniques and controlling moisture levels can further enhance your results and prevent issues during the finishing process. Developing a good understanding of wood behavior under different conditions can also improve your overall finishing results. Being aware of how wood reacts to moisture allows you to better anticipate and manage the raising process for optimal outcomes.

Gorilla All Purpose Wood Filler Wood Repair Kit with Putty Knife and Sanding Block
Gorilla All Purpose Wood Filler is the go-to product for strong, durable repairs on cracks, gouges and holes.
As an affiliate, we earn on qualifying purchases.
As an affiliate, we earn on qualifying purchases.
Step-by-Step Guide to Raising the Grain Effectively
To raise the grain effectively, start by dampening the wood surface with a clean sponge or cloth, ensuring it’s evenly moist but not soaked. Proper wood preparation is essential for successful grain raising. Once damp, wait a few minutes for the moisture to penetrate, then gently sand the surface with fine-grit sandpaper. This step lifts the tiny fibers that swell when wet, creating the characteristic raised grain. If needed, repeat the process: dampen, swell, and lightly sand again. Avoid over-saturating the wood, which can cause uneven results. Focus on controlled, intentional grain raising to prepare your surface for smooth finishing. This method guarantees the wood fibers stand up uniformly, making subsequent sanding and finishing steps easier and more effective. Understanding wood behavior can help you better anticipate how different woods will respond to this process, especially considering variations in wood properties across species. Being aware of wood movement and how different types react to moisture can help prevent issues like warping or uneven surfaces during finishing. Additionally, understanding the role of environmental conditions can aid in achieving consistent results during the process. Incorporating proper finish compatibility can further enhance the final appearance and durability of your project.

General Finishes High Performance Water Based Topcoat, 1 Pint, Satin
Do not apply clear topcoats over bright white paint, as yellowing may occur due to a reaction to…
As an affiliate, we earn on qualifying purchases.
As an affiliate, we earn on qualifying purchases.
Sanding and Finishing Tips for a Smooth, Glass-Like Surface
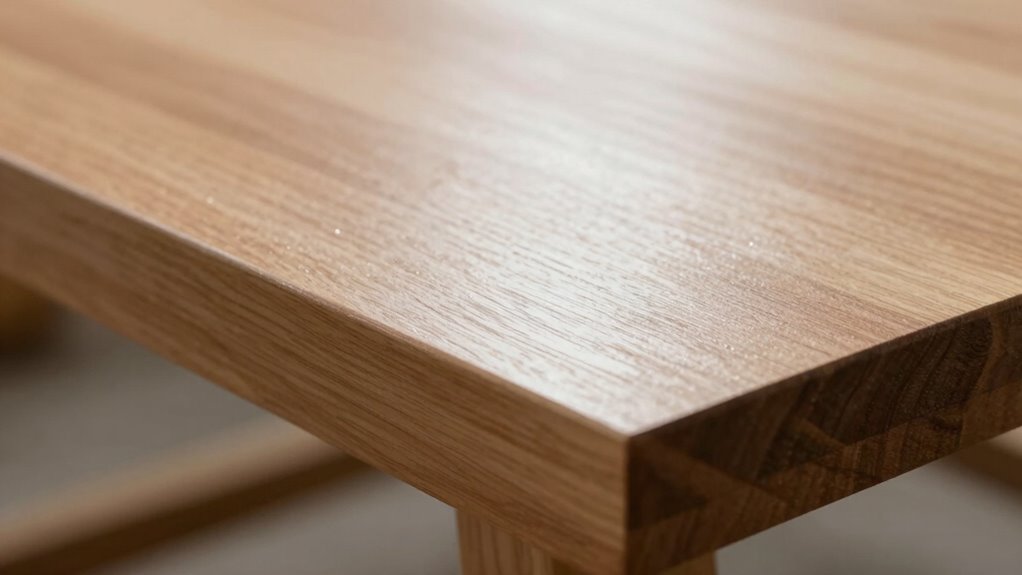
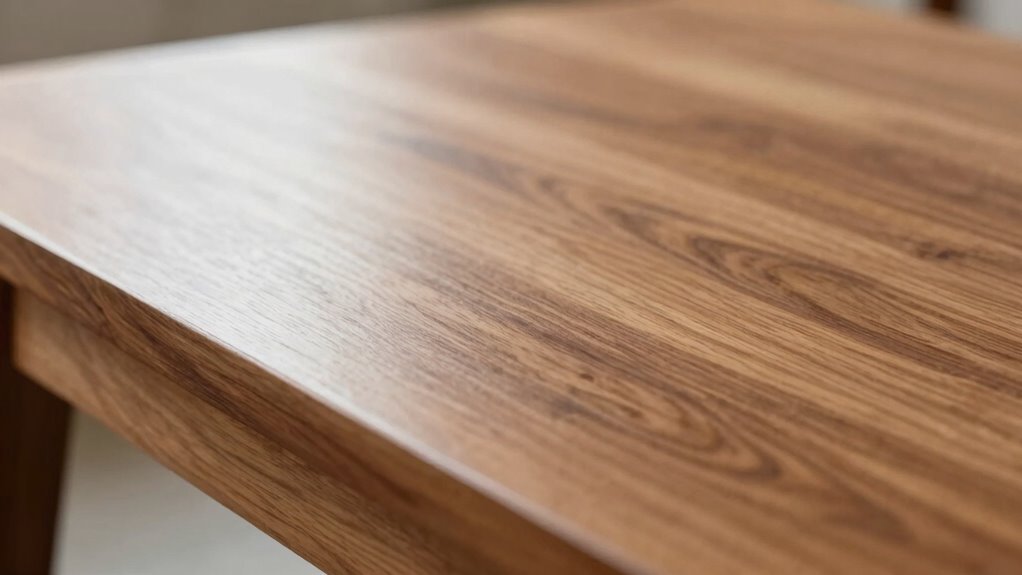
Achieving a smooth, glass-like finish requires careful sanding and finishing techniques. Start by sanding with progressively finer grits, ensuring grain consistency to prevent scratches and uneven surfaces. Always sand along the grain to avoid damaging the wood and to enhance finish durability. Use a quality sanding block or orbital sander for even pressure. After sanding, wipe away dust thoroughly before applying any finish. When finishing, choose a high-quality product suited for your project, and apply thin, even coats. Lightly sand between coats to maintain a smooth surface and ensure proper adhesion. Taking the time to refine each step helps create a flawless, glass-like appearance. Proper surface preparation ensures the best adhesion and final look of your finish. Consistent sanding and careful finishing are key to achieving a surface that’s both stunning and durable. Paying attention to sanding techniques can significantly improve the final result. Incorporating correct finishing methods can further enhance the clarity and durability of your finished piece. Additionally, patience during each step allows the finish to cure properly and achieve that desired glass-like sheen. For optimal results, consider using high-quality finishing products that are designed to enhance clarity and depth.
Troubleshooting Common Grain-Raising Issues
Grain-raising issues commonly occur when finishing wood, especially if the surface isn’t properly prepared or if incompatible finishes are used. One common problem is excessive grain swelling, which causes the surface to become uneven and rough. To troubleshoot, start by controlling moisture levels; too much moisture during finishing can lead to unwanted grain swelling. Always ensure the wood is thoroughly dried before applying finish, and consider using a dehumidifier in humid environments. If you notice grain swelling after applying a finish, lightly sanding and reapplying a compatible, moisture-resistant topcoat can help. Using a sealer or conditioner beforehand can also minimize moisture absorption and reduce grain raising. Proper moisture control and surface prep are key to preventing and fixing these issues. Additionally, understanding the properties of the wood and selecting appropriate finishes can significantly improve the final surface quality. Being aware of the moisture content of the wood before finishing is also crucial to prevent issues related to excessive swelling. Incorporating professional architectural solutions can further ensure optimal results in your finishing process. Monitoring wood stability throughout the project can help anticipate and mitigate potential problems before they arise, especially when considering water-related effects on wood performance.
Frequently Asked Questions
Can I Raise the Grain on All Types of Wood?
Yes, you can raise the grain on most types of wood. When you wet the surface, the water causes the wood fiber to swell, which helps smooth out rough spots and enhances the finish. Just be cautious with softer woods, as they may absorb more water and become overly swollen. Always test a small area first to verify the grain swelling improves your project without damaging the wood.
How Does Raising the Grain Affect Stain Absorption?
Raising the grain is like releasing a tidal wave on your wood’s surface, dramatically increasing grain swelling and making stain penetration a wild adventure. When you do this, the wood absorbs stain unevenly, creating a beautifully rustic look or a smooth, even finish—depending on your goal. It’s essential to sand lightly afterward to control stain absorption, ensuring your project looks stunning and professional without the chaos of blotchy areas.
Is It Necessary to Repeat the Raising Process Multiple Times?
You don’t need to repeat the raising process multiple times if you achieve a consistent grain texture after the first round. Focus on proper sanding and finishing techniques to guarantee even grain raising, which helps your stain absorb uniformly. If the surface feels rough or uneven, then repeat the process. Ultimately, maintaining good grain consistency is key to a smooth, glass-like finish, making additional raising unnecessary in most cases.
What Tools Are Best for Controlling Grain Raising?
You’d think controlling grain raising would be easy, but nope, it’s all about the right tools. For grain control, choose fine-grit sandpaper, steel wool, or a sanding sponge—these give you precision without overdoing it. The key is gentle, even pressure. Avoid harsh tools or aggressive scrubbing, or you’ll end up with more grain raise than you bargained for. Good tool selection makes all the difference in your finish.
How Long Should I Wait Between Water Applications?
You should wait about 15 to 30 minutes between water applications, allowing the wood moisture to penetrate and cause the grain to swell. This pause lets you assess how much the grain has raised, so you can plan your sanding techniques accordingly. Rushing the process may lead to uneven raising or damage. Patience is key, so give each water application enough time to achieve a smooth, glass-like finish.
Conclusion
By mastering the art of raising the grain, you’re sculpting your wood into a mirror-like surface, transforming roughness into glass. Think of it as polishing a gem—every step reveals more brilliance. With patience and the right techniques, your finish will shine with a flawless, smooth glow. Keep practicing, and soon your projects will reflect the craftsmanship and care you pour into each piece, turning everyday wood into true works of art.