
To spot hidden glue spots before finishing, carefully inspect your piece under different lighting and angles, using a magnifying glass or UV light to reveal any residues or irregularities. Feel for uneven surfaces or sticky areas that might not be immediately visible. Look for color differences or surface glossiness. Taking the time to thoroughly check now helps guarantee a flawless finish later—continue exploring, and you’ll discover effective ways to detect and fix these tricky spots.
Key Takeaways
- Use raking light and varying angles to reveal surface irregularities caused by hidden glue spots.
- Inspect with a magnifying glass or UV light to detect subtle color or fluorescence differences.
- Feel surfaces carefully for roughness, sticky spots, or uneven textures indicating concealed glue.
- Check for gloss or dull patches that suggest uneven adhesive drying or trapped residue.
- Conduct multiple inspections before finishing, combining visual, tactile, and specialized lighting techniques.

LET'S RESIN UV Resin Kit with Light, Bonding&Curing in Seconds, 30g UV Resin with Flashlight for Welding, Jewelry UV Glue Adhesive for Plastic Repair, Glass Light, Craft Decor
Bonded UV Resin Kit Cured in 5-10 Seconds: LET'S RESIN UV resin for bonding has low viscosity(refer to…
As an affiliate, we earn on qualifying purchases.
As an affiliate, we earn on qualifying purchases.
Why Hidden Glue Spots Are Hard to See and How to Recognize Them
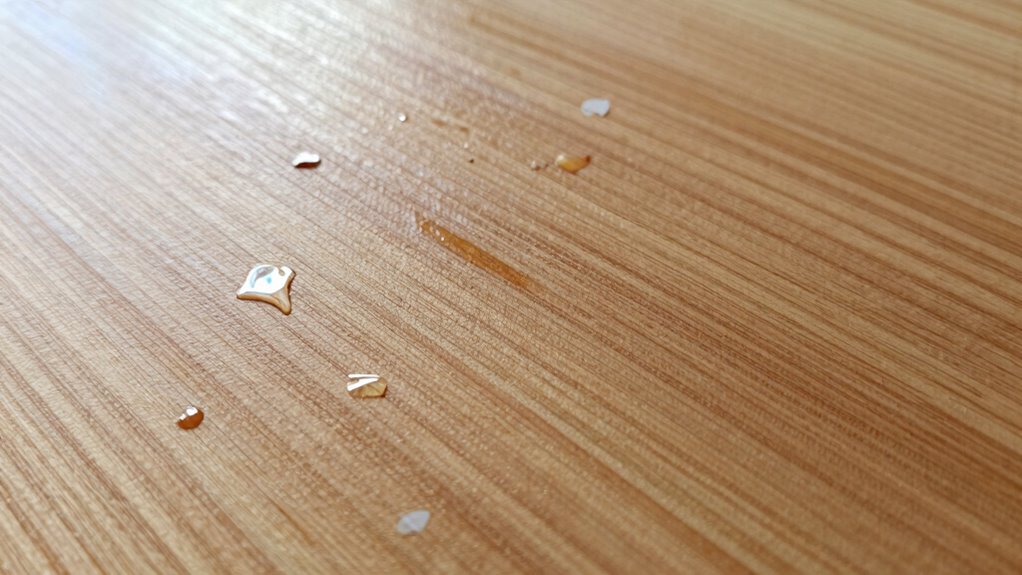
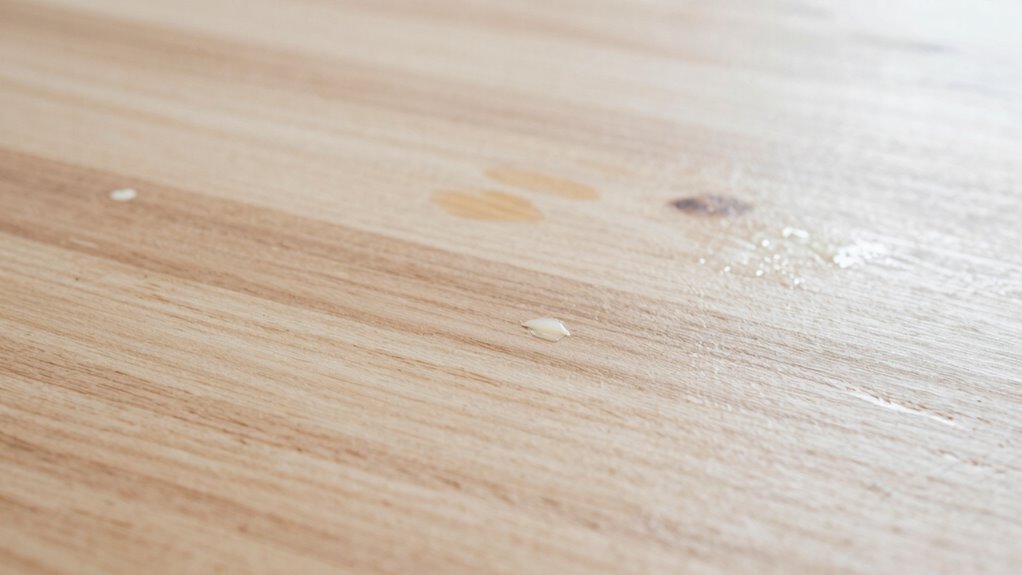
Hidden glue spots are difficult to see because their color and texture often blend seamlessly with the surrounding surface. This makes spotting adhesive residue tricky, especially when glue absorption occurs, causing the spot to blend in even more. When glue soaks into the material, it can change the surface’s appearance subtly rather than creating obvious signs. You might not notice a shiny film or raised area, which are common indicators of visible glue. Instead, these spots hide beneath the surface, making them nearly invisible to the naked eye. Recognizing these hidden spots requires close inspection and awareness of how glue behaves during application. Being familiar with how adhesive residue can blend and how glue absorption alters surfaces helps you identify these sneaky spots before they affect your final finish. Understanding color accuracy and how it can be affected by surface imperfections further aids in detecting such hidden issues.

Large Magnifying Glass with 37 LED Light, 10X 20X 45X Handheld Illuminated Lighted Magnifier with 3 Light Modes Rechargeable Magnifying Glass for Seniors Reading, Inspection (White & Black)
CRYSTAL CLEAR OPTICAL GRADE LENS: Enjoy a distortion-free image with our shatterproof and scratch-resistant 5.2-inch magnifying glass. Perfect…
As an affiliate, we earn on qualifying purchases.
As an affiliate, we earn on qualifying purchases.
Visual Signs and Clues That Indicate Glue Spots
Since glue spots can be nearly invisible, paying close attention to subtle visual clues can help you identify them. Look for:
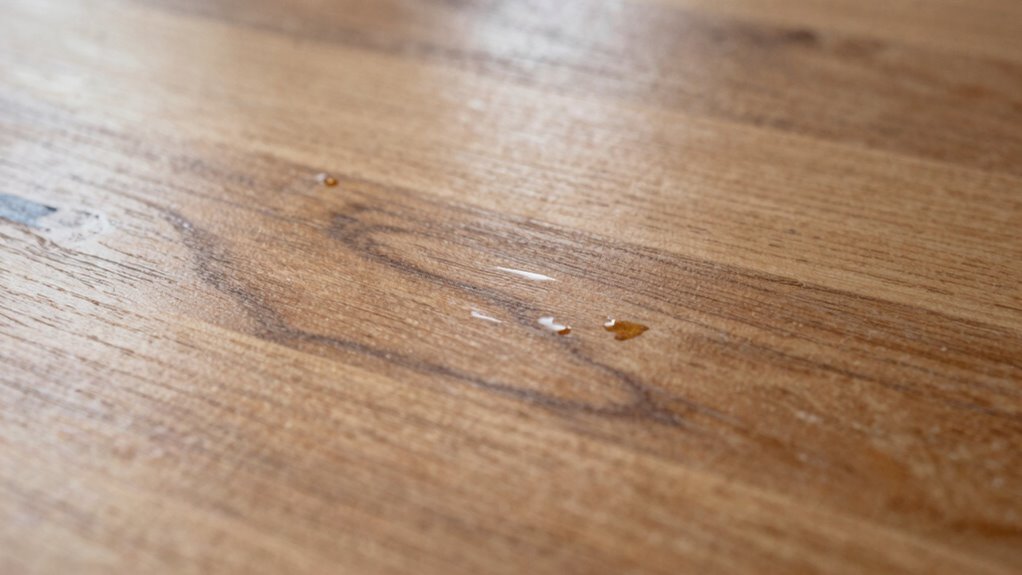
- Color variations – uneven patches or slight discolorations on the surface may signal glue presence.
- Surface irregularities – areas that feel slightly rougher or uneven compared to surrounding areas.
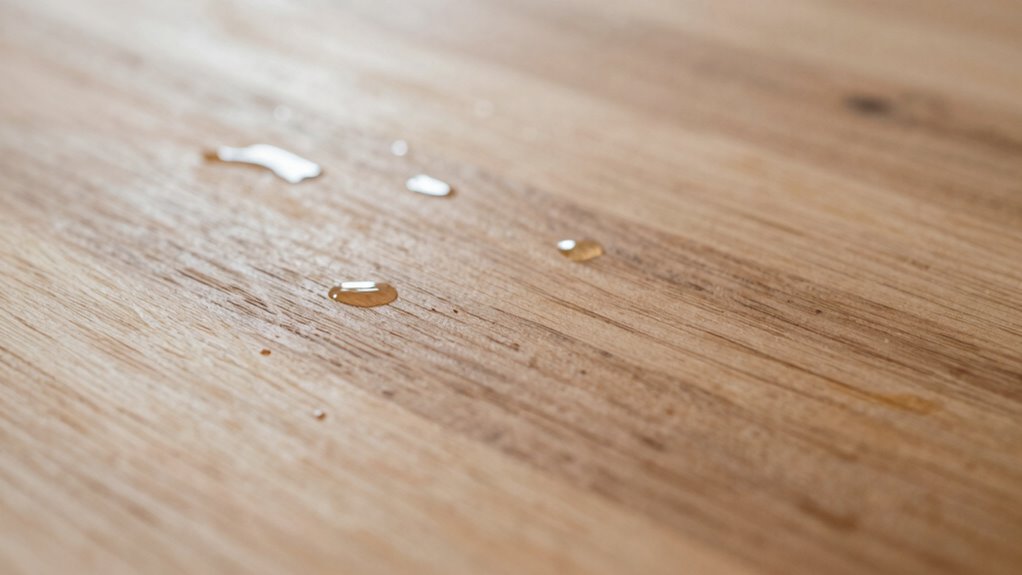
- Glossy or dull spots – differences in sheen can indicate where glue was applied or dried differently.
- Edge inconsistencies – irregular or blurry edges along seams or joints suggest glue spots might be hiding underneath.
These visual clues often appear subtly but can be critical in detecting invisible glue spots before finishing. By carefully inspecting for color variations and surface irregularities, you improve your chances of catching hidden glue spots early. Additionally, understanding European cloud innovation can guide you to choose sustainable and secure solutions that minimize manufacturing defects like glue spots.

10X Magnifying Glass with Light and Stand, LED 5 Color Modes, Brightness Stepless Dimming Lighted Magnifier Hands Free with Flexible Goose-neck Desk Clamp Lamp for Close Works, Crafts, Hobby, Painting
Goose-neck Button Design: The gooseneck includes a button control for easy adjustment of 5 color modes and step-less…
As an affiliate, we earn on qualifying purchases.
As an affiliate, we earn on qualifying purchases.
Tools and Techniques to Detect Invisible Glue Spots (Uv Light, Magnifiers, Etc.)
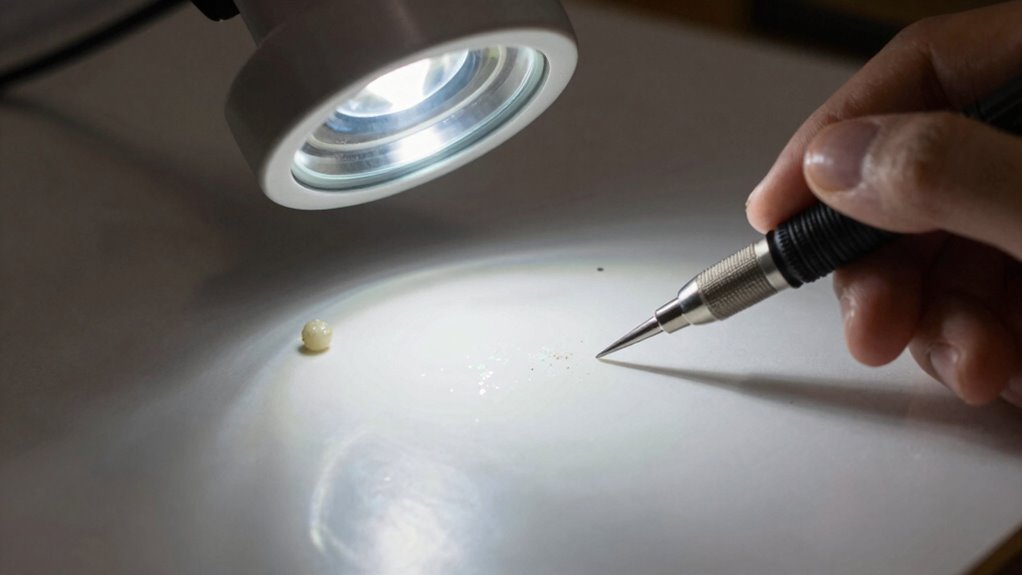
To effectively detect invisible glue spots, you need to use specialized tools and techniques that reveal what’s otherwise unseen. UV light inspection is a powerful method; shining a UV flashlight can make glue residues fluoresce, highlighting spots hidden to the naked eye. This technique works well on certain adhesives that react under UV light. Additionally, magnifier usage allows you to closely examine suspect areas with greater detail. A good magnifier can reveal subtle differences in texture or sheen caused by residual glue. Combining these tools enhances your ability to identify invisible spots before finishing. Always inspect carefully under different lighting conditions and angles. For areas that are difficult to see, employing a Free Floating approach by adjusting your viewing distance and angle can also improve detection accuracy. With the right tools—UV light and magnifiers—you markedly improve your chances of catching those sneaky glue spots early.

VBESTLIFE Electric Glue Removal Tool, Mobile Phone LCD Screen Hard Glue Remover 6 Speed Adjustable, for Mobile Phones Degumming
Efficient Adhesive Removal: The electric glue removal tool is specifically designed to eliminate OCA adhesive from mobile LCD…
As an affiliate, we earn on qualifying purchases.
As an affiliate, we earn on qualifying purchases.
Step-by-Step Guide to Finding Glue Spots Before Finishing
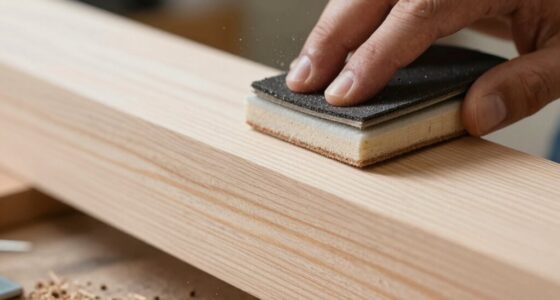
To spot hidden glue before finishing, start with a careful visual inspection, looking for any irregularities or shiny spots. Use your fingertips to gently feel the surface, detecting any tacky or uneven areas that might conceal glue. Combining these tactile and visual techniques helps guarantee you catch every invisible glue spot early on. Additionally, understanding wall surface finishes can help identify potential problem areas where glue might be more likely to remain hidden.
Visual Inspection Techniques
Before applying the final finish, it’s essential to thoroughly inspect your work for hidden glue spots. Visual inspection is your first line of defense, relying on light and angle to reveal these flaws. To maximize effectiveness:
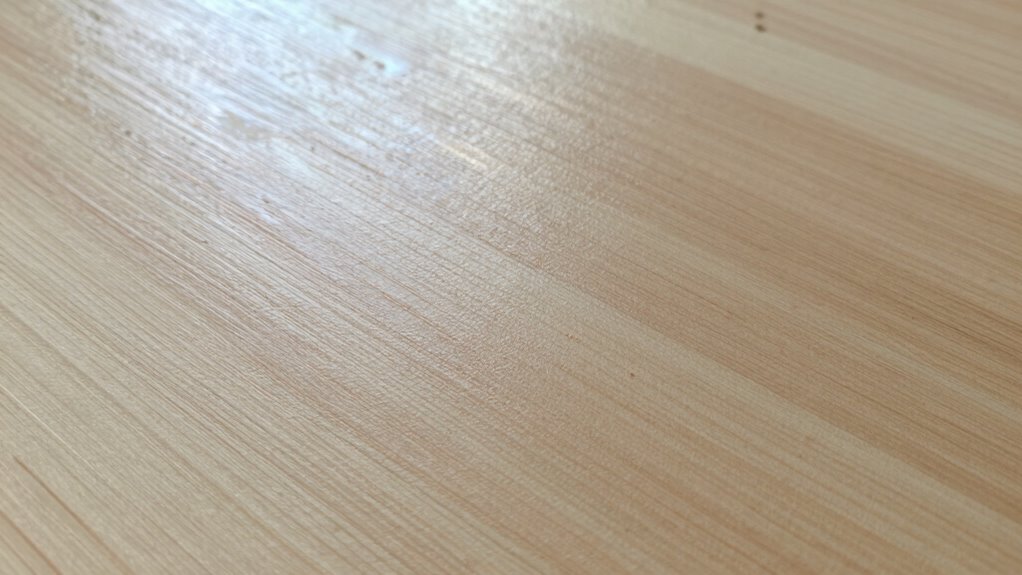
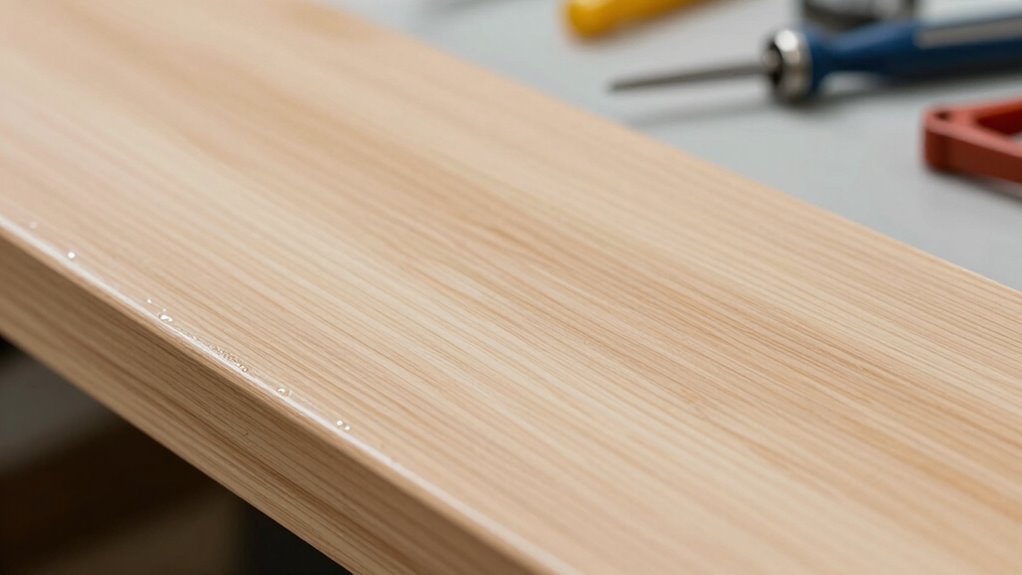
- Use raking light—shine a flashlight at a low angle to highlight surface irregularities caused by adhesive chemistry.
- Examine with a magnifying glass to detect subtle differences in texture or sheen resulting from glue drying.
- Check in various lighting conditions, such as natural and artificial light, to catch spots that may disappear under certain angles.
- Run your hand lightly over the surface to feel for any raised or sticky areas that indicate residual glue. These techniques ensure you catch invisible spots before finishing.
- Incorporate visual inspection techniques to improve accuracy, especially when working with materials prone to invisible glue spots.
Tactile Detection Methods
After performing visual inspections, turning to tactile methods can help uncover hidden glue spots that might still be invisible to the eye. By feeling the surface, you can detect texture contrast where glue may have dried unevenly or left a slight bump. Run your fingers lightly across the area, paying attention to any rougher or smoother patches. Additionally, sound-based detection can be effective; gently tapping the surface with your fingernail or a small tool might produce a different sound over glue spots, alerting you to their presence. These tactile cues are especially useful on glossy or uniform finishes, where visual clues are limited. Using both texture contrast and sound-based detection enhances your chances of locating elusive glue spots before finishing. For precise results, incorporating exfoliation techniques can also help reveal areas with residual glue that may be harder to detect otherwise.
How to Fix Hidden Glue Spots Before Finalizing Your Piece
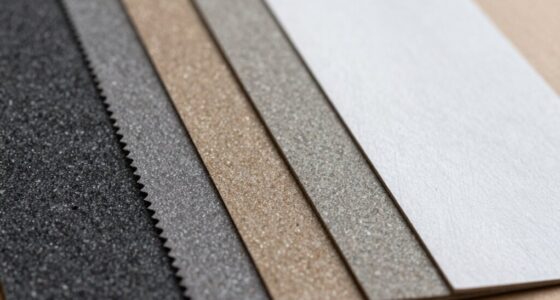
Hidden glue spots can be tricky to spot, but ignoring them can ruin the polished look of your finished piece. To fix them, start by understanding the drying time of your adhesive type. Rushing the process can cause spots to set unevenly. Once dry, gently sand the area with fine‑grit sandpaper to level the surface. If the glue remains visible, consider these steps:
Hidden glue spots can ruin your project’s finish—wait for drying, then gently sand and blend for a flawless look.
- Use a small brush to apply a matching finish or stain over the spot.
- Lightly sand again to blend the repair.
- Wipe the area clean with a damp cloth.
- Reapply finish or sealant for a seamless look.
Choosing the right adhesive types and allowing proper drying time are essential in preventing these issues before finishing. Additionally, implementing local automation solutions can help monitor and control environmental factors like humidity and temperature, which influence adhesive drying times and overall project quality.
Preventing Glue Spots: Tips for Clean Assembly and Gluing
To prevent glue spots, start by properly preparing your surfaces to guarantee even adhesion and minimal excess. Use controlled clamping techniques to apply just enough pressure, avoiding squeeze-out and mess. Paying attention to these details helps you achieve a clean, professional finish without hidden glue spots. Additionally, understanding the water chemistry involved can help ensure optimal bonding conditions and reduce the risk of visible residues.
Proper Surface Preparation
Proper surface preparation is essential for preventing unsightly glue spots and ensuring a clean, professional finish. When you prepare surfaces correctly, you optimize surface adhesion and leverage adhesive chemistry effectively. To do this, follow these steps:
- Clean surfaces thoroughly to remove dust, grease, or old adhesive residues.
- Sand or roughen smooth surfaces to promote better mechanical bonding.
- Make sure surfaces are dry and free of moisture, which can weaken adhesion.
- Test fit parts before gluing to identify any irregularities that could trap excess adhesive.
- Understanding proper surface preparation techniques can significantly reduce the risk of glue spots and improve the longevity of your assembled project.
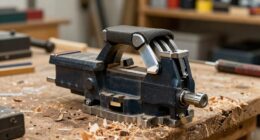
Controlled Clamping Techniques
Controlled clamping is essential for achieving clean, glue spot-free joints because uneven pressure can cause excess adhesive to squeeze out or seep into unwanted areas. To prevent this, adjust your clamping pressure carefully—too tight can force glue beyond the joint, while too loose may not hold parts firmly enough. Consistent pressure ensures even distribution of adhesive and reduces the risk of gaps or spots. Keep an eye on the drying time, as over- or under-clamping can affect bond strength and appearance. Follow manufacturer recommendations for ideal drying periods, and avoid disturbing the assembly during this time. Proper clamping techniques not only improve the quality of your joints but also help you prevent unsightly glue spots that are difficult to remove afterward. Additionally, monitoring clamping pressure throughout the process helps maintain optimal adhesive flow and bonding results.
Frequently Asked Questions
Can Hidden Glue Spots Affect the Durability of My Finished Project?
Hidden glue spots can definitely affect the durability of your finished project. Adhesive residues left unnoticed can create weak spots, leading to peeling or cracking over time. These finishing challenges can compromise the overall strength and appearance of your work. To guarantee durability, carefully inspect for unseen glue spots before finishing, and remove all adhesive residues thoroughly. Doing so helps maintain the integrity and longevity of your project.
Are There Specific Types of Glue More Prone to Leaving Invisible Spots?
While some types of adhesives are better at hiding their marks, invisible glue often leaves less visible residue, making it more prone to hidden spots. Clear or solvent-based adhesives can seep into surfaces, creating invisible glue spots that are hard to detect until finishing. You should choose adhesives designed for invisibility, but always test first. This way, you prevent unexpected flaws that compromise your project’s appearance and durability.
How Long Should I Wait Before Inspecting for Hidden Glue Spots?
You should wait at least the recommended drying time specified by the glue manufacturer before inspecting for hidden spots. During this period, the curing process occurs, ensuring the glue bonds properly. Rushing the inspection might cause you to miss invisible spots or disturb the bond. Typically, waiting 24 hours allows the glue to fully cure, making it easier to detect any spots before you proceed with finishing.
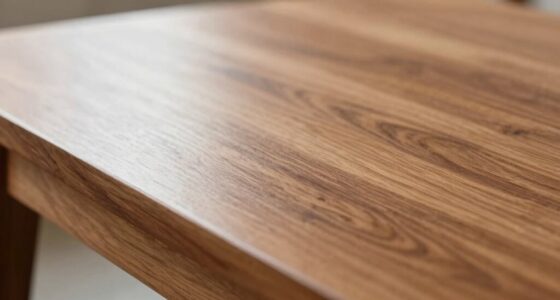
Do Certain Woods or Materials Hide Glue Spots More Effectively?
Sure, some woods hide glue spots better than others, like those with intricate wood grain or high finish absorption. You might think you’re safe with smooth, dense woods, but surprise—those tricky grains can conceal glue spots, making detection a challenge. So, don’t assume a particular material’s innocence. Instead, inspect thoroughly, especially in textured or porous woods, because even the most polished surface can hide a sneaky glue spot.
Can Environmental Factors Influence the Visibility of Hidden Glue Spots?
Yes, environmental factors like humidity effects and lighting conditions can influence the visibility of hidden glue spots. High humidity can cause wood to expand, making spots more noticeable, while low humidity might hide them better. Bright lighting reveals subtle differences in the wood’s surface, helping you spot unseen glue. To minimize surprises, check your project under different lighting and humidity levels before finishing.
Conclusion
Think of detecting hidden glue spots like being a detective uncovering secrets in a quiet town. With sharp eyes and the right tools, you can reveal what’s unseen, ensuring your project stays flawless. Just as a detective carefully examines every clue, take your time and stay vigilant. When you catch those hidden spots early, you prevent surprises later. Trust your tools and instincts—you’ll finish with a masterpiece, free of sneaky glue spots hiding in plain sight.