Kerfing tenons is a game-changer for your woodworking projects. It boosts joint strength and helps create a tighter fit, making assembly easier. When you cut a shallow kerf along the tenon’s length, it provides room for excess glue to escape, which prevents messy squeeze-out and guarantees even glue penetration. This technique not only enhances the alignment during clamping but also improves the overall finish of your joints. There’s a lot more to discover about mastering this technique!

Get business pricing on tools and workshop supplies
- Business-only prices and quantity discounts
- Tax-exempt purchasing
- Multiple users, one account, clear invoices
Key Takeaways
- Kerfing tenons enhances joint strength by allowing for better glue penetration and minimizing squeeze-out during assembly.
- Shallow kerf cuts on tenons create space for excess glue to escape, preventing messy buildup.
- Proper kerfing facilitates precise alignment and reduces misalignment caused by glue pressure during clamping.
- Mastering kerfing techniques elevates overall woodworking quality, resulting in visually appealing and structurally sound joints.
- Utilizing kerfs encourages experimentation, refining skills and techniques for improved results in woodworking projects.

When you’re working on woodworking projects, understanding how to implement kerfing tenons for glue relief can greatly enhance your joints’ strength and durability. This technique helps you achieve a tighter fit and more effective glue application, which is vital for long-lasting results. By creating a small kerf in your tenons, you allow space for excess glue to escape during assembly. This not only prevents messy squeeze-out but also guarantees that the glue penetrates evenly into the joint, improving the bond’s overall strength.
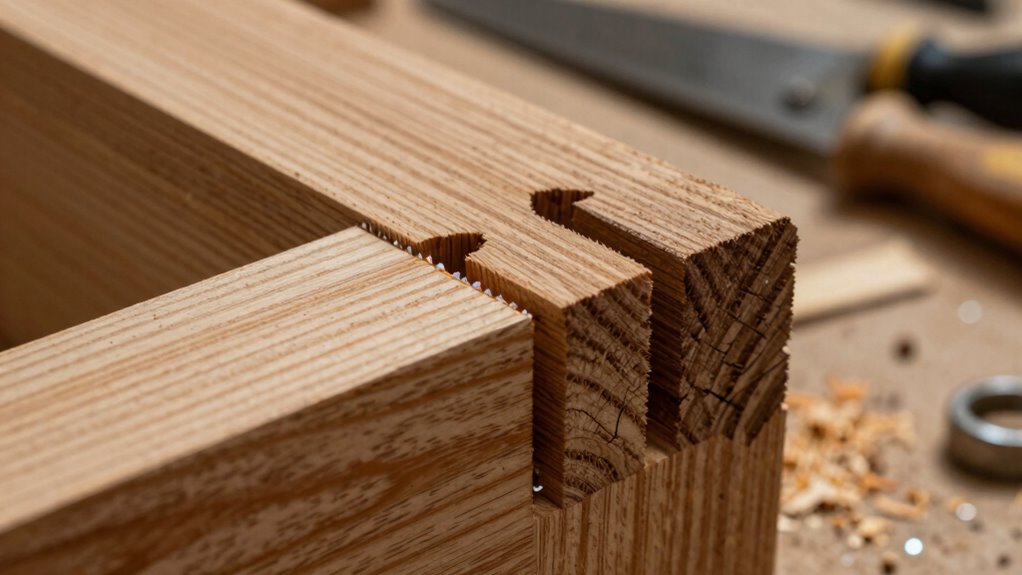
Getting started with kerfing techniques is straightforward. First, you’ll want to prepare your tenons by cutting them to the desired size. Once you have your tenons shaped, it’s time to focus on the kerf. Using a table saw or a handsaw, you’ll make a shallow cut along the length of the tenon. This cut should be just deep enough to create a channel for the glue to escape but not so deep that it compromises the tenon’s structural integrity. A depth of about one-sixteenth of an inch is usually sufficient.
When you apply glue, you’ll notice that the kerf allows any excess to flow out rather than building up inside the joint. This is particularly important when working with tight-fitting joints, where too much glue can lead to gaps or weaken the joint. As you apply the glue, make sure to spread it evenly across both surfaces of the joint. The kerf will help the glue to spread out and fill the gaps, securing a more robust bond.
Additionally, understanding woodworking techniques can help you refine your approach to creating and using kerfing tenons effectively. After you’ve applied the glue and inserted the tenon, the kerf will also help with the alignment. Since the glue can escape, you won’t have to worry about the tenon pushing out of place due to excess glue pressure. This allows you to focus on clamping the joint securely without the fear of misalignment, giving you a clean, professional finish.
Incorporating kerfing tenons into your woodworking projects might seem like a small detail, but it can dramatically improve your work’s quality. By mastering this technique, you elevate your skills and guarantee that your joints are not only visually appealing but structurally sound. So the next time you find yourself at the workbench, remember that a little kerf can make a big difference in your woodworking endeavors.
As an affiliate, we earn on qualifying purchases.
Frequently Asked Questions
What Tools Are Best for Creating Kerfs in Tenons?
To create kerfs in tenons, you’ll want to use a table saw or a band saw for precise cuts. A router with a kerfing bit can also work well, allowing for fine control. When you apply these kerfing techniques during tenon preparation, you’ll enhance glue distribution and joint strength. Make sure to set your depth carefully, so the kerfs don’t weaken the tenon. Proper tools make all the difference in achieving a solid assembly.
Can Kerfing Be Applied to Other Joints?
Yes, you can definitely apply kerfing techniques to other joints. Whether you’re working with mortise and tenon, dovetails, or even lap joints, adding kerfs helps relieve glue pressure and guarantees a better fit. Experiment with different joint applications to see how kerfing enhances your assembly process. It can improve the overall strength and appearance of your projects, making your woodworking more efficient and enjoyable. Don’t hesitate to give it a try!
How Does Kerfing Affect the Strength of the Joint?
Kerfing can considerably enhance the strength of a joint. By relieving stress and allowing glue to penetrate deeper, you’re boosting the joint’s durability. The kerfing benefits include a more secure bond, as it reduces the chance of glue failure under pressure. When you incorporate kerfing into your joints, you’re not just improving aesthetics; you’re also ensuring a stronger, longer-lasting connection that can withstand the test of time.
Is Kerfing Suitable for All Types of Wood?
Kerfing isn’t suitable for all wood types; softer woods like pine benefit greatly, while harder woods like oak may not. Notably, studies show that kerfing can reduce glue failure rates by up to 30%. When you use kerfing, you enhance flexibility and strength in joints, making it easier to work with various wood types. So, while it’s a fantastic technique for many, always consider your wood’s specific characteristics to maximize those kerfing benefits.
How Do I Determine the Depth of the Kerf?
To determine the kerf depth, you’ll want to take into account the tenon fit. Measure the thickness of your tenon and subtract it from the overall depth of the joint. Aim for a kerf depth that allows for glue relief without compromising structural integrity. Typically, a depth of about one-third of the tenon’s thickness works well. This guarantees a snug fit while allowing enough space for glue to escape during assembly.
As an affiliate, we earn on qualifying purchases.
Conclusion
Incorporating kerfing tenons into your assembly process is like adding Bluetooth to an old stereo—it’s a game-changer. This tiny detail not only enhances glue relief but also guarantees a smoother, more reliable fit. By taking this simple step, you’ll save time and frustration during assembly. So, the next time you’re building, don’t overlook this clever trick; it could make all the difference in your project’s success. Happy woodworking!
As an affiliate, we earn on qualifying purchases.
As an affiliate, we earn on qualifying purchases.
Fall Picks
fall essentials
As an affiliate, we earn on qualifying purchases.