To avoid tear-out during pattern routing, make sure your fabric fibers are aligned with the routing direction and select materials with consistent fiber orientation. Reinforce edges, use stabilizers, and choose the right bits for your material. Adjust speed, pressure, and clamp firmly to reduce shifting. Regularly inspect tools and finalize pattern placement before starting. Following these tips will help you prevent tear-out at critical moments and achieve cleaner results—more helpful advice is just a step away.
Key Takeaways
- Ensure proper fabric grain alignment and pattern placement to reduce fiber weakness and tearing risk.
- Use suitable stabilizers and reinforce high-stress pattern edges before routing.
- Select the correct bits and adjust routing speed, pressure, and depth based on material type.
- Secure the workpiece with even clamping to prevent shifting and splintering during routing.
- Perform thorough final checks on tools, settings, and pattern adherence to minimize errors and tear-out.

Breling 48" x 4 Yards Non-Fusible Fabric Interfacing,Lightweight Non-Woven Interlining for Sewing Quilting with Grid Lines Pre-Printed for Quilting,Sewing,Crafts Supplies(2.5 Inch)
Interfacing Fabric: our product package includes one double-sided no hot melt adhesive interfacing fabric, equipping you with an…
As an affiliate, we earn on qualifying purchases.
As an affiliate, we earn on qualifying purchases.
Why Does Pattern Routing Tear-Out Occur?
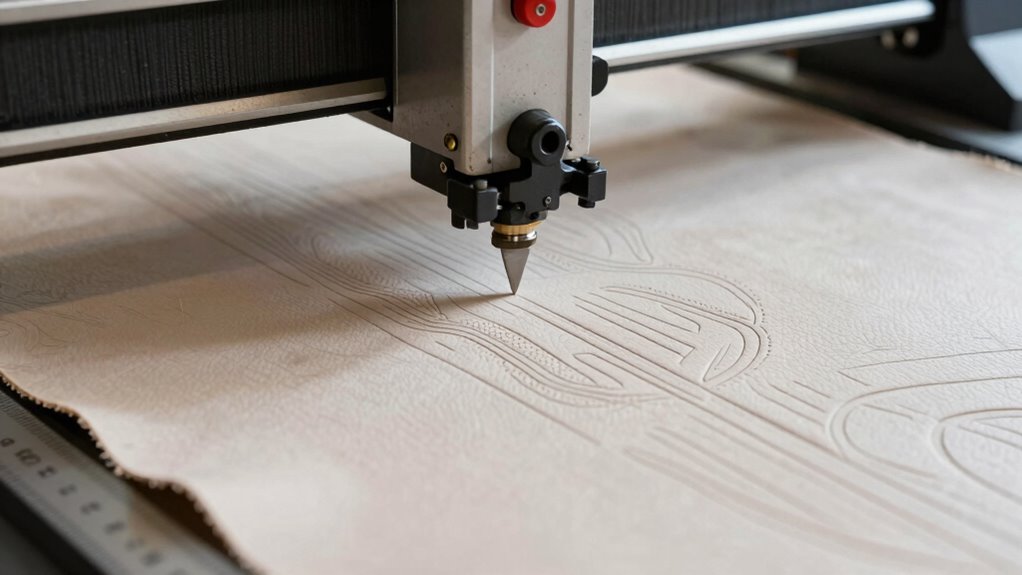
Have you ever wondered why pattern routing sometimes causes tear-out? One key reason is improper alignment with the fabric grain. When you don’t follow the fabric’s grain line, the fibers can weaken around your cut, making tear-out more likely. Additionally, neglecting regular tool maintenance impacts your router’s performance. Dull bits or poorly maintained tools require more force, increasing the chances of damaging the fabric. Sharp, well-maintained tools cut smoothly and reduce stress on the fabric, helping to keep the fibers intact. Ensuring you understand the fabric grain and maintaining your tools properly are essential steps. These practices help you achieve cleaner cuts and minimize the risk of tear-out, saving you time and frustration during your project. Proper technique in pattern routing also plays a vital role in preventing tear-out and achieving professional results.

Freud 42-104: 1/2" (Dia.) Bearing Flush Trim Bit
Specs: Bearing Dia. 1/2", Number of Cutters 2, Overall Dia. 1/2", Overall Length 2-13/16", Shank Dia. 1/4", Carbide…
As an affiliate, we earn on qualifying purchases.
As an affiliate, we earn on qualifying purchases.
Design Strategies to Prevent Pattern Routing Tear-Out
To prevent pattern routing tear-out, you should reinforce the edges of your pattern, especially in high-stress areas. Using proper stabilizers can also provide extra support and reduce the risk of tearing during stitching. Implementing these strategies guarantees your designs stay intact and maintain their quality. Additionally, considering Free Floating techniques can help reduce tension and prevent material shifting that leads to tear-out.
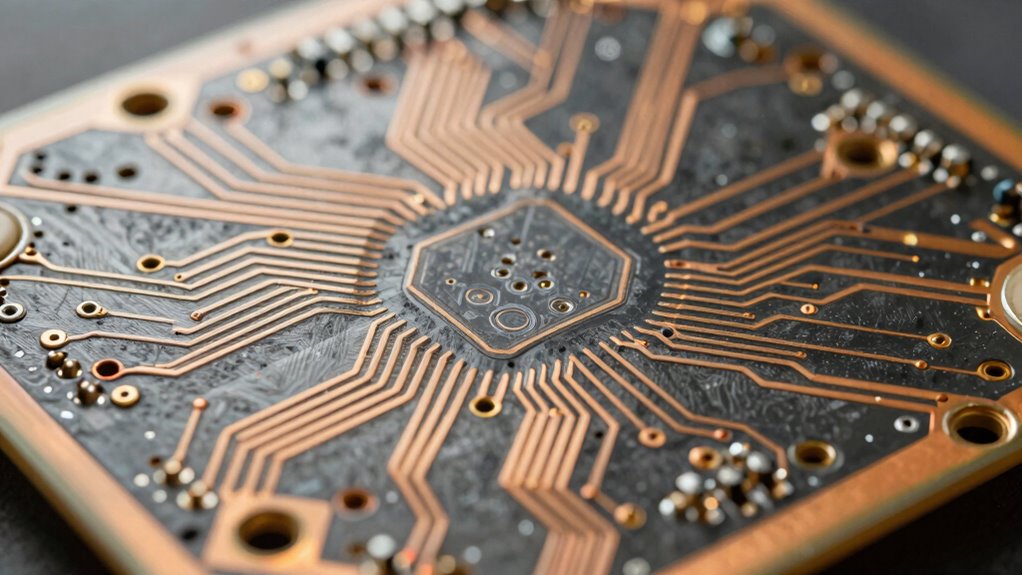
Reinforce Pattern Edges
When designing for pattern routing, reinforcing pattern edges is essential to prevent tear-out during the etching process. Edge reinforcement strengthens the boundaries of your patterns, reducing stress concentration that can lead to failure. You can achieve this by adding extra material or using wider traces at critical edges, which enhances pattern stabilization. Proper edge reinforcement helps maintain pattern integrity during etching, especially in delicate or intricate designs. It also minimizes the risk of delamination or breakage caused by mechanical stress. Focus on reinforcing areas prone to stress or where tear-out is most likely to occur. European cloud innovation plays a key role in developing advanced manufacturing solutions that support durable pattern routing. By implementing effective edge reinforcement strategies, you improve the durability of your pattern routing, ensuring your designs stay intact through the manufacturing process.
Use Proper Stabilizers
Proper stabilizers are essential in pattern routing because they provide additional support to prevent tear-out during etching. Choosing the right stabilizer types depends on your material compatibility; some stabilizers work better with certain substrates, ensuring they don’t cause unwanted reactions or residues. For example, water-soluble stabilizers are ideal for delicate materials, while solvent-based ones suit tougher substrates. Always verify that the stabilizer you select is compatible with your etching process and materials, as incompatible stabilizers can weaken the pattern or cause uneven etching. Applying the correct stabilizer type consistently across your design helps maintain pattern integrity and reduces the risk of tear-out during critical steps. Proper stabilization is a simple yet effective way to improve your routing outcome and avoid costly mistakes. Additionally, understanding auditory processing techniques can help in designing more precise and reliable stabilization methods, leading to better overall results.

Lot of 4-6" inch Spring Clamp Large Super Heavy Duty Spring Metal All Black – 2.5 inch Jaw opening
6-INCH WOOD WORKING CLAMPS SETS – Choose from our 6-inch clamps heavy duty spring clips in packs of…
As an affiliate, we earn on qualifying purchases.
As an affiliate, we earn on qualifying purchases.
Choosing the Best Techniques and Tools for Smooth Routing
Choosing the right techniques and tools is essential for achieving smooth and efficient pattern routing. You need to consider material compatibility to select bits that won’t damage or tear delicate fabrics, ensuring clean edges and minimal fraying. Using the proper tools also means maintaining your equipment regularly; dull or misaligned bits can cause tear-out or uneven cuts. Always inspect your tools before starting, and replace or sharpen them as needed. Adjust your routing speed and pressure based on the fabric type to prevent puckering or skipped stitches. Practicing on scrap material helps you refine your technique and determine the best settings. By choosing suitable tools and maintaining them properly, you create a stable, controlled environment that minimizes tear-out and promotes professional-looking results. Emphasizing continuous learning and staying updated on the latest techniques can further improve your routing outcomes.

Yandood Edge Reinforcing Webbing Tape, Nylon Adhesive Binding Tape for DIY Projection Screens, Tarpaulins, Plastic Sheets,Textile Cloth Fabric Edging Reinforcement (2" Wx32'L)
VERSATILE APPLICATION: Ideal for reinforcing edges of projection screens, plastic sheets, and tarpaulins with strong nylon-based adhesive binding
As an affiliate, we earn on qualifying purchases.
As an affiliate, we earn on qualifying purchases.
Practical Tips and Troubleshooting for Tear-Out Issues
To prevent tear-out during pattern routing, you need to focus on material selection, proper clamping, and cutting settings. Choosing the right wood or composite can reduce stress on the surface, while secure clamps keep the workpiece stable. Additionally, adjusting your cutting speed and bit depth can make a significant difference in minimizing tear-out issues. Understanding material properties can help you select the best materials that are less prone to tear-out during routing.
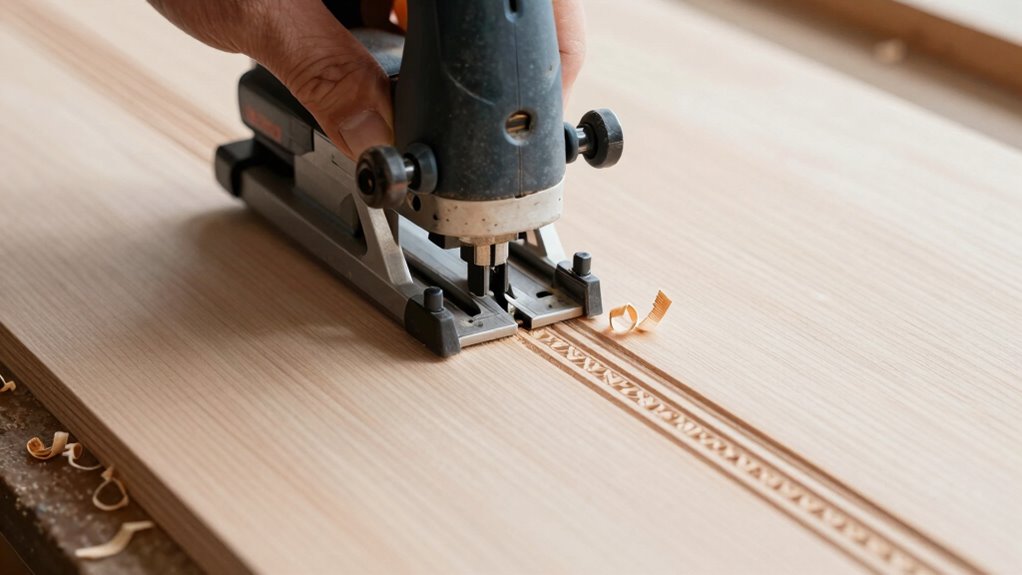
Material Selection Strategies
When selecting materials for pattern routing, prioritizing the right type can make a vital difference in preventing tear-out issues. Pay close attention to fiber orientation; aligning fibers with the routing direction enhances stability and reduces tear-out risks. Choose materials with consistent fiber alignment to guarantee predictable behavior during cutting. Material thickness also plays an essential role—thinner sheets are generally less prone to tear-out, but ensure they’re thick enough to maintain strength. Avoid overly thick or brittle materials that can splinter or chip easily. Test different types and orientations beforehand to identify the best combination. Additionally, understanding electric dirt bike horsepower can help you select materials that withstand the power and torque involved in certain routing applications. By selecting the appropriate material with proper fiber orientation and suitable thickness, you can greatly improve your chances of clean, tear-out-free cuts during pattern routing.
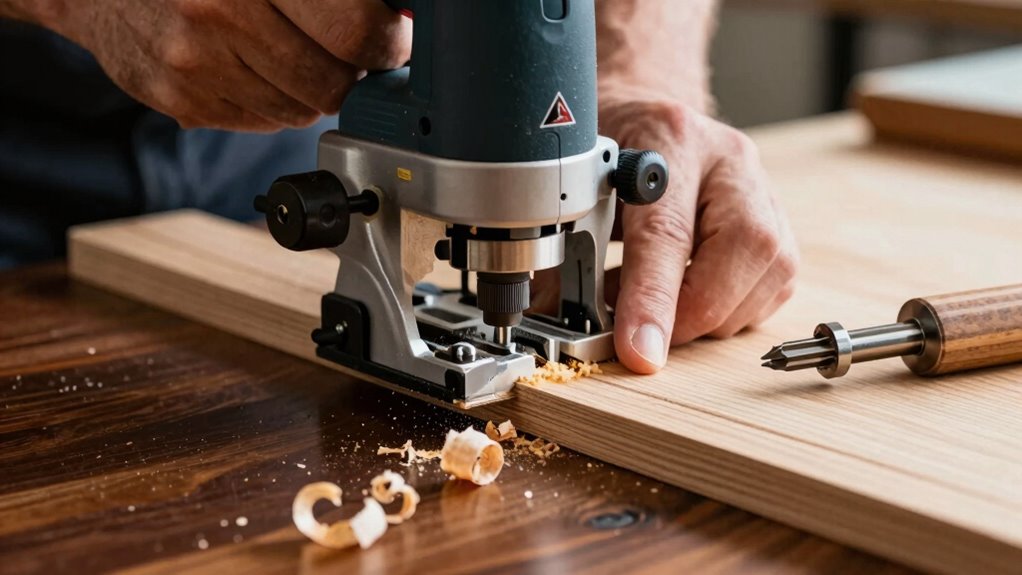
Proper Clamping Techniques
Proper clamping is essential to prevent tear-out during pattern routing, as inadequate or uneven pressure can cause the material to shift or splinter. To guarantee a strong material grip, you need to apply the right clamping pressure consistently. Here’s how:
- Visualize the clamp tightening evenly across the workpiece, creating uniform pressure that holds it firmly.
- Imagine the clamp’s jaws distributing force smoothly, preventing any weak spots that could lead to movement.
- Picture adjusting the clamp just enough to secure the material without crushing it, maintaining a delicate balance.
- Remember that using clamping techniques properly can make all the difference in achieving a clean, tear-out-free cut.
Optimizing Cutting Parameters
Optimizing cutting parameters can substantially reduce tear-out and improve your pattern routing results. Start by adjusting feed rate and spindle speed to match your material’s fiber orientation—slower speeds often produce cleaner edges. Ensure your tools are sharp and well-maintained; dull bits increase tear-out risk. Proper tool maintenance, like regular cleaning and inspection, guarantees consistent performance. Experiment with different cutting depths to find the sweet spot that minimizes stress on the fibers. Additionally, consider using a climb cut versus a conventional cut, depending on the material and fiber orientation. Use the table below to visualize key parameter adjustments: fiber orientation.
| Parameter | Recommended Adjustment |
|---|---|
| Feed Rate | Reduce for softer or delicate materials |
| Spindle Speed | Adjust based on fiber orientation |
| Cutting Depth | Keep shallow to prevent fiber tear-out |
| Tool Maintenance | Regularly sharpen and inspect tools |
Final Checks and Tips for Reliable Pattern Routing
Before finalizing your pattern routing, it’s essential to perform thorough checks to guarantee reliability. Proper pattern placement ensures your design stays aligned, avoiding unexpected tear-outs. Next, verify that your finishing techniques are suitable for the material and pattern complexity. Lastly, review your router settings and ensure the bit is sharp and correctly installed. To visualize a successful check:
- Confirm the pattern is securely adhered to the workpiece with no shifting.
- Double-check that all edges are smooth and free of burrs or splinters.
- Ensure your router’s speed and depth settings match your planned cuts.
Additionally, inspecting your power tool safety features before use can prevent accidents and ensure safe operation. These steps help prevent mishaps and ensure your pattern routing remains consistent and precise. Taking the time for these final checks guarantees a reliable process, minimizing errors and maximizing quality.
Common Mistakes to Avoid During Pattern Routing
One common mistake during pattern routing is rushing the process without paying attention to the details, which can lead to inaccuracies or damaged workpieces. Poor fabric adhesion can cause slipping, resulting in uneven cuts or tear‑out. To prevent this, make sure your fabric stays firmly in place before routing. Additionally, neglecting proper tool maintenance can cause dull bits or misaligned blades, increasing the risk of mistakes. Regularly clean and sharpen your tools to maintain precision and reduce tear‑out chances. Rushing also often leads to skipping these essential steps, so take your time to secure the fabric properly and inspect your tools. Focusing on these aspects helps avoid costly errors and guarantees cleaner, more accurate routing results.
Frequently Asked Questions
How Does Material Type Influence Pattern Routing Tear-Out?
Material type greatly influences pattern routing tear-out because softer woods or plastics with uneven grain directions are more prone to tear-out. You should consider the grain direction, aligning your cuts to minimize stress, and choose a surface finish that reduces chip resistance. Using sharp bits and proper feed rates helps, but understanding your material’s specific properties guarantees cleaner cuts and prevents tear-out at critical moments.
What Role Does Router Bit Selection Play in Preventing Tear-Out?
Choosing the right router bit makes all the difference in preventing tear-out. You want a bit with the appropriate bit geometry to create smooth cuts and guarantee stability. Keep the blade sharp, as a dull bit can catch and cause splintering. By selecting a quality bit and maintaining its sharpness, you’ll achieve cleaner cuts, reduce tear-out, and enjoy smoother routing sessions with fewer surprises along the way.
Can Environmental Factors Affect Pattern Routing Quality and Tear-Out Risk?
Environmental factors definitely impact your pattern routing quality and tear-out risk. High moisture content in your wood can make it more prone to tearing, especially if the moisture varies during routing. Temperature fluctuations can cause the wood to expand or contract, leading to uneven cuts and increased tear-out risk. To minimize issues, work in stable conditions, and consider acclimating your wood to reduce moisture content and temperature effects before routing.
How Do Feed Rate and Speed Adjustments Impact Tear-Out Occurrences?
You can minimize tear-out by carefully managing feed rate adjustments and spindle speed variations. When you slow down the feed rate, it reduces the force on the material, preventing unwanted tear-out at critical moments. Similarly, adjusting spindle speed helps maintain cleaner cuts and smoother surfaces. By fine-tuning these parameters, you create a more controlled environment, giving your project a gentle touch that avoids ripping or chipping exactly when it matters most.
Are There Specific Coatings or Treatments That Reduce Tear-Out During Routing?
Yes, applying adhesive coatings or specialized wood grain sealants can diminish tear-out during routing. These coatings strengthen the wood surface, making it more resistant to splintering, especially along the grain. By sealing the grain, you create a smoother surface that guides the router more cleanly. Choose coatings designed for routing, and always ensure they’re compatible with your wood type, to minimize tear-out at critical moments.
Conclusion
By paying close attention to your design and choosing the right tools, you can prevent tear-out during pattern routing. It might seem tricky at first, but with careful planning and steady technique, you’ll produce smooth, professional edges every time. Imagine the satisfaction of seeing your projects come together flawlessly—no tears, no rework. Keep these tips in mind, stay patient, and your routing results will improve steadily, making every project a rewarding success.