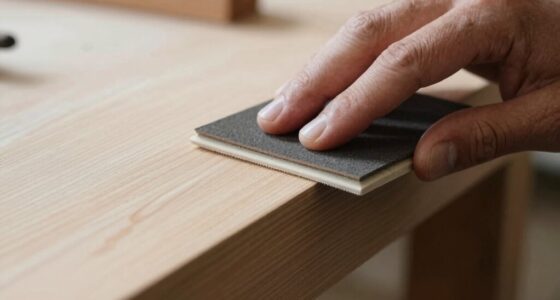
Jumping between grit levels when sanding causes surface scratches, uneven textures, and trapped debris that can’t be fixed easily. To get a smooth, professional finish, follow a proper grit progression by starting with coarse paper and gradually moving to finer grits—typically one step at a time. Skipping grits or rushing the process leads to more work later and poorer results. If you keep exploring, you’ll discover how to plan and execute an effective grit sequence for flawless finishes.
Key Takeaways
- Follow a structured grit progression, increasing one level at a time for a smooth surface finish.
- Avoid skipping grit levels to prevent deep scratches and surface imperfections that are hard to fix later.
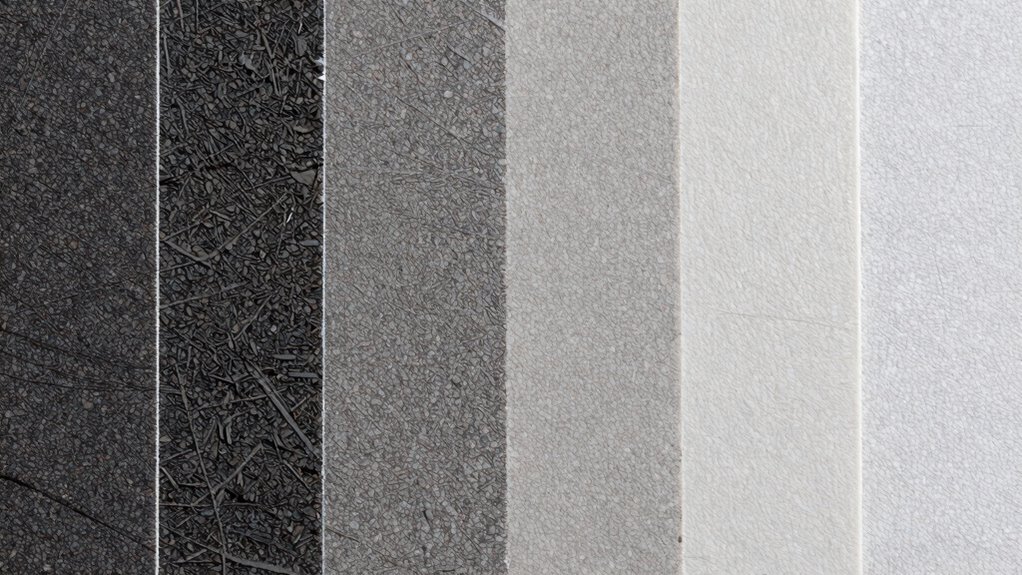
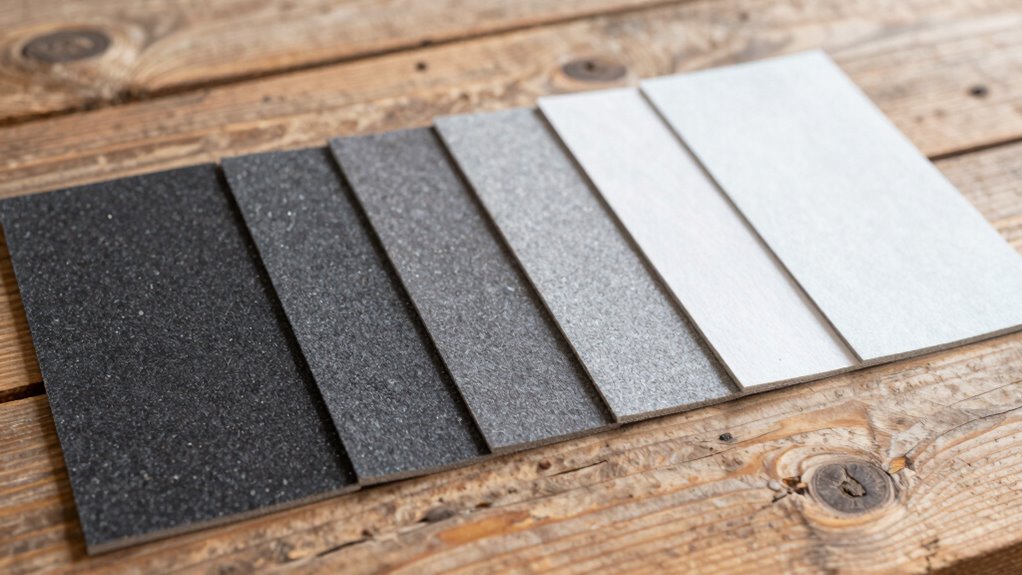
- Use a grit progression chart as a visual guide to plan and maintain consistent transitions.
- Gradually reduce sanding speed during grit changes to prevent trapping debris and causing damage.
- Revisit coarser grits if surface flaws appear, ensuring deep imperfections are removed before advancing.

Sand Paper, 48 PCS Sandpaper, 120 to 5000 Assorted Grit Sandpaper Sheets, 9 x 3.6 Inch Premium Wet Dry Sandpaper for Wood Furniture Finishing, Metal Sanding, Automotive Polishing
Meets All Your Needs: 48 pcs sand paper kit, 16 grits sandpaper assortment, including 3 sheets of each…
As an affiliate, we earn on qualifying purchases.
As an affiliate, we earn on qualifying purchases.
What Is Grit Progression and Why Does It Matter for a Smooth Finish?
Grit progression is the systematic increase in sandpaper grit size during the sanding process to achieve a smooth, professional finish. Proper surface preparation is essential, and starting with coarse grits quickly removes rough imperfections. As you progress, switching to finer grits refines the surface, smoothing out scratches left by previous steps. This method ensures you don’t just sand blindly but follow finishing techniques that produce a polished look. Jumping between grits haphazardly can cause uneven surfaces and more work later. By carefully advancing through grit levels, you control the sanding process, reducing defects and achieving a flawless finish. Using the appropriate sanding sequence can even be optimized with the help of Innovative European cloud servers that simulate different material and grit combinations for complex projects. Grit progression isn’t just about patience; it’s about strategically preparing your surface for painting, staining, or sealing, ensuring your project looks its best. Additionally, understanding the proper maintenance of body jewelry can help prevent surface imperfections similar to those caused by improper sanding techniques.

Total 56 PCS Hand Sanding Block Set- 16 PCS Contoured Profile Sander Block + 40 Sheet Sandpaper Kit – Interchangeable Assorted Convex & Concave Shapes for Moldings,Woodworking, Auto Paint and Crafts
Versatile sanding set: Featuring 16 pieces of assorted shape sanding blocks,and 40 Sheet Hook & Loop Sandpaper(5 Sheets…
As an affiliate, we earn on qualifying purchases.
As an affiliate, we earn on qualifying purchases.
What Are the Risks of Jumping Grits When Sanding?
Skipping grit levels during sanding can lead to uneven surfaces and visible scratches that are difficult to fix later. One major risk is surface contamination, as skipping grits may trap dust and debris beneath the surface. This debris can cause imperfections or bonding issues during finishing. Additionally, jumping between grits without proper dust control can spread dust particles, further contaminating the surface. Dust left behind can embed into the material, making it harder to achieve a smooth finish. Rushing through grits increases the likelihood of deep scratches that require extra work to correct. Proper grit progression also supports sound healing science by ensuring a smooth, resonant surface that promotes better adhesion and overall quality. Using the correct grit sequence also aligns with best practices in woodworking for achieving professional results. Moreover, consistent grit progression helps to prevent surface contamination that can compromise the final quality of your project. Ultimately, avoiding grit jumps ensures a cleaner surface, better adhesion, and a more professional finish. Proper grit progression minimizes risks and helps you achieve a flawless result.

3M Pro Grade Precision 3-in-1 Sanding Sponge, 220 Grit Fine, 2 Sponges, Washable & Reusable, for Wood, Metal, Drywall, and Paint Prep – Flexible Foam, Contoured, Angled, Flat
FINE FINISHING – 220 grit for light sanding, scuffing, and between-coat prep on wood, metal, drywall, and painted…
As an affiliate, we earn on qualifying purchases.
As an affiliate, we earn on qualifying purchases.
How to Choose the Best Grit Sequence for Your Project
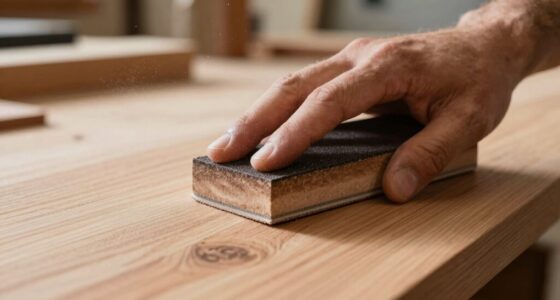
Choosing the right grit sequence is essential to achieving a smooth, professional finish on your project. Start with an abrasive material suited to your surface; coarser grits remove material quickly, while finer grits refine the surface. Consider your sanding patterns—consistent, uniform motions help prevent uneven areas and scratches. Progress gradually from lower to higher grits, avoiding jumps that can leave marks or require extra work. Think about the material you’re working with and the desired finish; softer woods need gentler grit changes, while harder surfaces may tolerate more aggressive steps. Planning your grit progression ensures efficient material removal and a polished result. Additionally, understanding how wood movement can impact your finish helps you choose appropriate grit sequences to accommodate expansion and contraction. Using a progressive grit sequence helps you achieve a high-quality finish without unnecessary sanding steps. By carefully selecting your sequence, you’ll minimize sanding time and maximize the quality of your project’s finish. Proper sanding technique also plays a crucial role in achieving a consistent, high-quality surface.

SCOTTCHEN Drywall Sanding Screen Mesh Sheet 4-3/16" x 11-1/4" Grit #80,120,220-18pcs
【Easy to install】The pre cut drywall Sanding Screen is fits most of hand sander or pole sander.
As an affiliate, we earn on qualifying purchases.
As an affiliate, we earn on qualifying purchases.
Tips for Following a Consistent Grit Progression
To achieve the best results, keep your grit progressions steady and gradual. Using a grit progression chart can help you stay on track and make certain you don’t skip important steps. Consistency is key to producing a smooth, professional finish. Incorporating proper technique and understanding the different grit levels can further enhance your sanding process. Additionally, paying attention to abrasive quality ensures that each grit level effectively prepares the surface for the next stage, leading to a more refined outcome. Recognizing how AI-driven analytics can track your progress may also help you adjust your approach for optimal results, ensuring a high-quality finish every time. Maintaining a consistent sanding pattern can also prevent uneven surface textures and improve the overall quality of your work.
Maintain Steady Grit Transitions
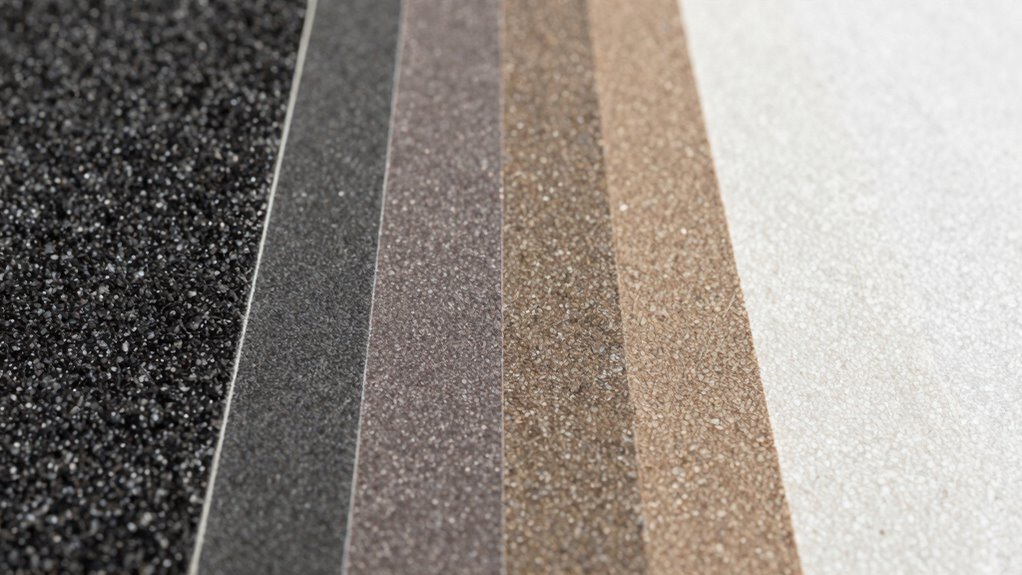
Maintaining steady grit shifts is essential for achieving a smooth finish and preventing surface damage. To do this, keep your grain size changes gradual, moving from coarse to finer grits without skipping steps. This ensures each layer of material is properly smoothed before advancing. Pay close attention to your sanding speed; too fast, and you risk gouging or uneven removal, while too slow can cause inefficient work. As you transition between grits, reduce your sanding speed gradually to maintain control and consistency. This steady approach helps prevent scratches or uneven surfaces caused by abrupt grit jumps. Additionally, understanding the grain size progression is key to creating a seamless finish that minimizes the need for rework. By controlling both grain size and sanding speed, you create a seamless progression that leads to a professional, high-quality finish.
Use a Grit Progression Chart
A grit progression chart serves as a visual guide to keep your sanding on track, ensuring you follow the proper sequence of grits without skipping steps. It helps you visualize the grit comparison from coarse to fine, so you can see how each step prepares the surface for the next. Using a chart keeps your sanding techniques consistent, preventing you from jumping too quickly to finer grits, which can cause scratches or uneven finishes. By following the chart, you develop a logical progression that smooths the surface effectively. It also minimizes guesswork, making your workflow more efficient. With a clear plan, you’ll achieve better results and a more professional finish by maintaining a steady, deliberate grit progression. Additionally, understanding the abrasion process helps you select the appropriate grits for each stage, ensuring a smooth transition from rough to fine sanding. Recognizing the importance of grit sequence can help prevent rework and improve the overall quality of your project. A well-structured grit plan also aligns with best sanding practices, which are informed by proper surface preparation techniques, leading to a more consistent and high-quality finish.
Common Grit Jumping Mistakes and How to Avoid Them

One common mistake when changing grit levels is jumping too quickly from a coarse to a very fine abrasive without intermediate steps. This can lead to surface scratches, uneven finishes, and wasted effort. To avoid this, prioritize proper sanding safety and equipment maintenance. Incorporating Free Floating techniques can also help ensure a more consistent and controlled sanding process. Additionally, understanding abrasive progression can significantly improve your results and prevent unnecessary issues. Learning about sanding safety protocols can further enhance your technique and prevent accidents. Being mindful of equipment maintenance ensures that tools perform optimally and last longer, reducing the risk of mishaps. Here are key tips:
Avoid skipping grit stages to prevent scratches and uneven finishes. Prioritize safety and equipment upkeep.
- Always progress through grit stages gradually—skip no more than one grit at a time.
- Regularly inspect your sandpaper for wear or damage to maintain ideal sanding safety.
- Clean and maintain your equipment after each use to ensure consistent results.
Troubleshooting Surface Imperfections Caused by Improper Grit Transitions
When you skip grit levels or jump too quickly to a finer abrasive, surface imperfections often appear. These flaws, such as scratches or uneven textures, result from inadequate coarse sanding, which fails to remove deep imperfections before fine finishing. To troubleshoot, start by inspecting the surface for lingering scratches or rough patches. Revisit coarse grits to level out these flaws, then progress gradually through medium and fine grits, making sure each step smooths the surface further. Avoid rushing the transition; skipping grits causes imperfections that are difficult to remove later. Proper grit transitions create a uniform, smooth surface, making fine finishing easier and more effective. Remember, patience with grit progression prevents surface imperfections and ensures a professional-looking finish. Additionally, understanding the abrasive grit hierarchy helps in planning an effective sanding sequence for optimal results.
Frequently Asked Questions
How Does Grit Progression Differ for Woodworking Versus Automotive Sanding?
For woodworking, you typically follow a grit sequence starting with coarse grits like 80 or 100, then moving to finer ones such as 220 or 320, because the abrasive materials differ, often using softer abrasives. In automotive sanding, you start with coarser grits like 400 or 600 for initial roughing, then progress to finer grits like 1500 or 2000, due to the different abrasive materials and the need for a smooth finish.
Can Grit Progression Be Customized for Unique or Complex Surfaces?
Yes, you can customize grit progression for unique or complex surfaces. Focus on understanding the specific surface and use custom surface preparation methods, gradually increasing grit to avoid damage. Industrial sanding techniques often involve tailored grit sequences to achieve ideal results. By carefully planning your grit progression, you guarantee a smooth finish without unnecessary scratches, especially on intricate or delicate surfaces. Always test on a small area first to refine your approach.
What Tools Are Best for Maintaining Consistent Grit Transitions?
You should use a combination of quality abrasive sheet selection and proper sanding block techniques to maintain consistent grit progressions. Choose sheets with uniform grit sizes, and switch gradually between grits to avoid uneven surfaces. Use a sanding block to keep pressure even, preventing gouges or dips. This approach guarantees smooth, predictable grit progressions, helping you achieve a professional finish without damaging the material or creating inconsistencies.
How Do Environmental Factors Affect Grit Progression Effectiveness?
Environmental factors markedly impact grit progression effectiveness. Moisture can cause surface contamination and clog the abrasive, reducing its efficiency. Humidity may lead to inconsistent sanding results, so you should keep the workspace dry and well-ventilated. Surface contamination, like dust or oil, can hinder grit changeover, so always clean the surface thoroughly before advancing to a finer grit. By controlling these factors, you guarantee smoother, more consistent sanding progress.
Are There Any Specific Brands or Types of Sandpaper Recommended for Grit Sequencing?
Did you know that some brands like 3M and Norton are rated highest for sandpaper durability? For grit sequencing, stick with trusted brands like these because they offer consistent quality and reliable grit progression. Their sandpapers help you progress smoothly through the grits without premature wear, ensuring better results. Using reputable brands prevents frustration, saves time, and improves your finish, especially when carefully following grit progression without jumping around.
Conclusion
Sticking to a proper grit progression guarantees your finish is smooth and professional. For example, imagine sanding a furniture piece—skipping grits leaves scratches that require extra work to fix. By following a consistent sequence, you avoid surface imperfections and save time. Remember, jumping around in grit levels can undo your progress. Keep a steady hand, move systematically, and enjoy the flawless results that come from proper grit progression every time.